Tessa’s Recipe Rundown
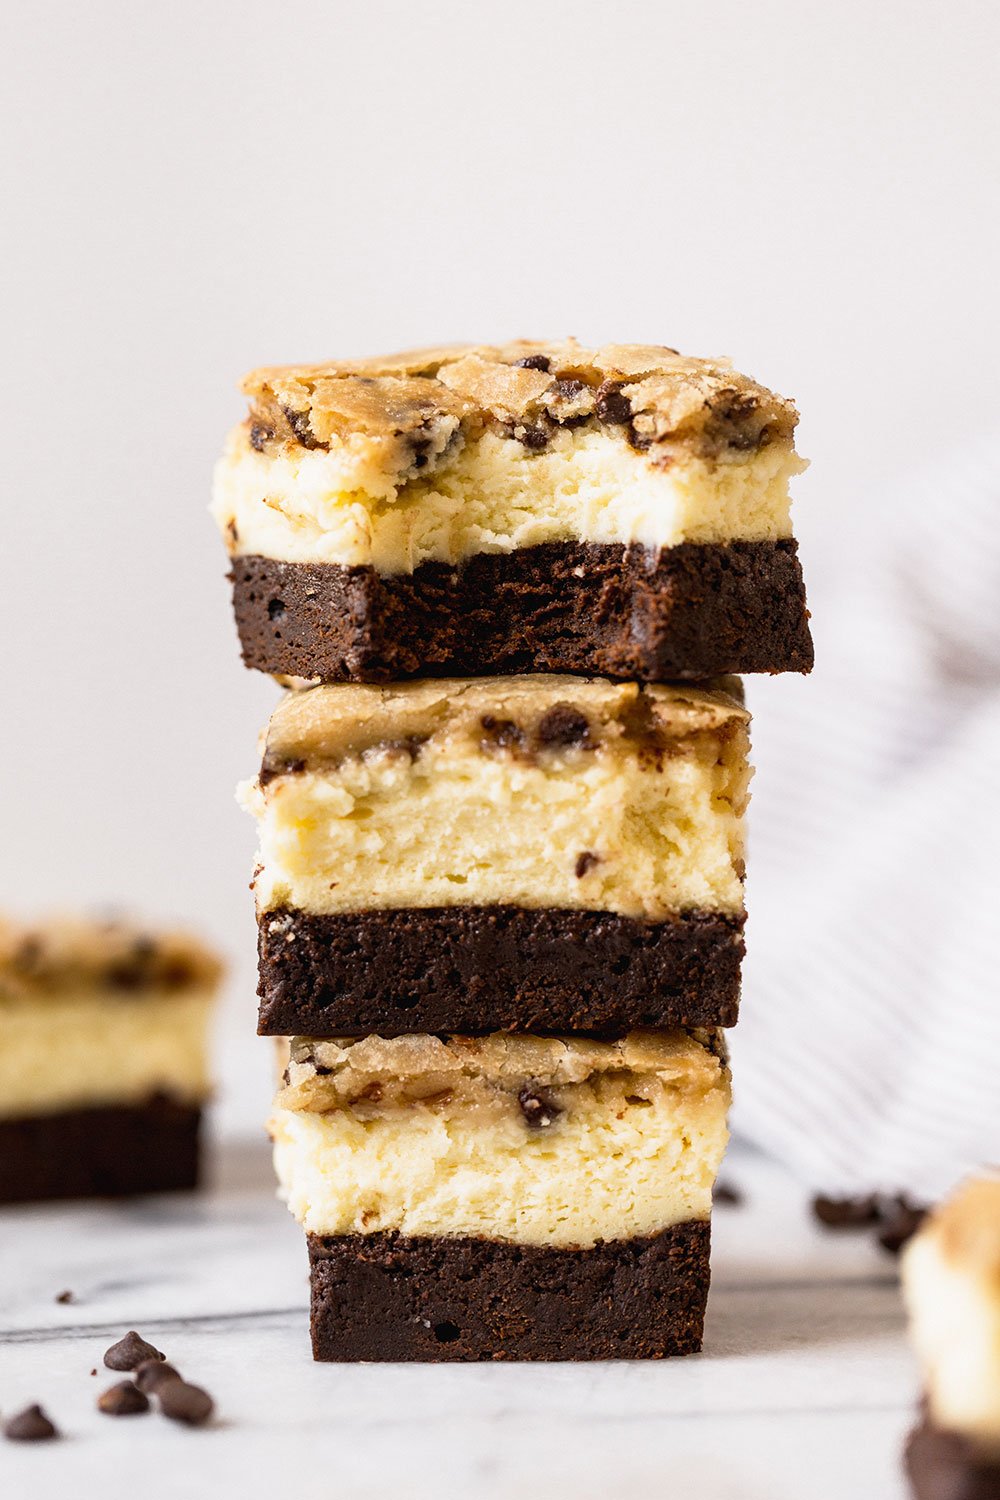
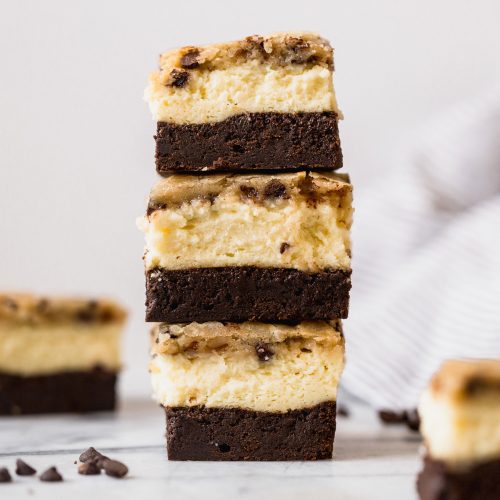
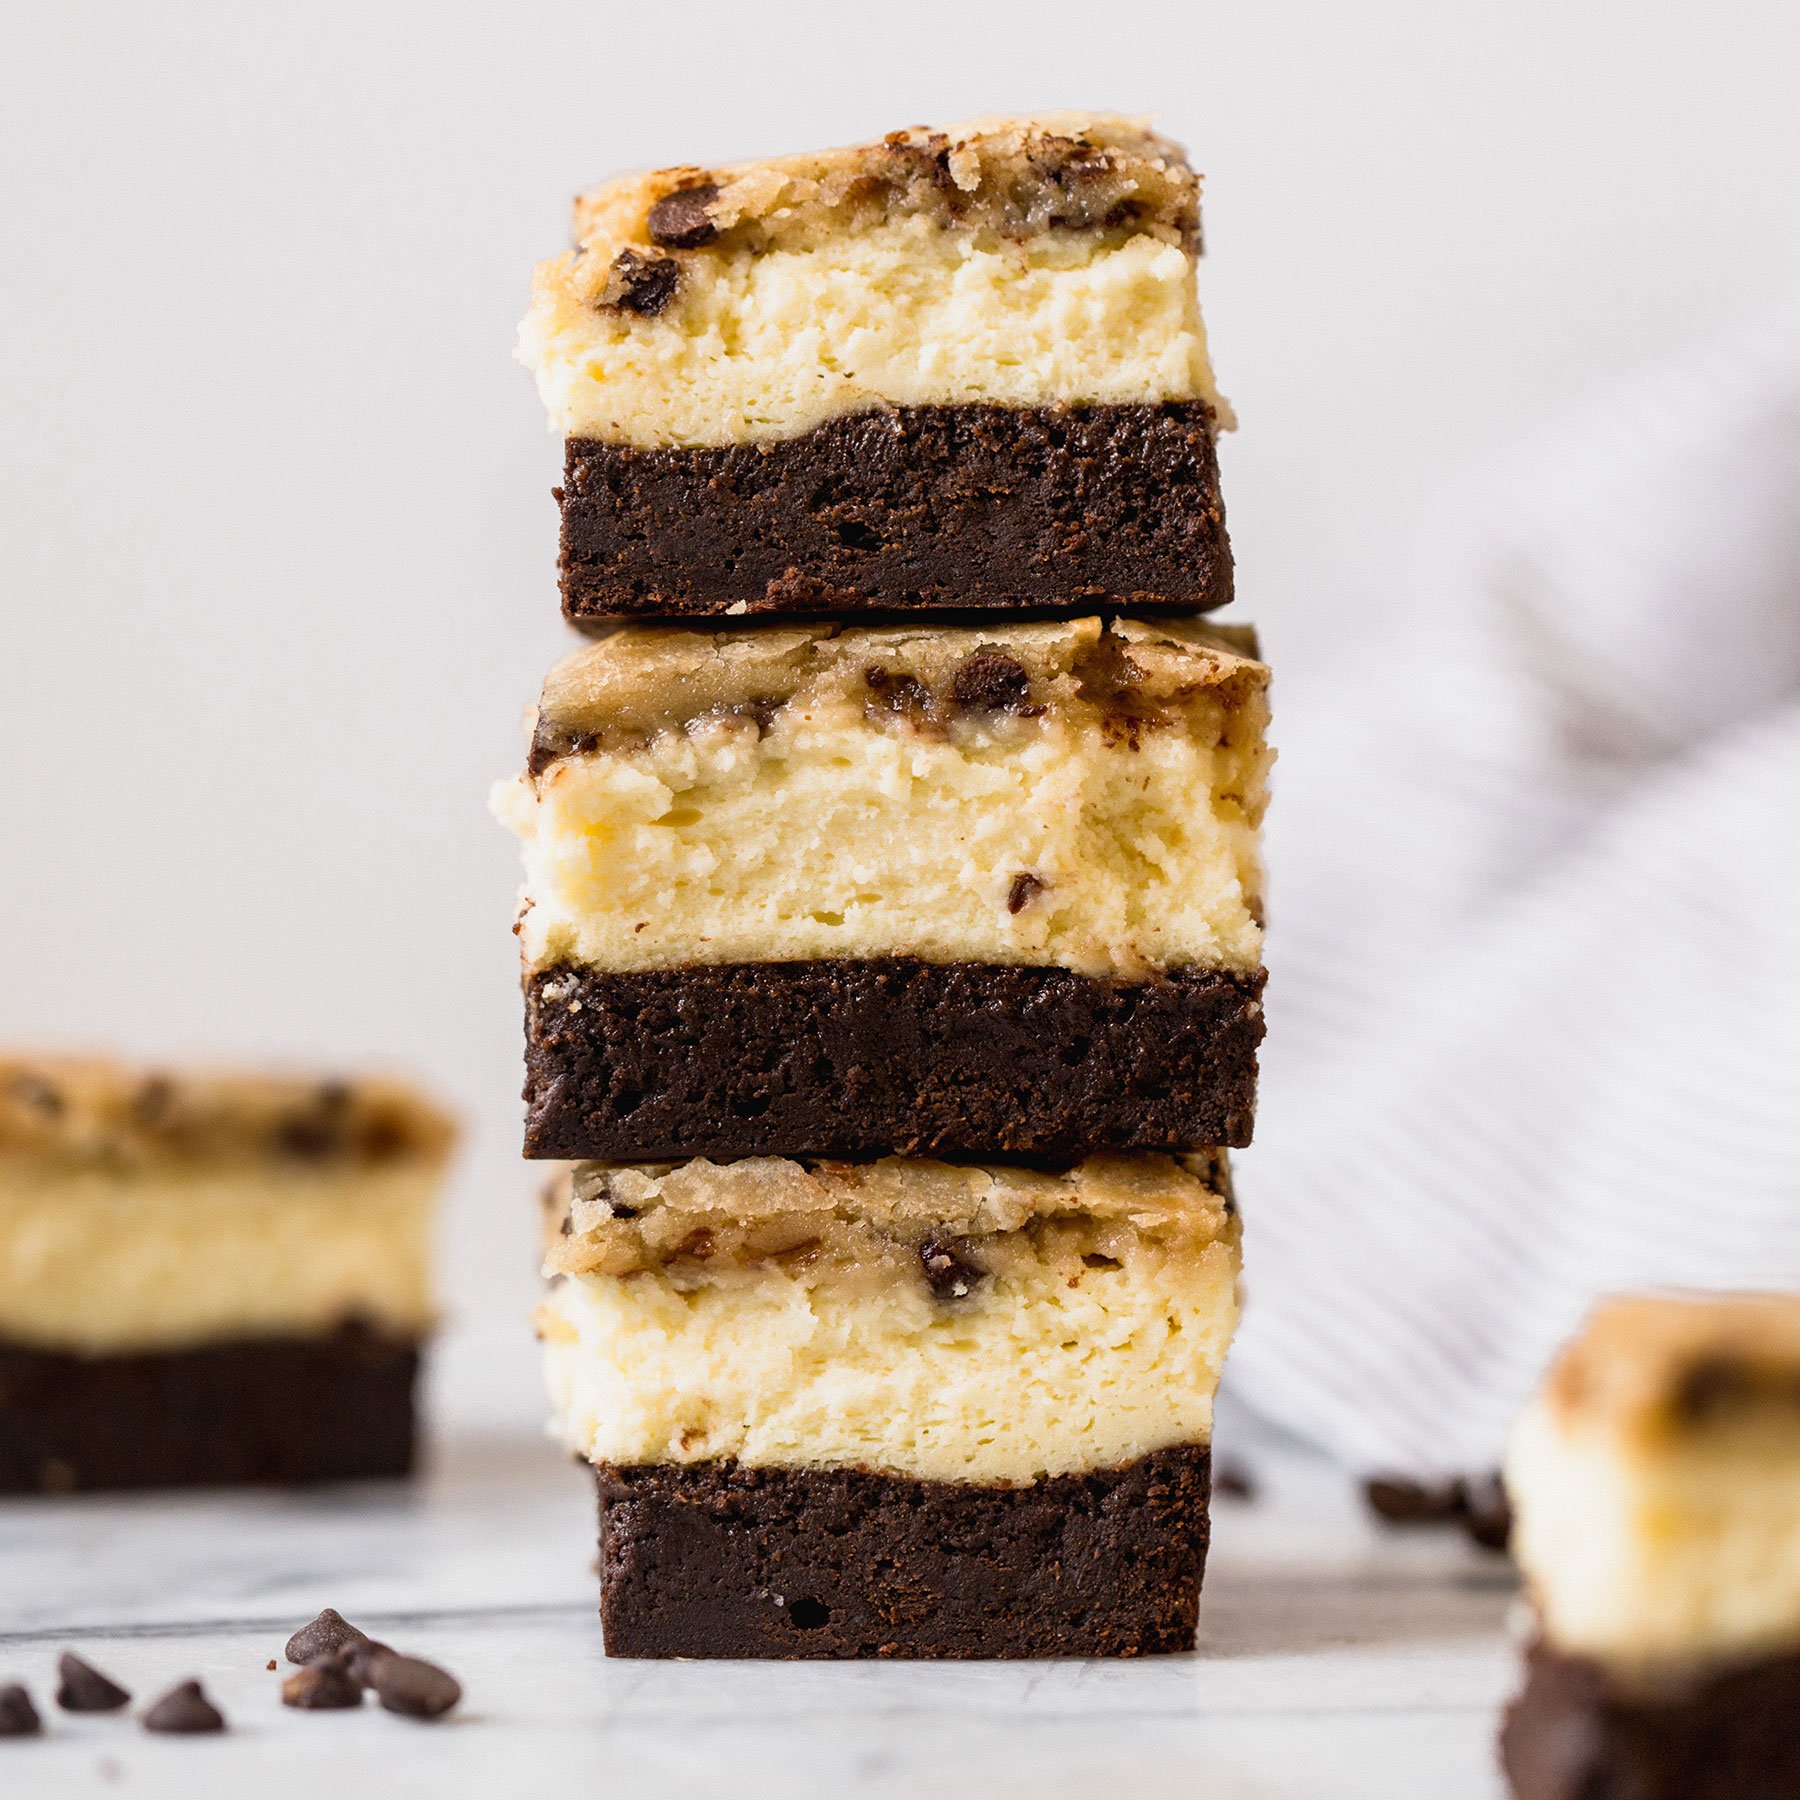
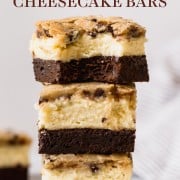
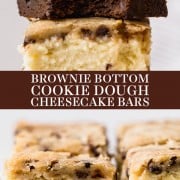
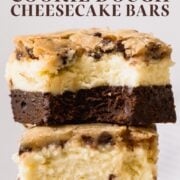
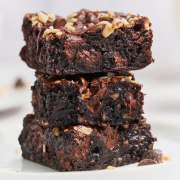
Taste: The brownie layer has an intense chocolate/cocoa flavor, the cheesecake is tangy yet sweet, and the cookie dough layer tastes like brown sugar chocolate chip cookies!
Texture: Incredible. Rich, fudgy, thick, chewy, luscious, gooey, crunchy, everything you could ever want.
Ease: I will admit, this recipe requires a lot of steps and dirties a lot of dishes, though there are no difficult techniques. SO worth it, I promise!
Pros: Outrageously decadent dessert.
Cons: Not an everyday indulgence.
Would I make this again? Absolutely.
This post may contain affiliate links. Read our disclosure policy.
These Brownie Bottom Cookie Dough Cheesecake Bars take indulgence to a whole new level!
I have had the idea for these Brownie Bottom Cookie Dough Cheesecake Bars on my mind for a few weeks now.
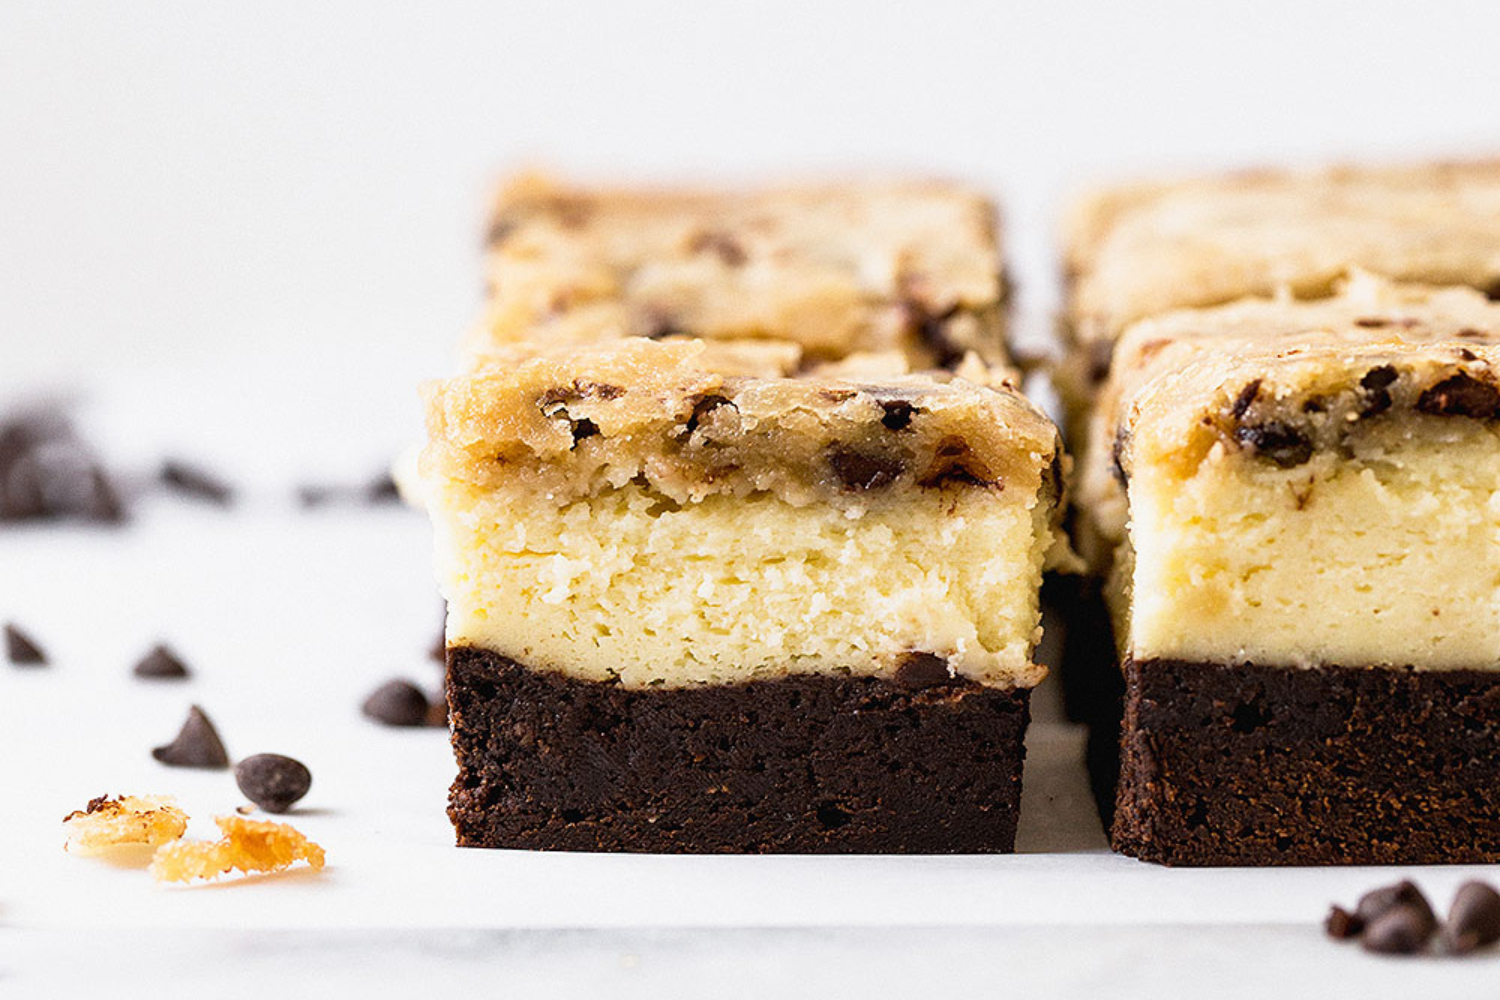
Chewy, fudgy brownie. Tangy, rich cheesecake. Gooey chocolate chip cookies. They’re three of the most wonderful things in life by themselves … but together? WOW.
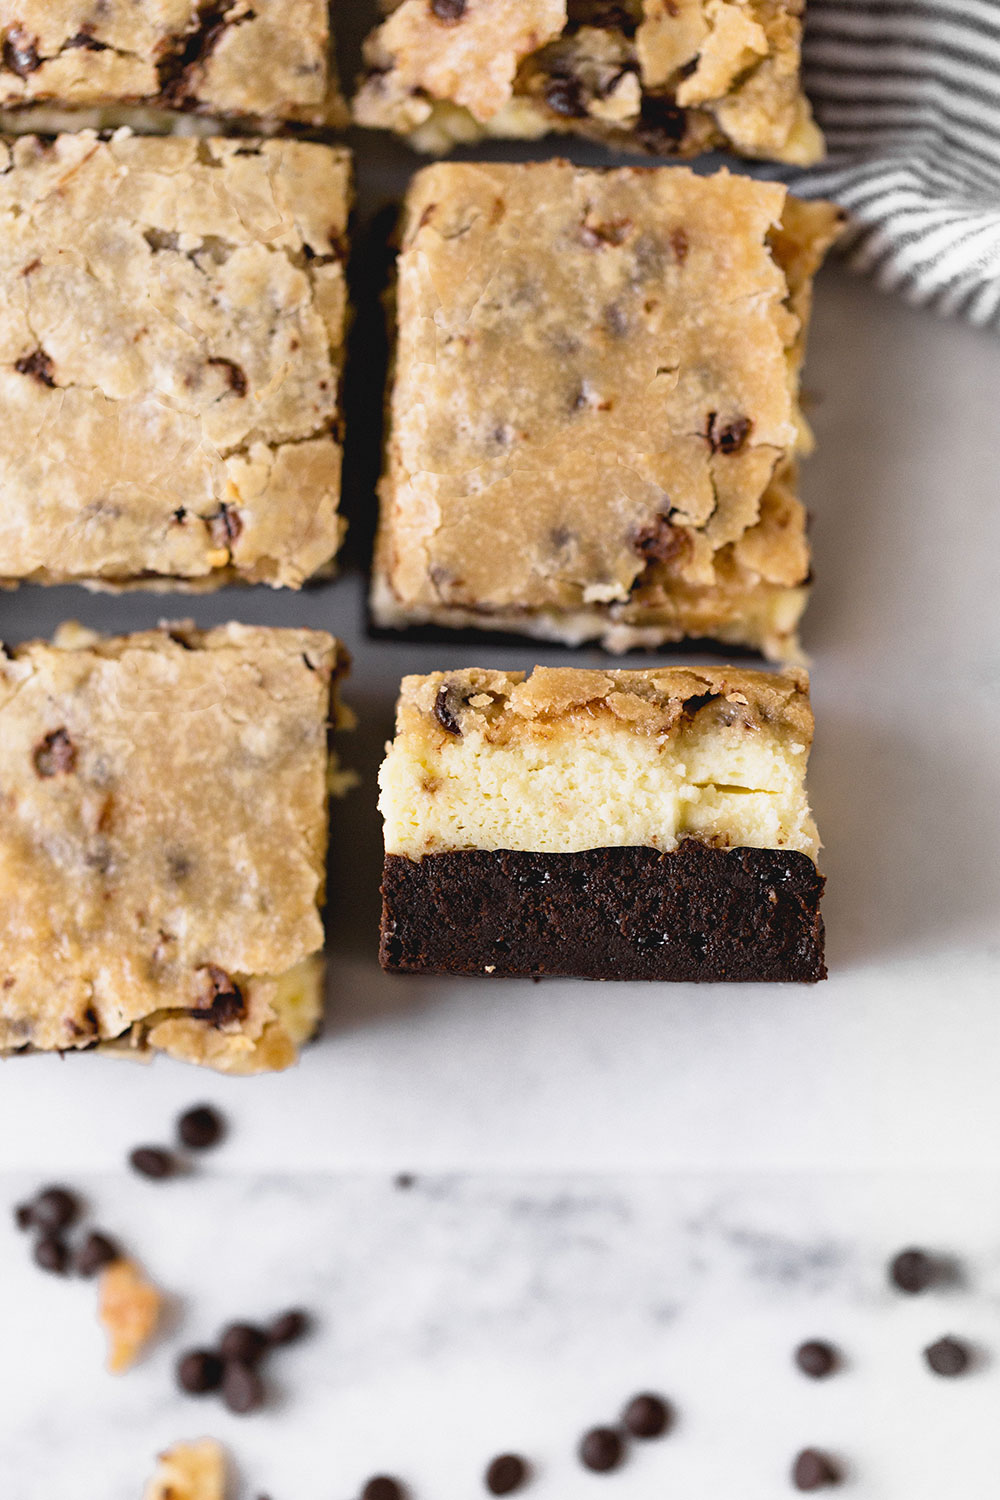
These babies are absolutely perfect for any party or potluck, or just a chilly Fall afternoon when you want something to truly treat yourself.
Fair warning, these bars have three layers and each layer dirties at least one bowl, if not more. So yes, there are some dishes involved – but one bite and I would gladly do three times as many dishes, that’s how incredible these are!
Brownie Bottom Cookie Dough Cheesecake Bars Recipe Tips
Read the Whole Recipe Through First!
This is a good idea for any recipe, but especially for these Brownie Bottom Cookie Dough Cheesecake Bars, with their three layers. This will give you a better idea of the steps involved.
Yield
This Brownie Bottom Cookie Dough Cheesecake Bars recipe yields 12 bars instead of my usual 9 for an 8-by-8-inch square recipe. That’s because these are so rich! You could cut them into even smaller bite-sized pieces, more like fudge, if preferred.
Cooling the Layers
- The recipe assumes that once you remove the brownies from the oven, you won’t immediately have the cookie dough layer and the cheesecake layer ready to put on top of the brownies.
- While you prepare those two layers, you can keep the oven on (so you won’t have to preheat it again) WHILE the brownies sit and cool.
- When I created this recipe, I found that timeframe worked perfectly.
- OR, if you don’t have time to finish the recipe, you can turn off the oven, pop the brownies in the fridge, and come back to the kitchen at a later point to finish the cookie dough and cheesecake layers.
This Cheesecake Recipe
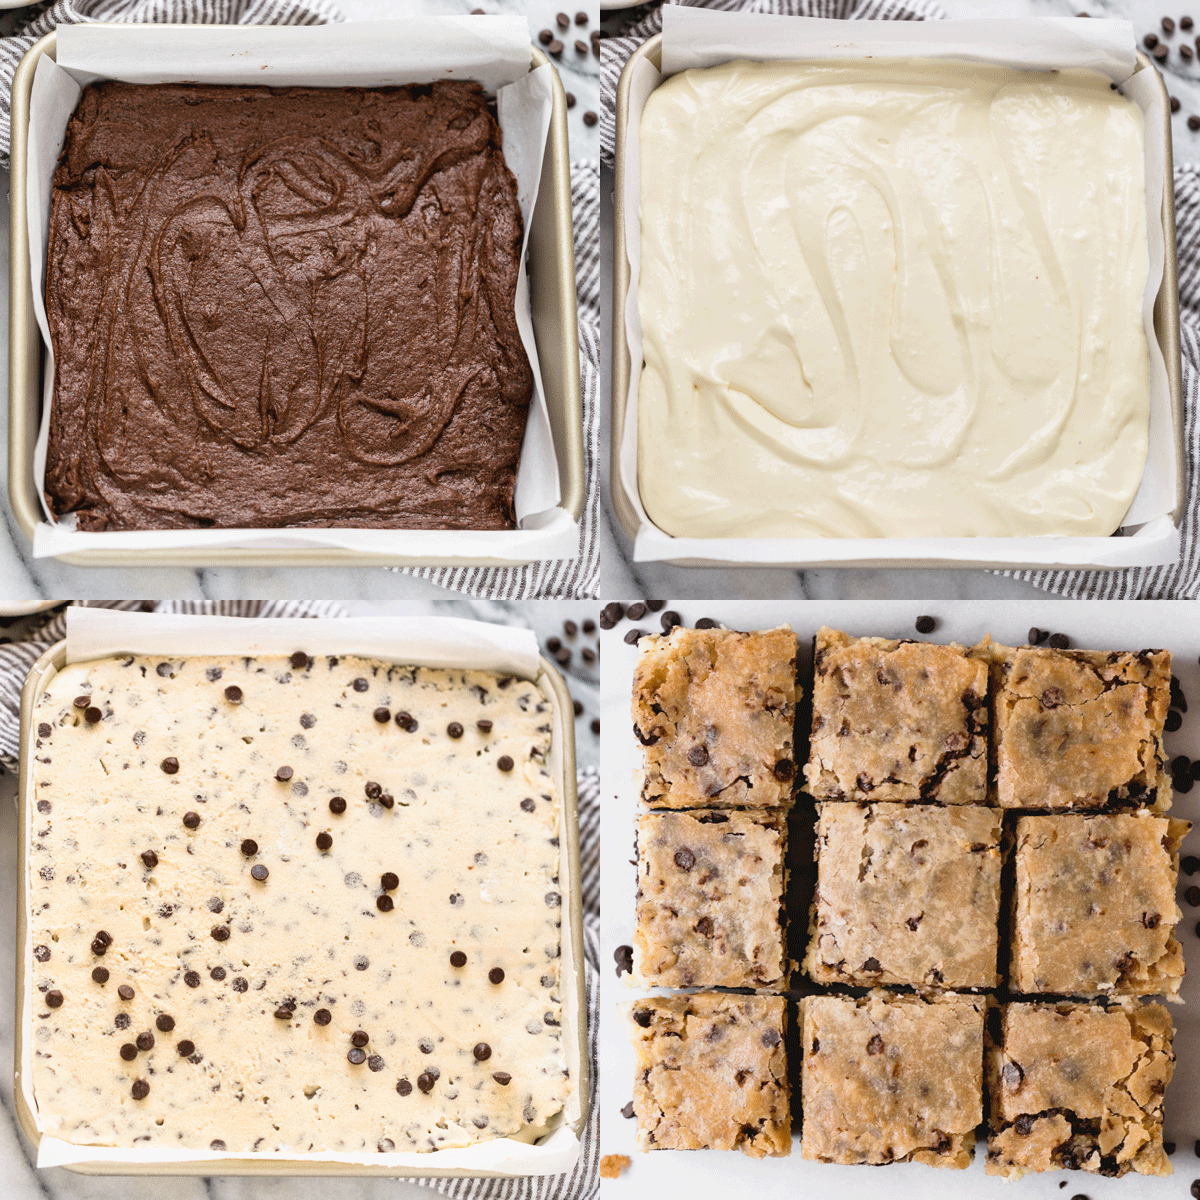
This recipe differs slightly from my Classic Cheesecake Bars. I made these adjustments for textural purposes, so the cheesecake doesn’t sink into the brownie, and the cookie dough doesn’t sink into the cheesecake! This way, you get beautifully distinct, perfectly-set layers.
What Pan Should I Bake Brownie Bottom Cookie Dough Cheesecake Bars in?
- For best results, use a light-colored metal 8-inch square baking pan.
- Darker metals can dry out the edges before the middle has a chance to bake through.
- Glass or ceramic pans will take much longer to bake, and can result in gummy middles.
- Learn more about Glass vs. Metal Baking Pans here.
How to Store Brownie Bottom Cookie Dough Cheesecake Bars
Whole pans or slices of Brownie Bottom Cookie Dough Cheesecake Bars can be stored in an airtight container in the fridge for up to 3 days.
We have not tried freezing these bars. If you need to make these ahead, I recommend making the brownie layer, allowing it to cool entirely, wrapping the whole pan well in plastic wrap and aluminum foil, and freezing for up to a month. When you’re ready to proceed, thaw the brownie layer in the fridge overnight, and allow to come to room temperature, before adding and baking the final layers.
Serving Brownie Bottom Cookie Dough Cheesecake Bars
- These Brownie Bottom Cookie Dough Cheesecake Bars are easiest to slice when they’re chilled.
- The cheesecake layer requires that these be stored in the fridge anyway.
- Remove the bars from the pan and slice them on a cutting board.
- Using a big sharp knife, run the blade under hot water and carefully wipe off in between cuts.
More Recipes You’ll Love:
- Nutella Cheesecake Bars
- Bakery Style Chocolate Chip Cookies
- Best Chewy Brownies
- Soft Chewy Sugar Cookies
- Chocolate Chip Cookie Cheesecake Bars
- Toffee Brownies
Brownie Bottom Cookie Dough Cheesecake Bars
Ingredients
For the brownies:
- 1 stick (113 grams) unsalted butter, melted
- 1 cup (200 grams) granulated sugar
- 1 cup (85 grams) unsweetened natural cocoa powder
- 1/4 teaspoon fine salt
- 1/2 teaspoon vanilla extract
- 2 large eggs, at room temperature
- 1/2 cup (62 grams) all-purpose flour
For the cookie dough:
- 4 tablespoons (57 grams) unsalted butter, at cool room temperature
- 1/3 cup (67 grams) packed light brown sugar
- 1/4 cup (50 grams) granulated sugar
- 1/4 teaspoon fine salt
- 1 teaspoon vanilla extract
- 2 tablespoons milk
- 3/4 cup (95 grams) all purpose flour
- 1/2 cup (80 grams) miniature semisweet chocolate chips
For the cheesecake filling:
- 2 (8 ounce, 227 gram) packages cream cheese, at room temperature
- 1/2 cup (100 grams) granulated sugar
- 2 large eggs, at room temperature
- 1 tablespoons all-purpose flour
- 1/4 teaspoon fine salt
Instructions
For the brownies:
- Preheat the oven to 325°F. Line an 8×8-inch metal baking pan with foil, leaving an overhang.
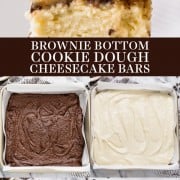
- In a large bowl, combine the butter, sugar, cocoa powder, and salt. Stir until well combined. Mixture will be thick. Allow to cool if the butter is still hot. Stir in the vanilla and then the eggs, one at a time, stirring very well after each addition. Stir until the batter is very well blended. Add the flour and stir to combine. Spread into prepared pan.
- Bake for 15 minutes, or until just starting to set but not fully cooked. Allow to cool to room temperature, then place in the fridge to chill until ready to use while you make the other layers. Maintain 325°F oven temperature if baking next layers immediately.
For the cookie dough:
- In a large bowl, use an electric mixer to beat the butter, brown sugar, granulated sugar, salt, vanilla, and milk until smooth, about 2 minutes. On low speed, gradually add the flour and beat until combined. Stir in the chocolate chips. Place the dough between two sheets of parchment and roll into an 8-inch square. Refrigerate while you prepare the cheesecake batter.
For the cheesecake:
- In a large bowl, use an electric mixer to beat the cream cheese and sugar until well combined and smooth. Beat in the eggs, flour, and salt just until incorporated. Pour the cheesecake batter over the cooled brownie layer. Place the cookie dough sheet over the cheesecake batter.
- Bake at 325°F for about 50 minutes, or until the cheesecake is set and the cookie dough is barely golden brown but dry. Cool to room temperature, then refrigerate for at least 2 hours. Cut into 12 bars before serving.
- For clean cuts, use a big sharp knife and run it under hot water and carefully wipe it off between slices. Bars can be stored in an airtight container in the fridge for up to 3 days.
Recipe Notes
This recipe was originally posted in 2013 and updated with weight measurements and more baking tips. Photos by Jess Larson.






These look wonderful! Comparing to your Cheesecake Bars, I like sour cream in my cheesecake. Would adding 1/4 sour cream make a huge difference in texture? Also, is there a reason you didn’t add a bit of vanilla in this recipe? These look really decadent!
Hi Janet! Feel free to add vanilla if you like – we just found that it was not particularly detectible in the cheesecake layer, because of all the other flavors going on in these bars! As for the sour cream, we haven’t tried that with this recipe. The texture needed to be a little different than typical cheesecake bars because of all the layers, so this was the best texture we found in testing. Feel free to experiment with adding some sour cream and let us know how it goes 🙂
so easy and so good
[ made this today, gluten-free. Beyond delicious.. The hardest part was waiting for it to cool!
I would like to know if this can be frozen. I have seen several people asked this but not been answered.
I’d like to make and freeze half.
Hi Vi! We can’t say if these bars can be frozen as we haven’t tried! The freezing and thawing process will likely make the cookie part softer, but cheesecake and brownie typically both freeze beautifully, so it’s possible this will work just fine. Feel free to give it a try and let us know how it goes 🙂
Made this in an 8.5 inch nonstick springform pan with no foil and it came out perfectly! Thanks for such a fun recipe!
So happy you enjoyed these fun bars, Valerie!!
Hello, I see that in this recipe in regards to the cheesecake layer, the ratio of cream cheese to eggs is 1:1 (1 cream cheese to 1 egg) In your original cheesecake bars recipe the ratio of cream cheese to eggs is 2:3 (2 cream cheese to 3 eggs). Is there any particular reason the ratio is different between the bar recipes? I would assume the texture would be different as well. Thank you for your help with this.
Hi Alexis! Very observant of you! 😀 Yes, Tessa adjusted the cream cheese-to-egg ratio in these bars for textural purposes, so the cheesecake doesn’t sink into the brownie, and the cookie dough doesn’t sink into the cheesecake! This way, you get the nice distinct layers, and each layer is perfectly set 🙂 If you’re not already, join the Waitlist to join the Handle the Heat Baking School! I think you’d love the community of passionate bakers in our Baking School! 🙂
Made this for employee birthday “cake”….I added Oreo cookies between the brownies and cheesecake! Yum yum yum! Huge hit at the office, all the boys loved it and have since requested it as their own birthday cake!
Sounds delicious! Just a layer of whole oreos or crumbled up pieces?
I’m planning on making this for a special Valentine’s Day dessert and I’m wondering if a Springform pan would work for this. ?
We haven’t tried that so I can’t say for sure! Let us know how it goes if you give it a try! 🙂
I forgot to to write how INCREDIBLE this was! WOWZA!! I’m making this again for Easter dessert….my daughter’s request….not that she had to twist my arm or anything.
I DID use my 9-inch springform pan, and it works PERFECTLY! I made the recipe as written and the baking times remained the same. LOVE LOVE LOVE! Not much guilt, because you’re pretty much guaranteed to only eat one piece of this deliciousness because everyone else will love it, too! THANK YOU!
That’s so great to hear! Thanks for letting us know 🙂