Tessa’s Recipe Rundown
Taste: Sweet yet tangy and rich!
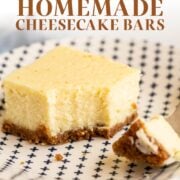
Texture: Each bite has the perfect contrast of the buttery crunchy crust with the luscious creamy filling.
Ease: Much easier than a full-sized cheesecake!
Pros: Quick, easy, and perfect for entertaining. These also travel easily, for a great potluck dessert.
Cons: Absolutely none.
Would I make this again? I make these all the time!
This post may contain affiliate links. Read our disclosure policy.
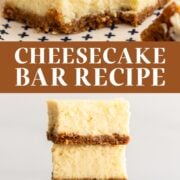
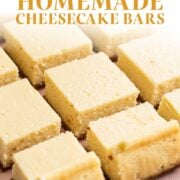
Meet your new favorite cheesecake bars recipe!
Thick and creamy cream cheese filling with the perfect amount of tang. Buttery, crunchy graham cracker crust. Toppings of your choosing.
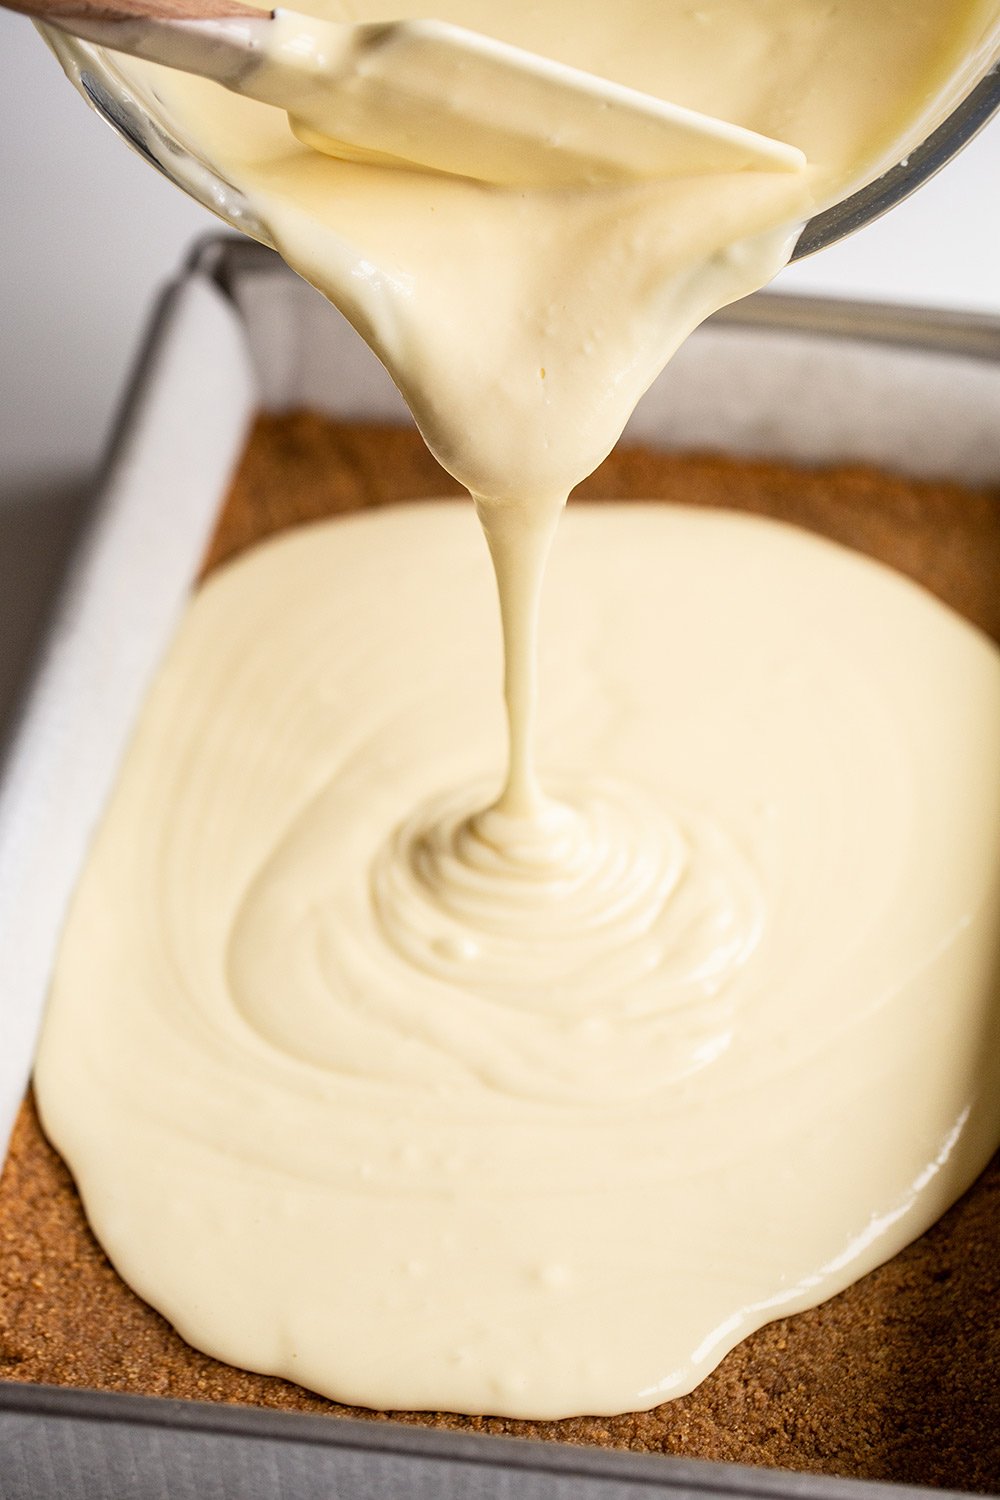
As much as I love a big, impressive full-sized cheesecake, they are a pain to bake! You’re fighting cracks and sinking if you don’t take the steps to set up a water bath. Plus, it takes some experience to know when a full-size cheesecake is actually done baking.
They take a while to bake and even longer to cool down and chill before you even get a bite of cheesecake.
Delayed gratification like that is sometimes just too much to bear. This is where cheesecake BARS come onto the scene!
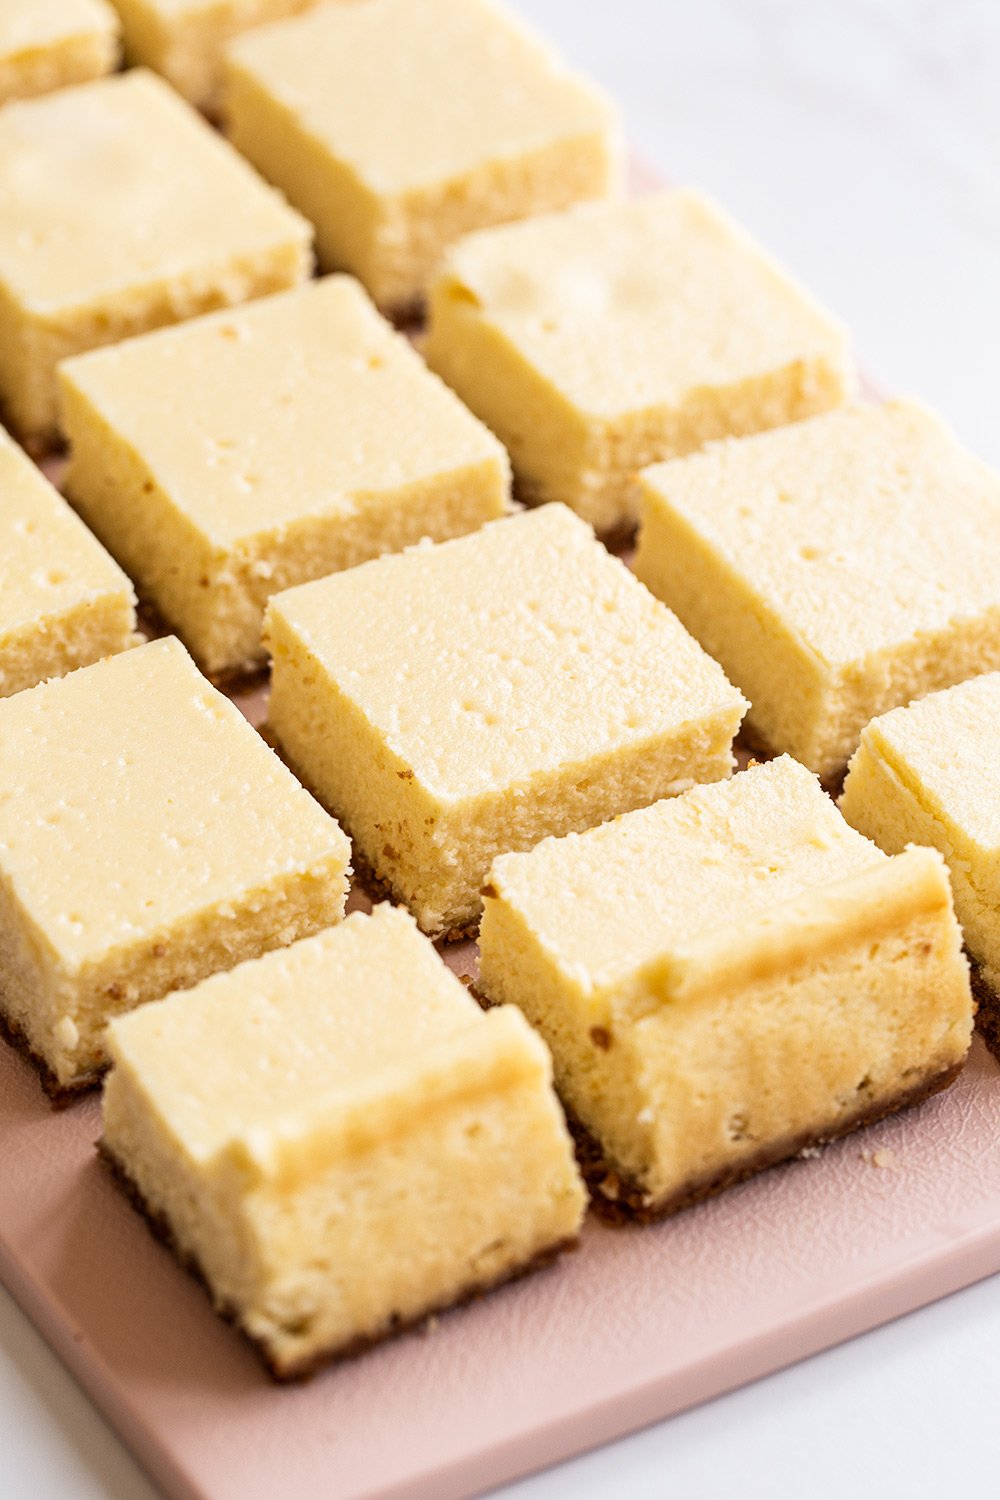
They’re faster and easier to prep, bake, and chill. They’re easier to slice and serve so they make the perfect treat for a potluck, party, or event. And because they’re so simple, you can get creative with fun topping ideas!
How to Make Classic Cheesecake Bars
How do I Make a Cheesecake Crust That Won’t Crumble?
- Use a food processor to finely grind your graham crackers for best results.
- Once combined, press the crust ingredients into the pan very firmly.
- I like to use the bottom of a measuring cup or glass, to ensure the crust is well-pressed into the pan.
What Can I Use Instead of Graham Crackers?
You can use the same amount by weight of digestive biscuits, vanilla wafers, Biscoff cookies, or any crunchy cookie you’d like! Please note that Biscoff cookies are a little richer than graham crackers (which are drier), so add just enough butter until it holds together when pressed.
What Kind of Cream Cheese Should I Use for Cheesecake Bars?
- Be sure to use blocks of full-fat, high-quality cream cheese.
- Do not use reduced fat or your cheesecake bars may be watery, rubbery, or otherwise lackluster.
- Definitely don’t use whipped cream cheese or cream cheese for spreading on a bagel.
- Opt for the best brand you can find as some generic brands have too much water content!
How to get Smooth and Creamy Cheesecake Bars
- Be sure your cream cheese is COMPLETELY softened to room temperature.
- Beat it very well with the sugar.
- Once you add eggs, only beat until combined to prevent sinking or cracking (though the risk of that happening is far smaller with bars!).
- Also, be sure to scrape down the sides and bottom of your bowl as well as your mixer attachment often to prevent lumps.
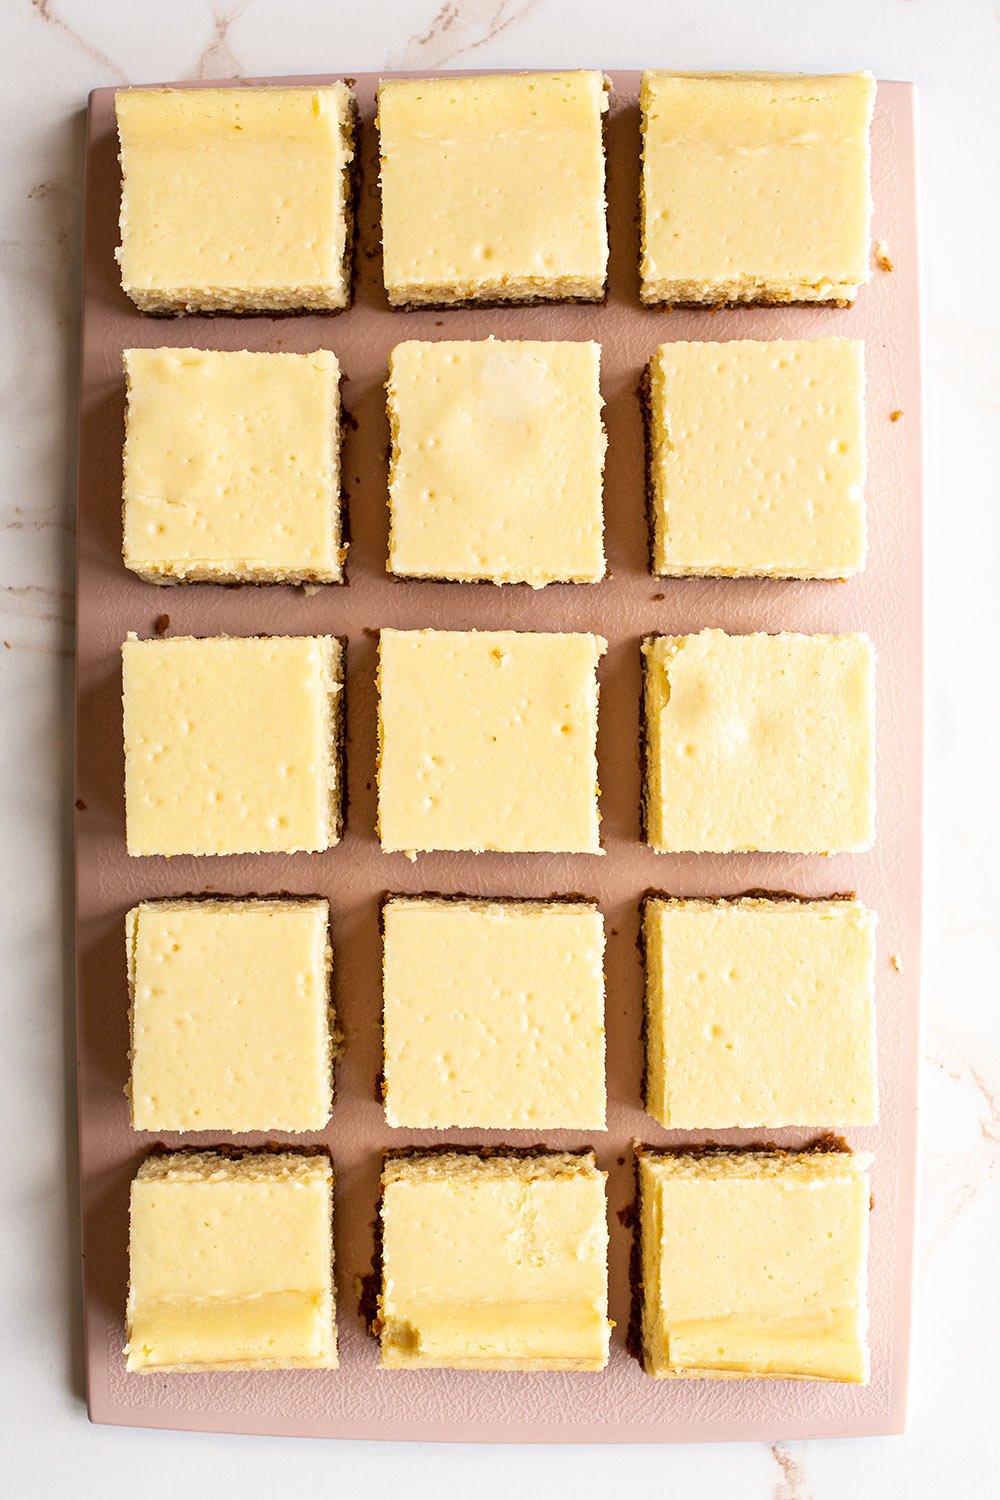
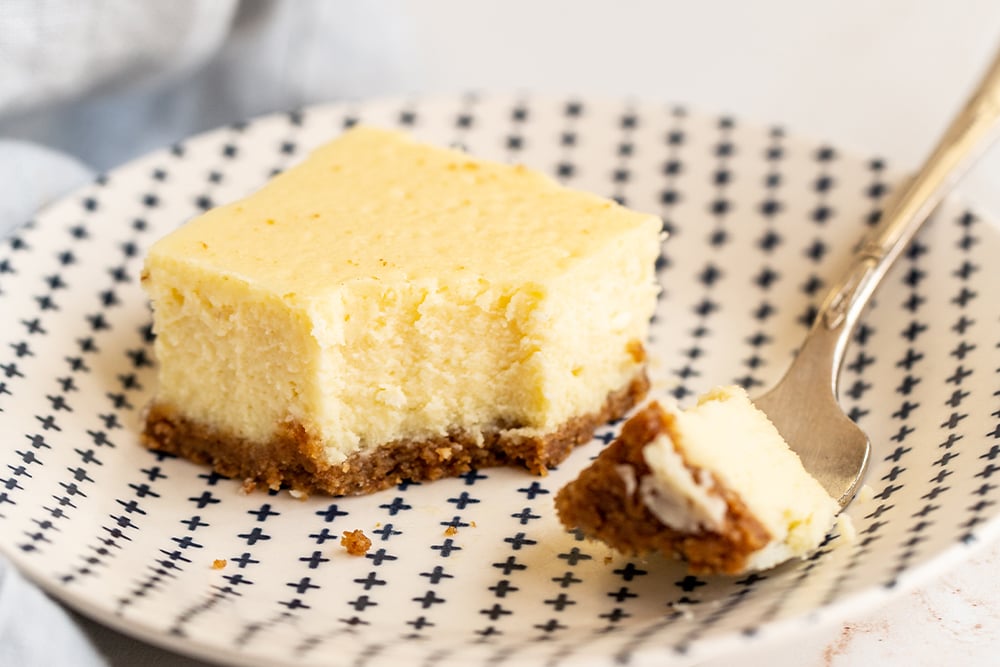
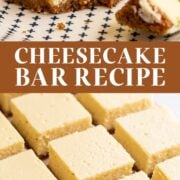
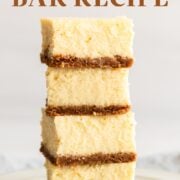
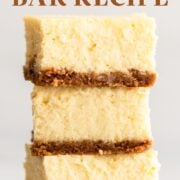
How to Cut Cheesecake Bars for Clean Slices
- Use the parchment overhang to lift the entire tray of cheesecake up and out of the pan and onto a cutting board.
- A big sharp knife is the best tool
- For ultraclean slices, run the knife under hot water and wipe off between cuts.
Cheesecake Bar Topping Ideas
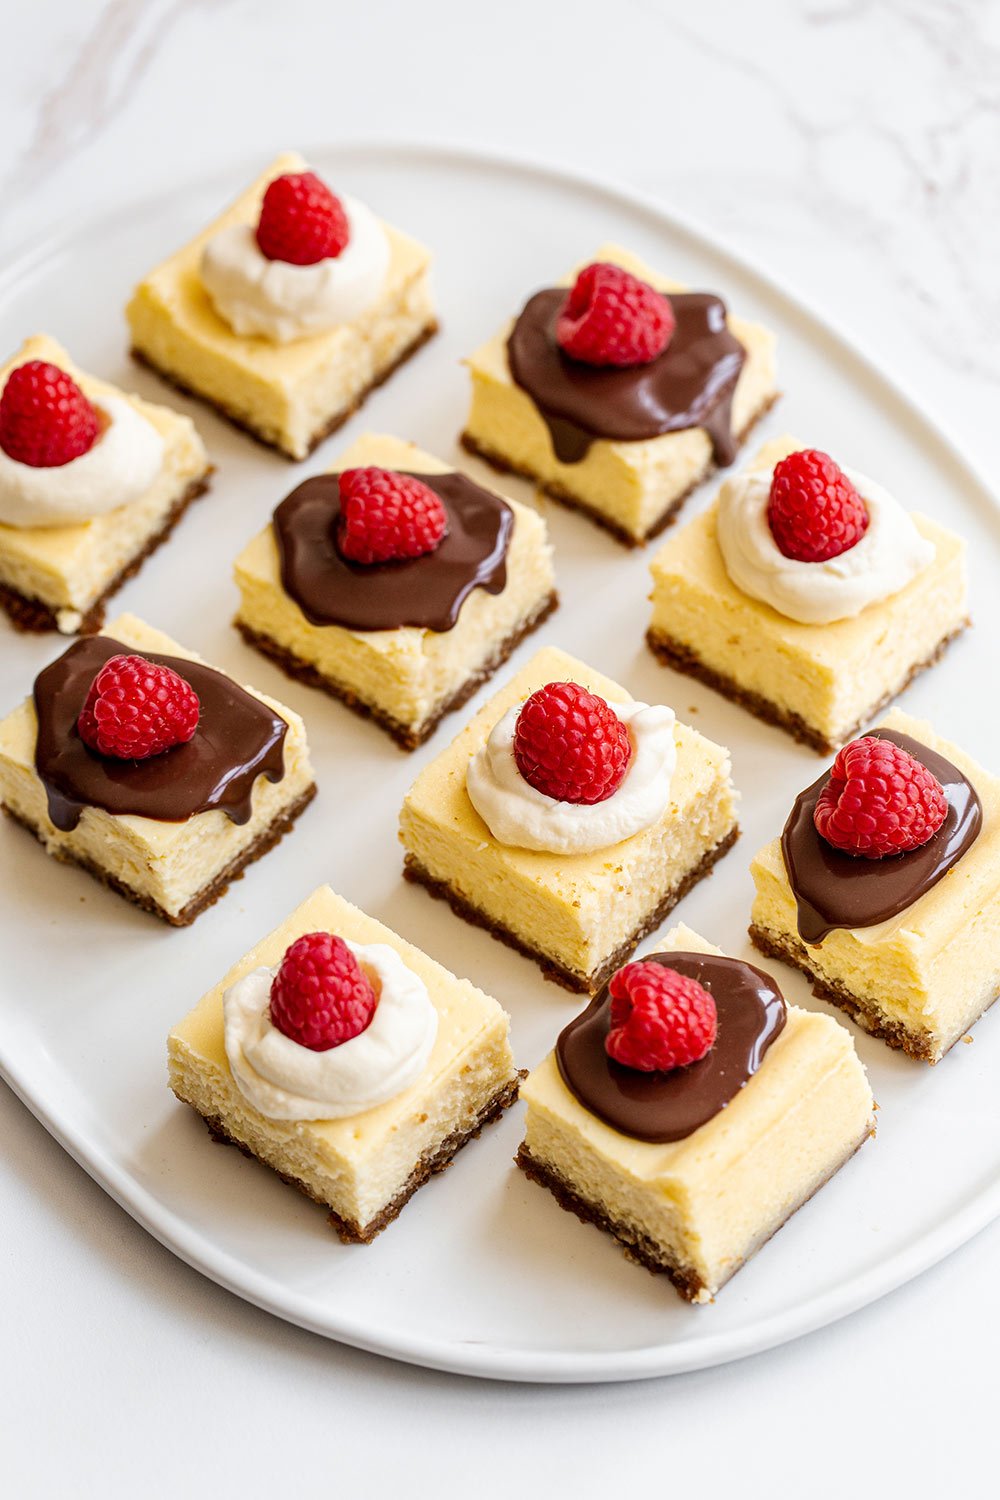
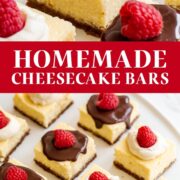
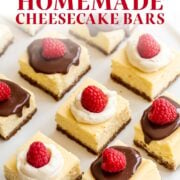
Get creative here! You can serve the bars plain, but they’re so much more fun with toppings!
- Chocolate ganache (use 1:1 ratio)
- Salted caramel
- Butterscotch sauce
- Prepared dulce de leche
- Fruit preserves
- Whipped cream
- Fresh fruit
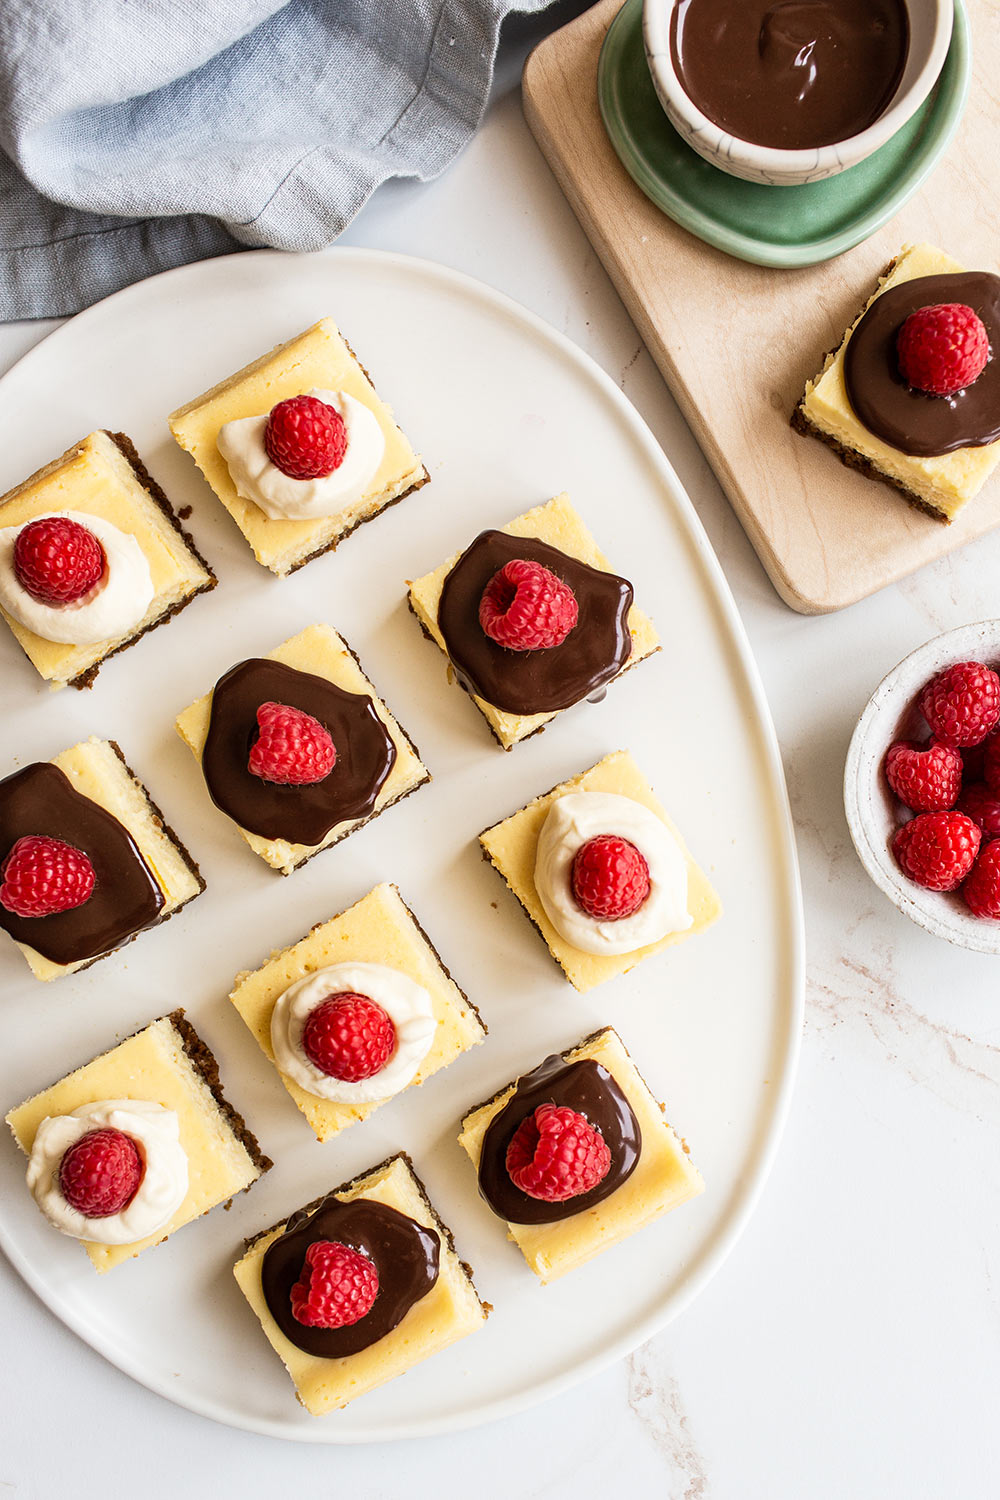
How to Store Cheesecake Bars
These bars can be made and refrigerated 2 days ahead of time or frozen in an airtight container for up to 2 months. Defrost overnight in the fridge or on the counter for a couple of hours before serving.
More Cheesecake Bar Recipes You’ll Love:
- Nutella Cheesecake Bars
- Creme Brulee Cheesecake Bars
- No-Bake Strawberry Cheesecake Bars
- Raspberry Lemonade Cheesecake Bars
- Chocolate Chip Cookie Cheesecake Bars
Photos by Ashley McLaughlin.
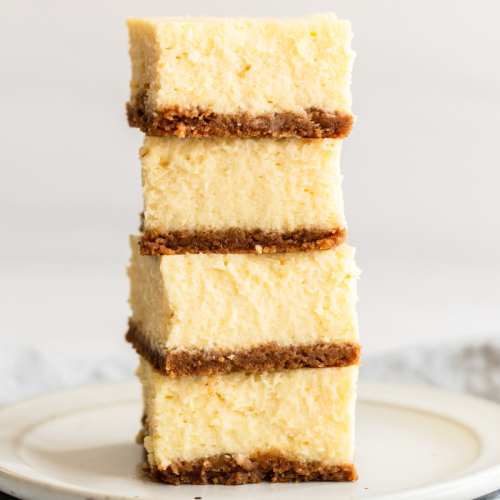
Cheesecake Bars
Ingredients
For the crust:
- 18 (270 grams) graham crackers
- 12 tablespoons (170 grams) unsalted butter, melted and slightly cooled
For the filling:
- 32 ounces cream cheese, completely softened to room temperature
- 2 cups (400 grams) granulated sugar
- 1/2 cup (114 grams) sour cream, at room temperature
- 6 large eggs, at room temperature
- 4 teaspoons vanilla extract
- 2 teaspoons fresh lemon juice
- 1/2 teaspoon fine sea salt
Topping options:
Chocolate ganache (use 1:1 ratio) Salted caramel sauce Butterscotch sauce - Fruit preserves
- Whipped cream
- Fresh fruit
Instructions
Make the crust:
- Preheat the oven to 350°F. Line a 9 by 13-inch baking pan with parchment, leaving an overhang.
- In a food processor, pulse the crackers until finely ground. Add the butter and pulse until moistened. Press the crumb mixture into the bottom of the prepared pan using the bottom of a measuring cup or glass. Bake until fragrant, about 10 minutes (longer if using a glass dish). Place on a cooling rack to cool completely. Reduce oven temperature to 325°F.
Make the filling:
- In a large bowl, use an electric mixer to beat the cream cheese and sugar until smooth and creamy, scraping down the sides of the bowl often, for at least 1 minute. Add the sour cream, then the eggs one at a time, blending after each addition until combined. Scrape down the sides of the bowl. Add in vanilla, lemon juice, and salt, and blend until just combined. Don’t over-mix.
- Spread batter evenly over cooled crust. Tap against the counter a few times to release air bubbles. Bake at 325°F until just set in center and edges are puffed and slightly cracked, about 40 to 45 minutes (longer if using a glass dish). Transfer to rack to let cool completely.
- Cover with foil and refrigerate for at least 6 hours or overnight before slicing into squares.
- The cheesecake can be made and refrigerated 2 days ahead of time or frozen in an airtight container for up to 2 months.






This looks like a really good recipe! What would be your suggestion on how long to bake if I were making individual cheesecakes baked in a cupcake pan! Please and thank you!
Hi Laura! We haven’t tried making this recipe as individual mini cheesecakes. Feel free to experiment and let us know how it goes 🙂
Could these be made with an oreo crust?
We haven’t tried that, but I don’t see why not! Let us know what you think if you give it a try 🙂