Tessa’s Recipe Rundown
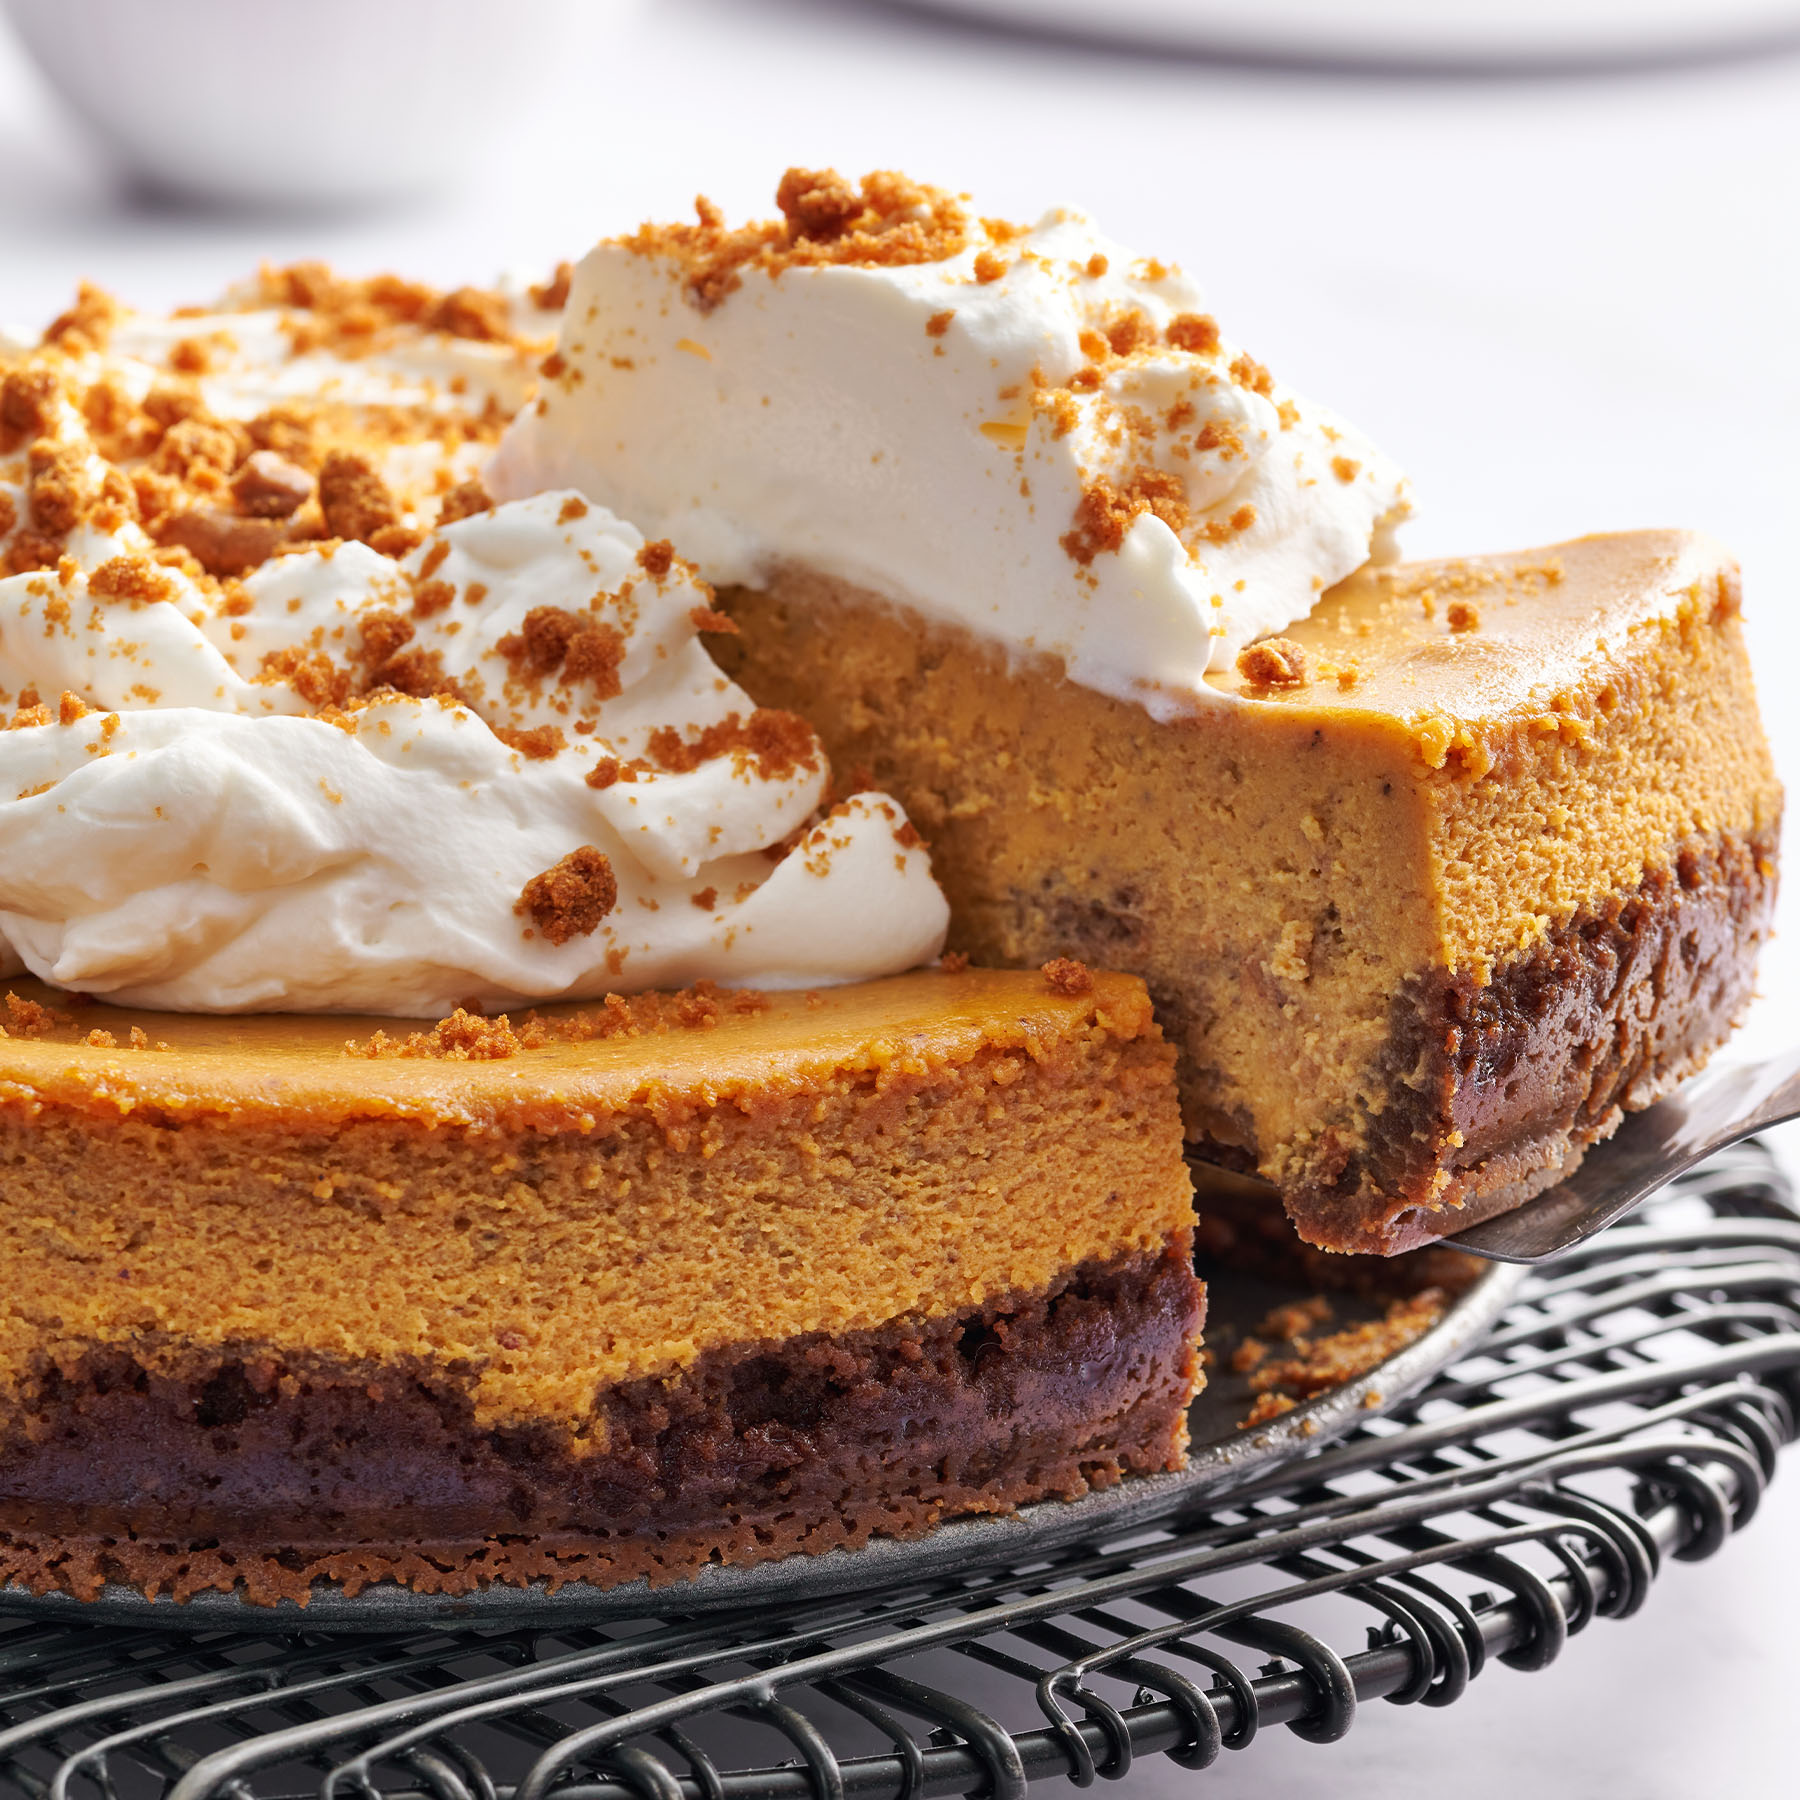
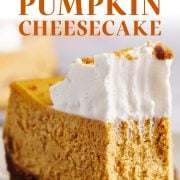
Taste: The pumpkin cheesecake filling is ultra creamy and rich, slightly tangy, and loaded with warm fall spices. Balances out perfectly with the Biscoff cookie crust and homemade whipped topping.
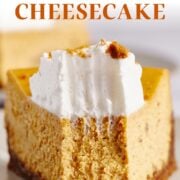
Texture: The crunchy Biscoff cookie crust paired with the smooth, creamy filling and fluffy whipped topping is absolute texture heaven.
Ease: Don’t be intimidated at all, this recipe is easier than you might think. No water bath required!
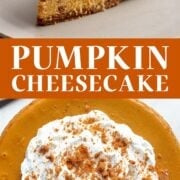
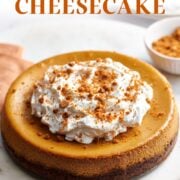
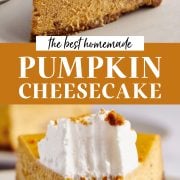
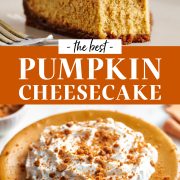
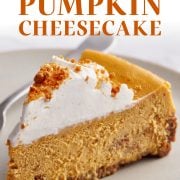
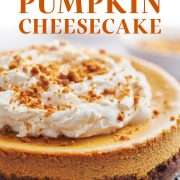
Appearance: Add some extra crushed Biscoff cookies on top of the whipped topping for an extra impressive-looking cheesecake.
Pros: About a million times more delicious than most pumpkin pies!
Cons: It won’t last long on your Thanksgiving dessert table!
This post may contain affiliate links. Read our disclosure policy.
If you’re the type of person who’s not fully convinced that pumpkin pie should be on your Thanksgiving dessert table, this Pumpkin Cheesecake recipe is for you.
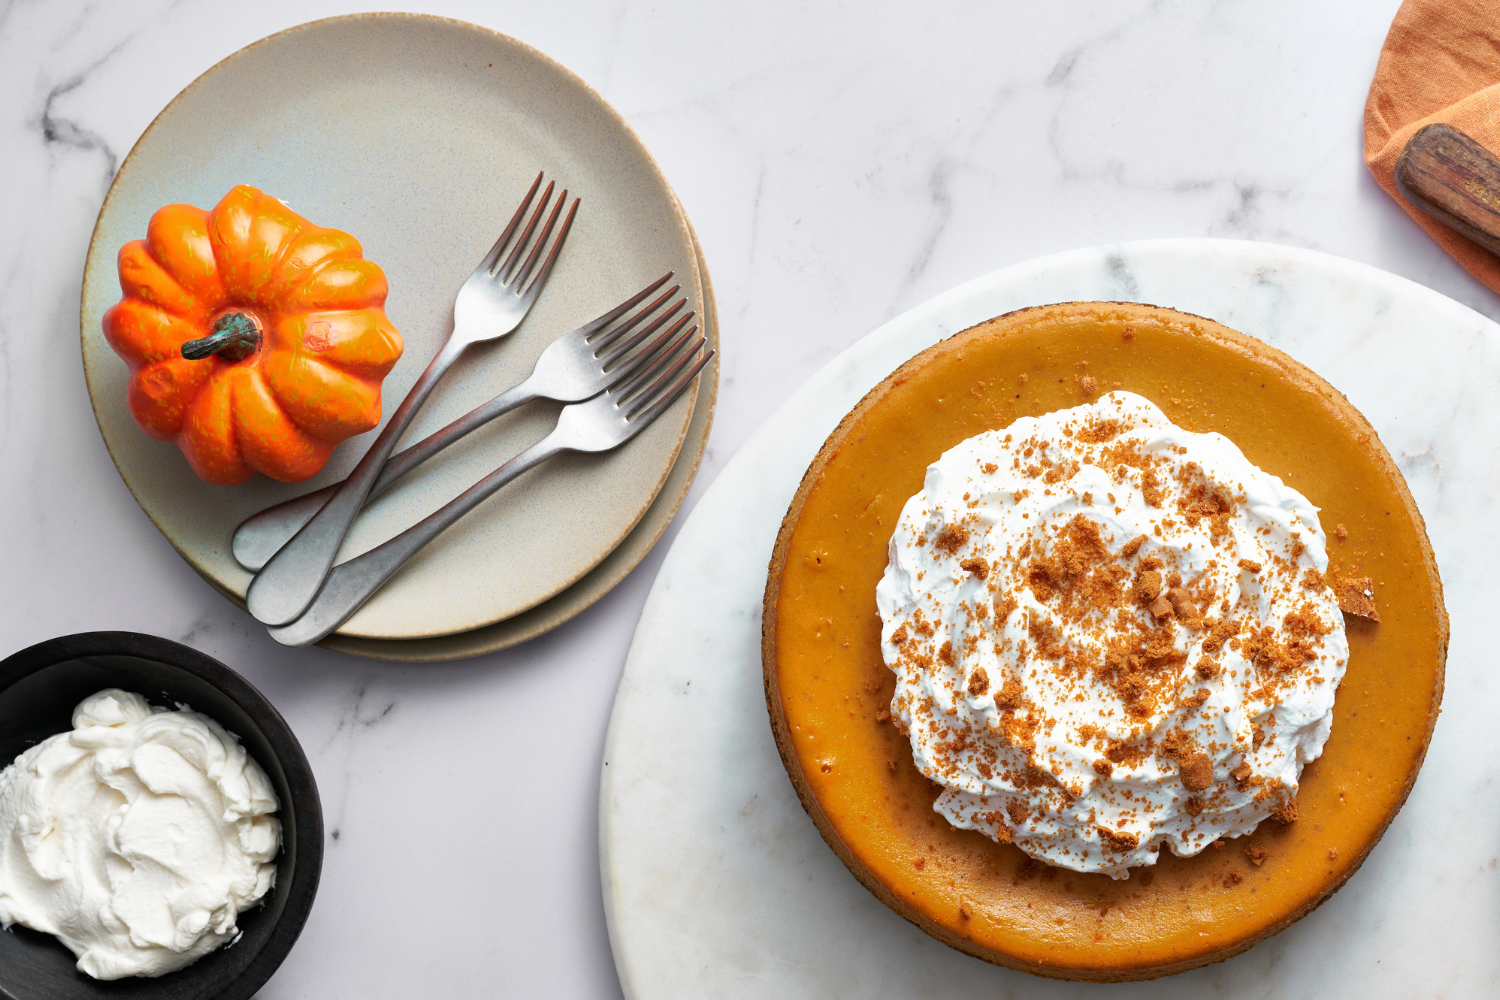
Pumpkin cheesecake > pumpkin pie EVERY time. The best part about this recipe? You don’t even need a water bath, and you can make it in advance!
It’s so rich, creamy, and luscious. Plus, no dealing with the challenges of making pie dough.
This Pumpkin Cheesecake recipe features an ultra-flavorful and perfectly buttery yet crispy Biscoff cookie crust that’s out of this world.
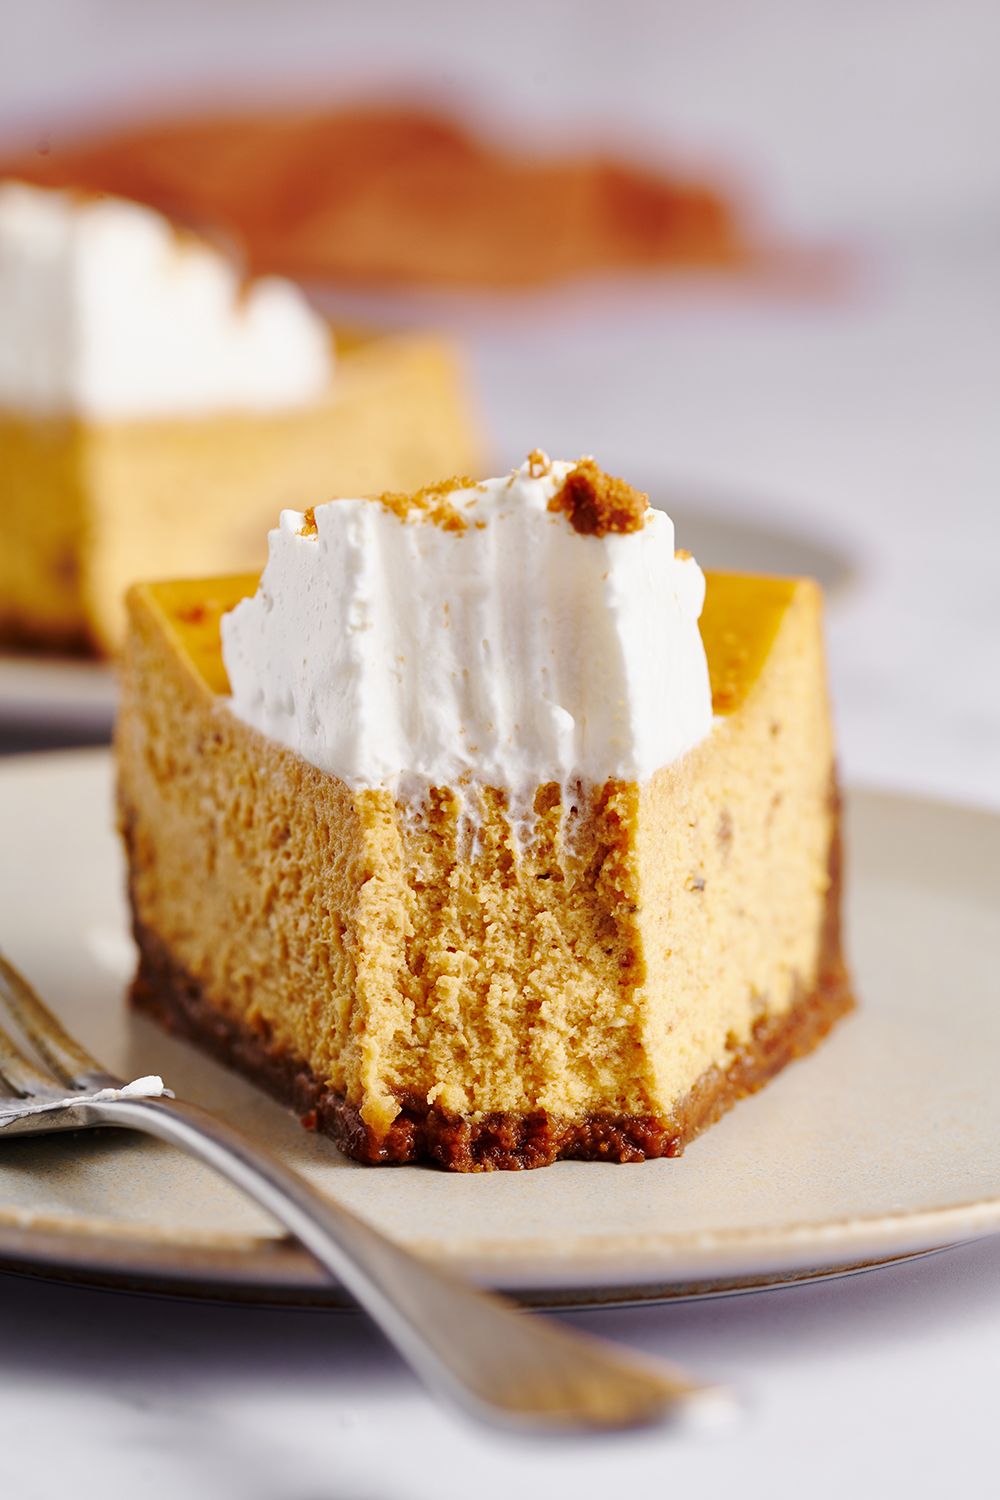
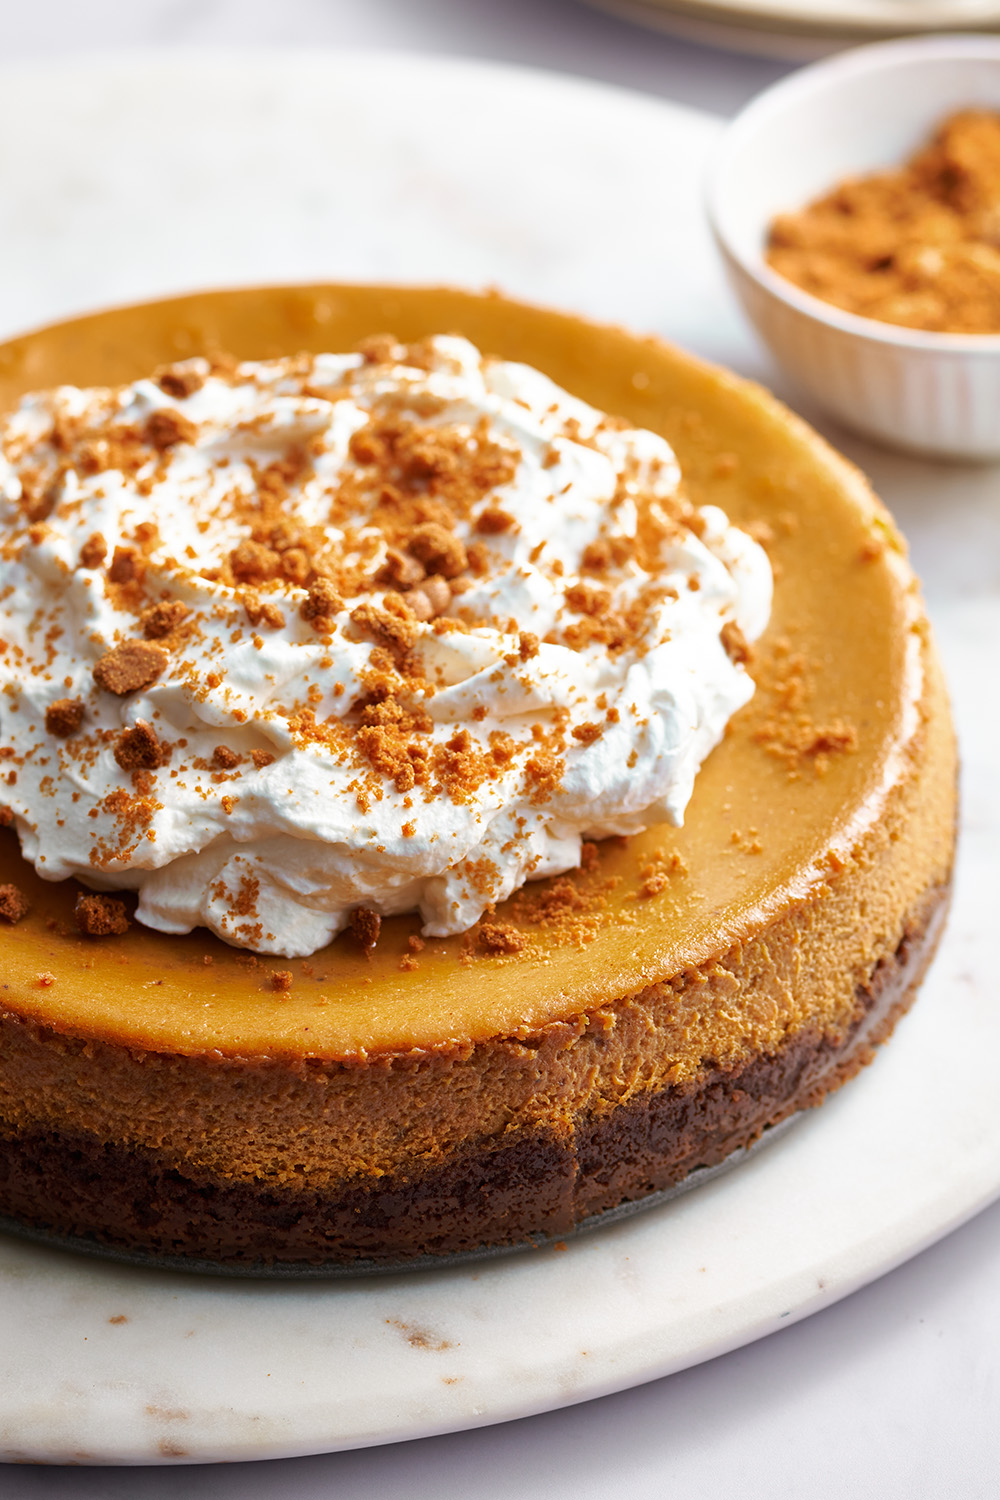
Top with whipped cream and you’re good to go!
How to Make Pumpkin Cheesecake
What Type of Cream Cheese for Pumpkin Cheesecake?
- Use full-fat bricks of cream cheese.
- Do not use the spreadable type of cream cheese in tubs meant for spreading on bagels.
- Be sure to buy a high-quality brand. Some generic grocery store brands are watery and rubbery.
- I like Philadelphia cream cheese.
- The MOST IMPORTANT thing is to ensure your cream cheese is completely and totally softened to room temperature.
- If it’s too cold, you’ll end up with a lumpy cheesecake batter.
What Type of Pumpkin Should I Use for Pumpkin Cheesecake?
- I used store-bought canned pumpkin puree for this Pumpkin Cheesecake recipe.
- Homemade pumpkin puree may work in this recipe, but I don’t necessarily recommend it because it can add excess liquid.
- Note: Be sure NOT to use canned pumpkin pie filling for this recipe – it is not the same thing as pumpkin puree.
- Check out my Fresh vs. Canned Pumpkin article for the differences between using fresh pumpkin puree, regular canned pumpkin, and organic canned pumpkin, and learn how to make your own pumpkin puree!
Alternatives to Biscoff Cookie for the Cheesecake Crust
Although the Biscoff (also called Speculoos) cookie crust is out-of-this-world delicious, if you can’t find or don’t prefer Biscoff cookies, I have included both the volume measurement and the weight measurement for the cookies, so you can swap at a 1:1 ratio for any other crushed crispy cracker, cookie, or biscuit you like. A few suggestions:
- Vanilla wafers
- Digestive biscuits
- Graham crackers
- Amaretti cookies
- Gingersnaps
What’s the Best Pan for Pumpkin Pie Cheesecake?
- This recipe requires a 10-cup, 9-inch diameter springform pan like this one.
- Not all springform pans are made equally.
- You want one that’s both heavy-duty and sturdy.
- Avoid putting your pan in the dishwasher as hand washing will extend the life of a springform pan.
- Just because your pan is 9-inches in diameter doesn’t necessarily mean it has a 10-cup batter volume capacity.
- Every brand may vary slightly, so be careful not to overfill your pan if yours has a smaller capacity!
How to Get SMOOTH Pumpkin Cheesecake Filling
- Make sure your cream cheese is completely softened to room temperature.
- Fully beat the softened cream cheese, and then the cream cheese and sugar, until totally smooth. This may take several minutes.
- Be sure to scrape down all the nooks and crannies of your mixer bowl and paddle attachment when mixing the filling at each step.
Do I Have to Use a Water Bath? No, This Recipe Bakes Low and Slow!
Though I typically recommend baking a cheesecake with a water bath, I’ve found an alternative that still produces the best texture in cheesecake, though you may still end up with a crack in your cheesecake depending on your oven. Luckily, since this one is getting covered in a generous cloud of whipped cream, it won’t matter too much.
The cheesecake on the left is my Ultimate Classic Cheesecake, baked with a water bath. On the right is this Pumpkin Cheesecake baked without a water bath with the Low & Slow method, where we bake at 275°F for nearly two hours then cool in the oven with the heat off and the door cracked:
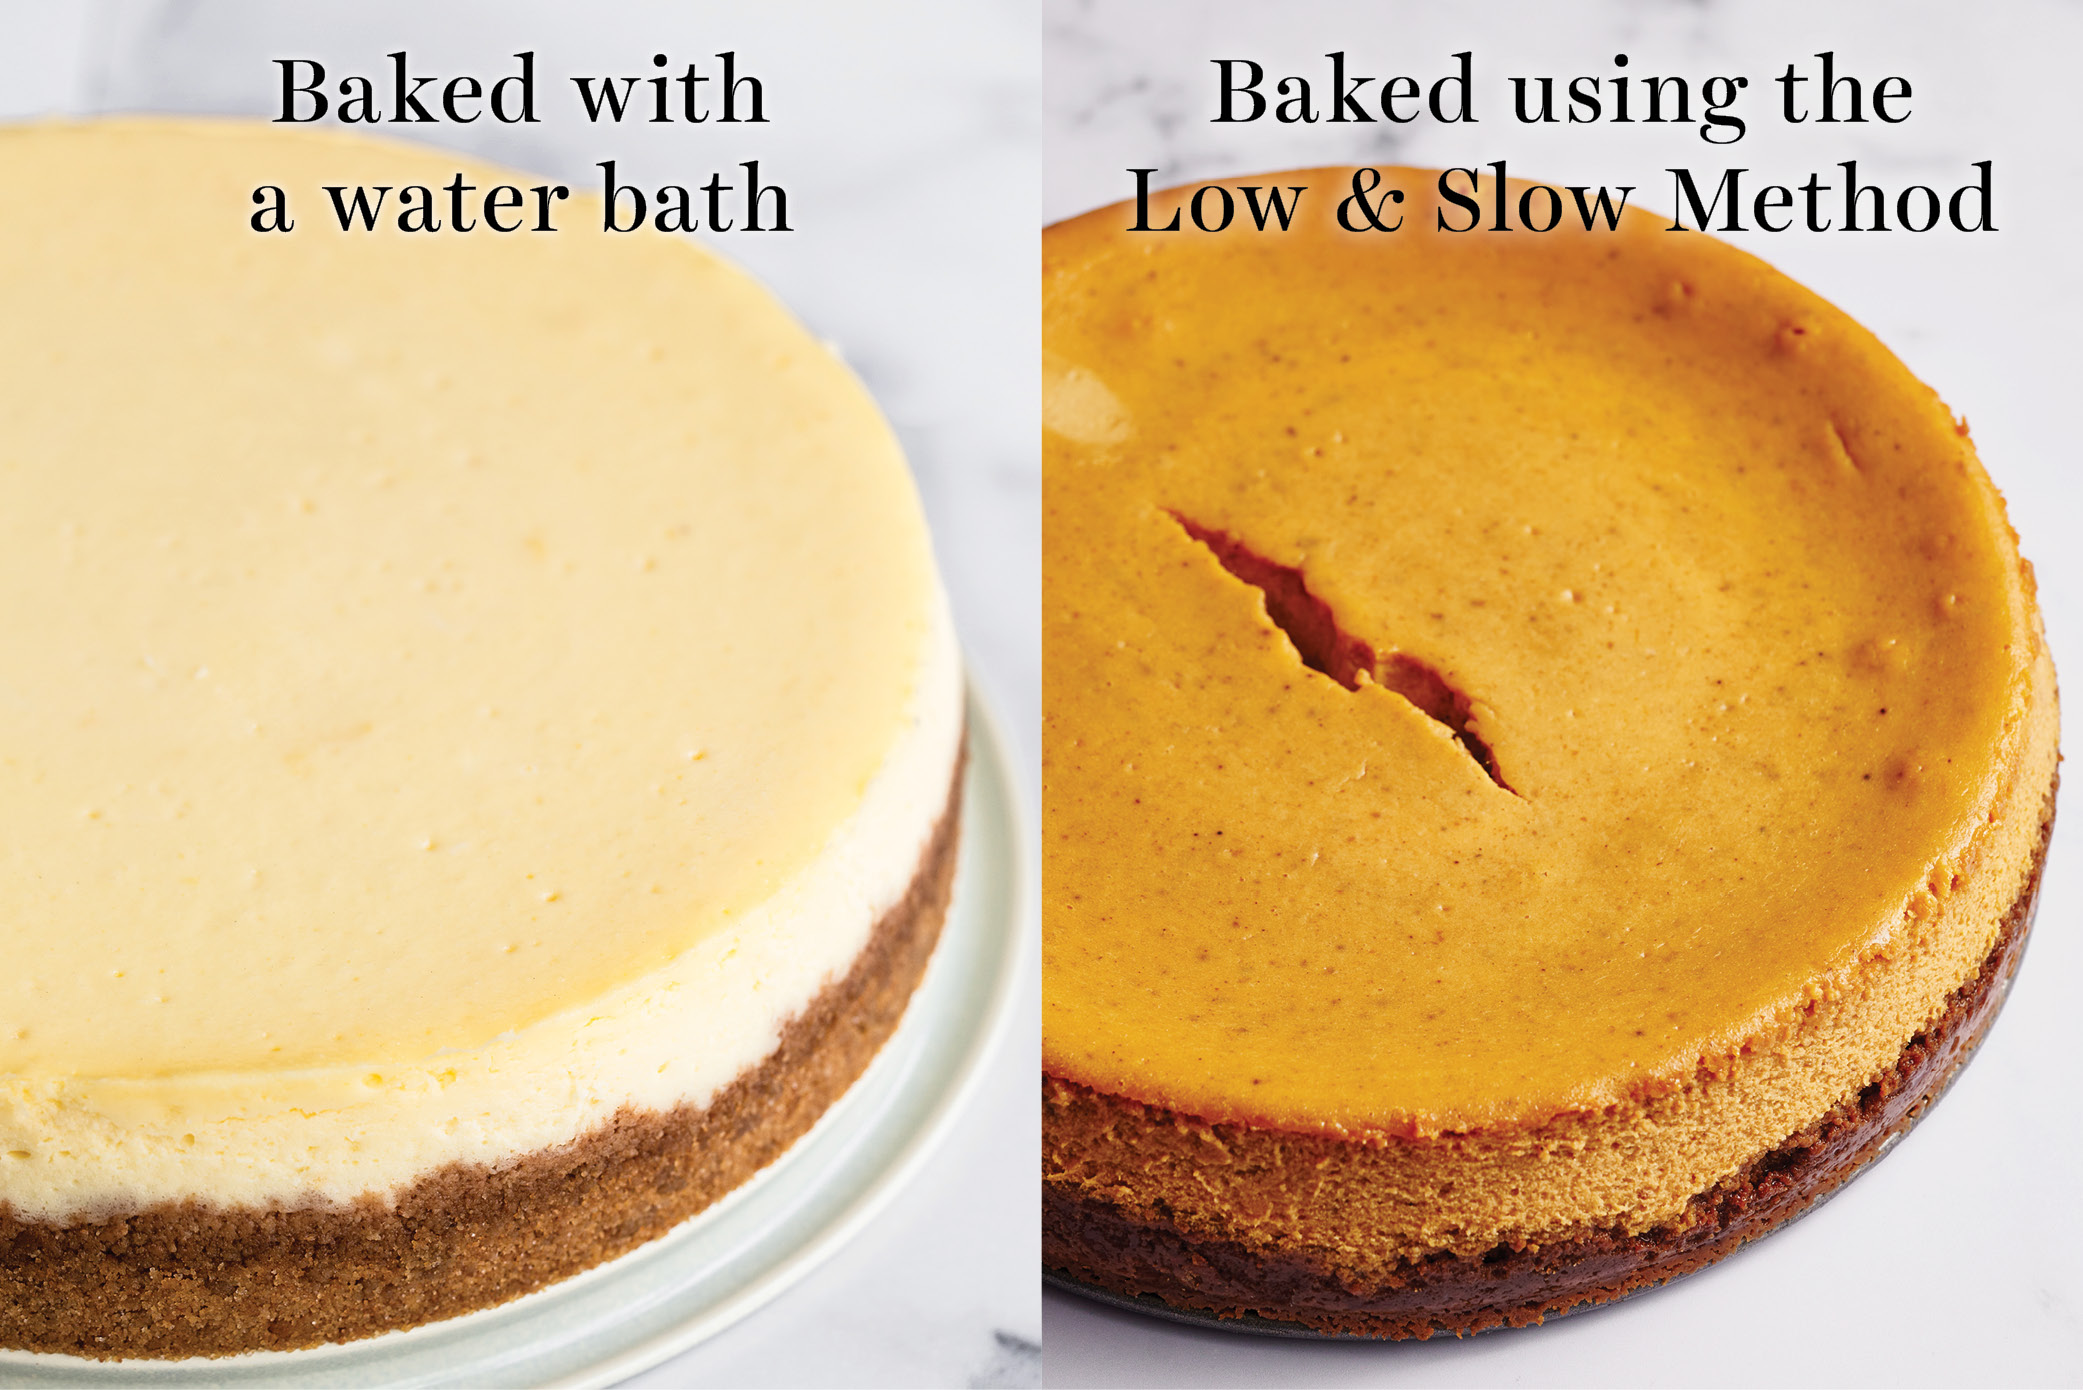
Every time I posted my original Cheesecake Water Bath vs. No Water Bath photo on Instagram it would always go viral. And I’d always get comments from people espousing the benefits of the Low & Slow method.
However, when I first tried that method years ago in a previous home with an old oven, I found that it just wouldn’t maintain the low temperature accurately and consistently. I decided to give it another try. What I found was that while I still got a crack with my current oven (it’s less than 5 years old), it was a small one.
Then, when we baked this exact same cheesecake recipe at my photographer’s house in her older oven, it developed the larger crack photographed below:
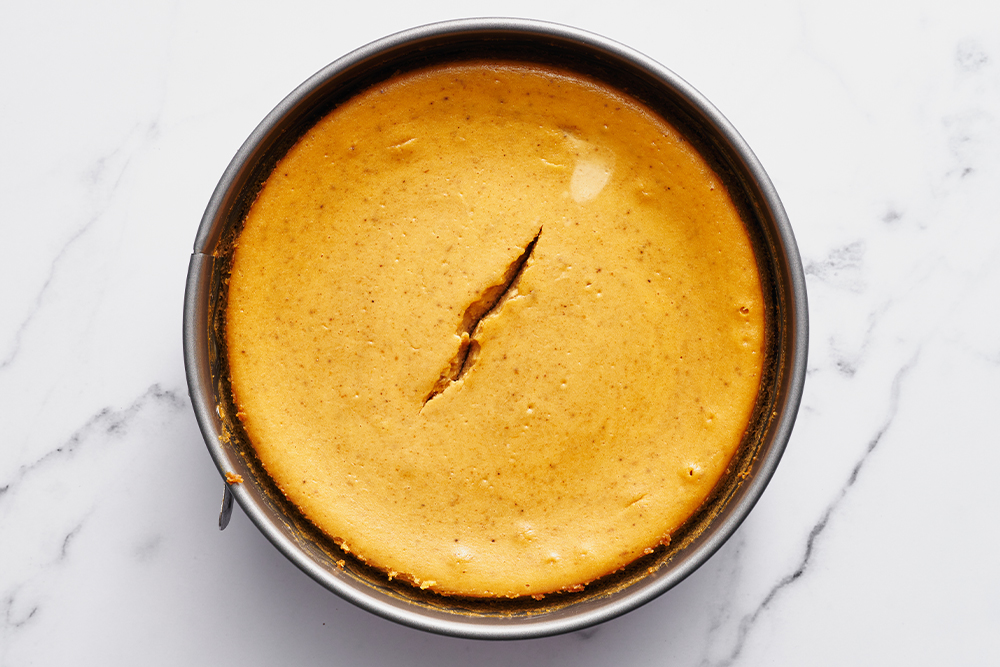
This is why I’ll likely still use the water bath method when I want to ensure no cracks, especially for cheesecakes that I won’t cover with whipped cream, ganache, or something that disguises a crack. OR, when I want that ultra-rich custard-y texture that only a cheesecake baked in a water bath provides.
But for this recipe, with the chaos of the Thanksgiving season, I decided Low & Slow would be the easiest method for this Pumpkin Cheesecake.
How to Tell When Cheesecake is Done Baking
- Let me say this as clearly as possible… don’t overbake your cheesecake!!
- The residual heat of the oven will continue to cook the cheesecake even after the heat has been turned off.
- That means you want your cheesecake to look dry at the edges but slightly wobbly or jiggly like Jello in the center when the baking time has ended.
- The internal temperature should be 140°F-150°F. Use a digital instant-read thermometer to verify this.
How to Serve Pumpkin Cheesecake
- Cheesecake will ONLY finish setting up after it has cooled completely, then been chilled in the fridge for at least 6 hours, but preferably overnight.
- Only then should you remove the Pumpkin Pie Cheesecake from the springform pan and slice it.
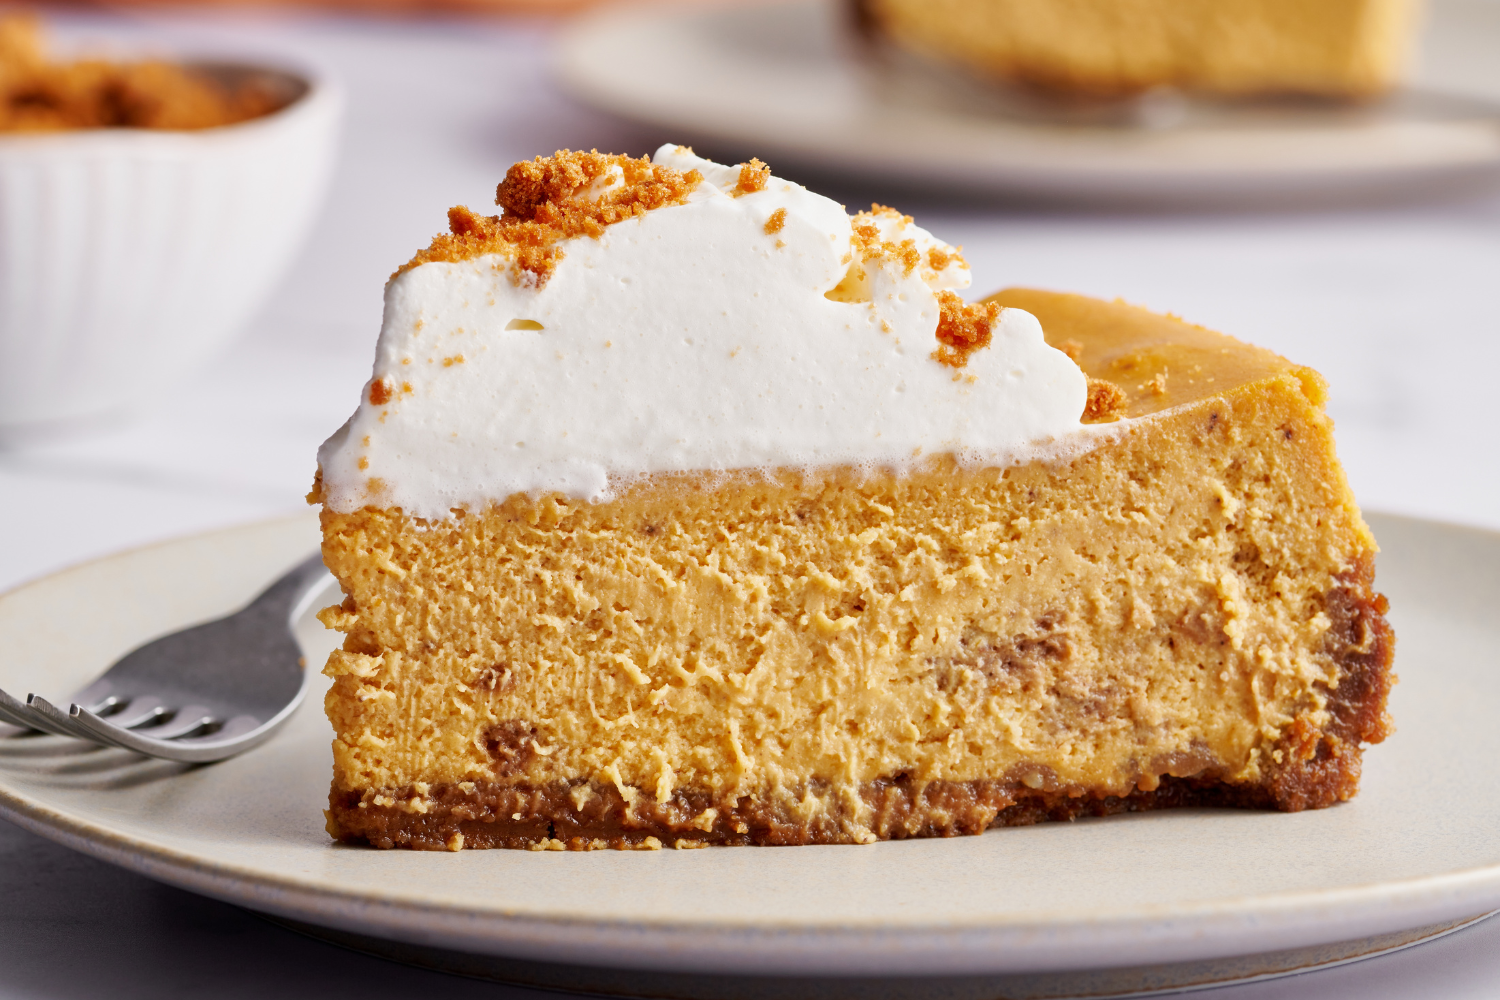
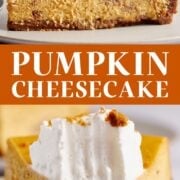
- You can also sprinkle some additional Biscoff cookies on top for an extra impressive-looking Pumpkin Cheesecake.
How to Store Cheesecake
- Store your Pumpkin Cheesecake in the fridge for up to 3 days.
- Avoid putting your whipped cream topping on until ready to serve.
- Beyond 3 days, the crust will become mushy. Read just below for freezing instructions.
How to Freeze Pumpkin Cheesecake
- Cheesecake freezes wonderfully!
- Place whole Pumpkin Cheesecake or individual slices on a baking sheet inside the freezer until firm.
- Wrap the cheesecake or each individual slice in plastic wrap and place in a freezer bag.
- Freeze for up to 2 months.
- To serve, defrost a whole cheesecake in the fridge overnight. You can also defrost individual slices in the fridge overnight, or at room temperature for about 30 minutes.
More Cheesecake Recipes You’ll Love:
- Ultimate Classic Cheesecake
- Ultimate Peanut Butter Cheesecake
- Pumpkin Chocolate Cheesecake Bars
- Cheesecake Bars
- Oreo Cheesecake
More Thanksgiving Dessert Ideas:
- Easy Peanut Butter Pie
- French Silk Pie
- Browned Butter Maple Pecan Pie
- Easy Pumpkin Pie
- No Bake Pumpkin Mousse Pie

Become a Baking Genius!
Sign up for our free email newsletter for NEW recipes & baking science secrets.
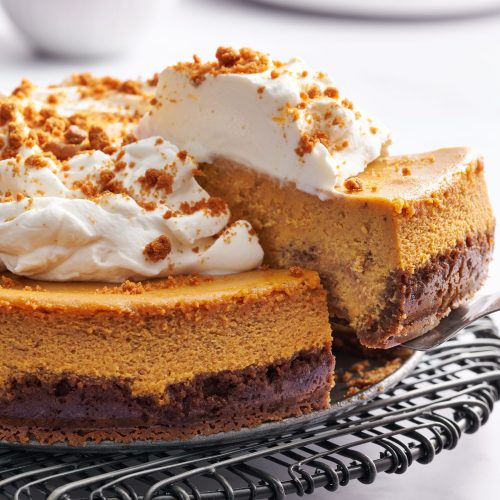
Pumpkin Cheesecake
Ingredients
For the crust:
- 1 (8.8 ounce or 250 gram) package Biscoff / Speculoos cookies
- 7 tablespoons unsalted butter, melted
For the filling:
- 24 ounces (680 grams) cream cheese, completely softened to room temperature
- 3/4 cup (150 grams) granulated sugar
- 3/4 cup (150 grams) light brown sugar
- 15 ounces (425 grams) pureed pumpkin
- 1/4 cup (57 grams) sour cream or plain full-fat yogurt, at room temperature
- 3 large eggs plus 1 egg yolk, at room temperature
- 1 teaspoon ground cinnamon
- 1/2 teaspoon fresh ground nutmeg
- 1/4 teaspoon ground cloves
- 1/4 teaspoon ground ginger
- 2 tablespoons all-purpose flour
- 1 teaspoon vanilla extract
For the topping:
- 1 cup heavy cream, chilled
- 1/4 cup (25 grams) powdered sugar
- 1 teaspoon vanilla extract
Instructions
- Preheat the oven to 350°F.
Make the crust:
- Place the cookies in the bowl of a food processor. Pulse until finely ground. Add the butter and pulse until moistened.
- Press into the bottom and halfway up the sides of a 9-inch springform pan. Use a shot glass or tamper to assist with this. Place pan on a rimmed baking tray to catch any butter. Bake for 10 minutes. Place on a wire rack to cool. Reduce oven temperature to 275°F.
Make the cheesecake filling:
- In the bowl of an electric mixer, beat the cream cheese on medium-high speed until completely smooth and free of clumps, scraping down the bowl and attachment as needed. Add the brown sugar and granulated sugar and beat until well combined. Scrape down the bowl, then add in the pumpkin puree and sour cream and beat until smooth. Add the eggs and yolk, one at a time, then the cinnamon, nutmeg, cloves, ginger, flour, and vanilla, and beat until just combined, being careful not to overmix.
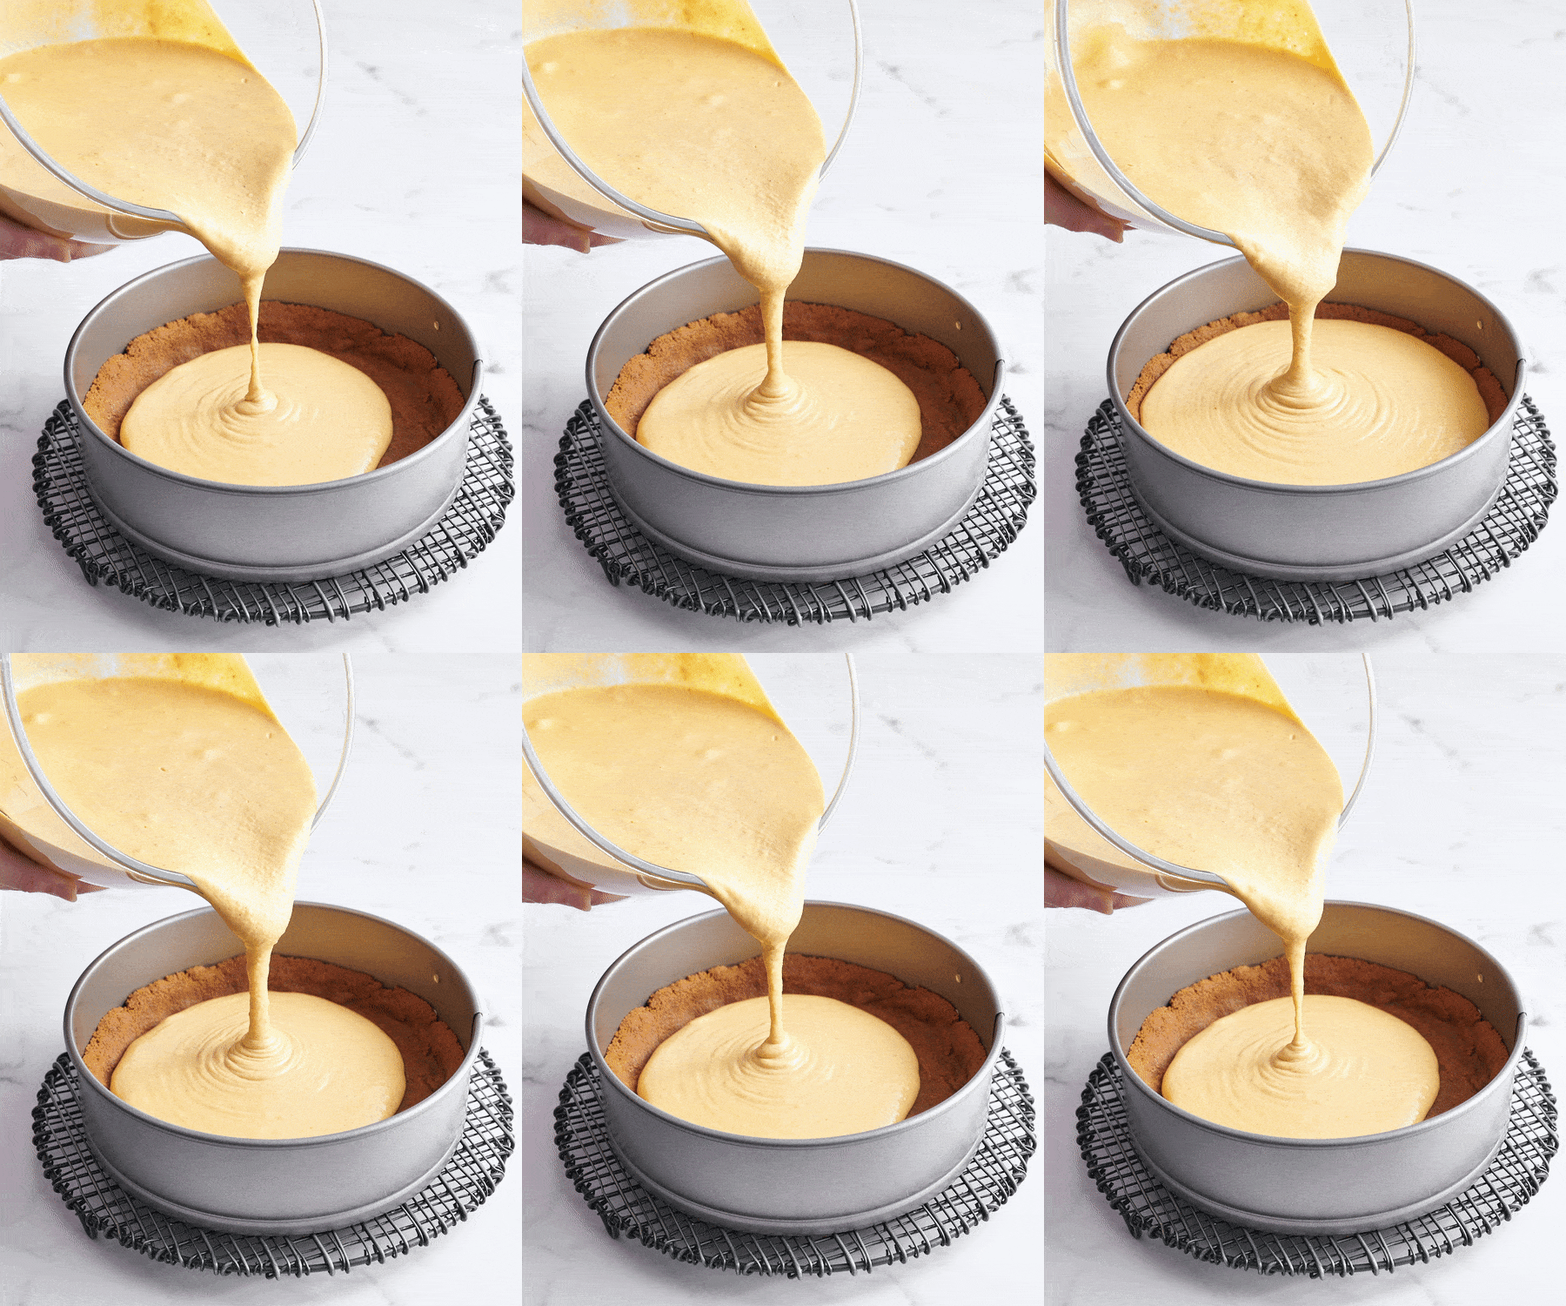
- Pour over baked crust and spread evenly. Tap the pan against the counter a few times to release any bubbles. Tap a spatula against the top of the batter to pop those bubbles. Place pan on a rimmed baking sheet.
- Bake for 1 hour and 45 minutes, or until set and dry at the edges but slightly jiggly and wobbly like Jello in the center with an internal temperature of 140°F-150°F. Turn off the oven, crack open the oven door, and allow to cool inside the oven for 30 minutes before removing to a cooling rack to cool completely to room temperature.
- Refrigerate in springform pan for at least 6 hours, preferably overnight but up to 3 days, to allow the texture to firm and the pumpkin spice flavor to develop. Store the cheesecake uncovered to avoid creating condensation, which will create a mushy texture.
Make the topping:
- Whip the heavy cream, powdered sugar, and vanilla extract with an electric mixer for a few minutes until medium peaks form.
- Release the cheesecake from the pan onto a cake stand or serving plate and top with whipped cream. Slice using a big sharp knife, running it under running hot water and wiping it off carefully in between cuts. Serve.
This post was originally published in 2009 and updated with recipe improvements, more baking tips, and new photos. Photos by Joanie Simon | The Bite Shot






We absolutely love this cheesecake and it’s always the first request for family gatherings and always a big hit.
I want to try a water bath with it and wonder what you would recommend if anything over your normal water bath instructions
So happy to hear you love this recipe, George! We love this recipe because it uses the low-and-slow method of baking, but if you prefer to use a water bath, feel free to follow the instructions as written in our How to Make a Water Bath article. There shouldn’t be any other changes required. Let us know how it goes!
I was worried while I was making it that I wasn’t doing it correctly but it is so crazy delicious! My grown daughter, who doesn’t like anything pumpkin, took some home with her after Thanksgiving dinner.
This recipe got the ultimate designation at our house called “OMG Excellent!” There are only a few recipes that have received that designation.
Thank you for sharing it!
So happy to hear this was such a hit, Dee! 🙂
This cheesecake is so delicious! It was enjoyed by everyone. I did change a few things to make it gluten free. For the crust I used the same amount (by weight) of gf graham crackers (about 14 full sheets) and added 3 Tbsp sugar, 1/2 tsp. cinnamon, and 1/2 tsp. ground ginger. I also used 1Tbsp gf cornstarch in place of the flour.
I want to make this and was wondering if a chocolate cookie crust would taste good with this recipe. otherwise I’ll stick with your crust!
Hi Sue! Tessa’s Pumpkin Chocolate Cheesecake Bars use a chocolate cookie base, so I don’t see why that wouldn’t be delicious here! Let us know how it goes 🙂