Tessa’s Recipe Rundown
Taste: Ultra fresh with the perfect balance of sweetness and tartness.
Texture: The crust is crunchy and buttery, while the cheesecake filling is super creamy, luscious, and rich.
Ease: Ridiculously easy. The hardest part is waiting for them to chill and set before eating!
Pros: Perfect spring or summer dessert. Fast, easy to transport, and requires no oven use.
Cons: I’ve noticed if you don’t use high quality bricks of cream cheese, you end up with extra moisture which makes it harder for these cheesecakes to set firmly.
Would I make this again? Absolutely!
This post may contain affiliate links. Read our disclosure policy.
When it’s 110°F or hotter here in Phoenix, the last thing I want to do is turn on the oven.
Sometimes I make that sacrifice in order to continue testing new recipes to share with you. It’s a small price to pay to wake up to my dream job every day!
That’s why I love thinking up new no bake recipes once the temperatures start to soar.
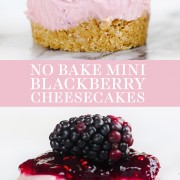
I knew I wanted to create a no bake recipe incorporating berries of some kind, and I’m absolutely pleased with how delicious and beautiful these No Bake Mini Blackberry Cheesecakes turned out to be.
I’m a weirdo and would much rather eat berries raw and fresh than bake with them, so this recipe worked out perfectly to preserve the sweet and tart freshness of the blackberries.
To keep things really simple, I use blackberry jam in the cheesecake itself, then make a simple puree of fresh (or you could use defrosted frozen) blackberries to dollop on top. I find that adding fresh fruit to a no bake cheesecake “batter” makes it way too watery to set properly.
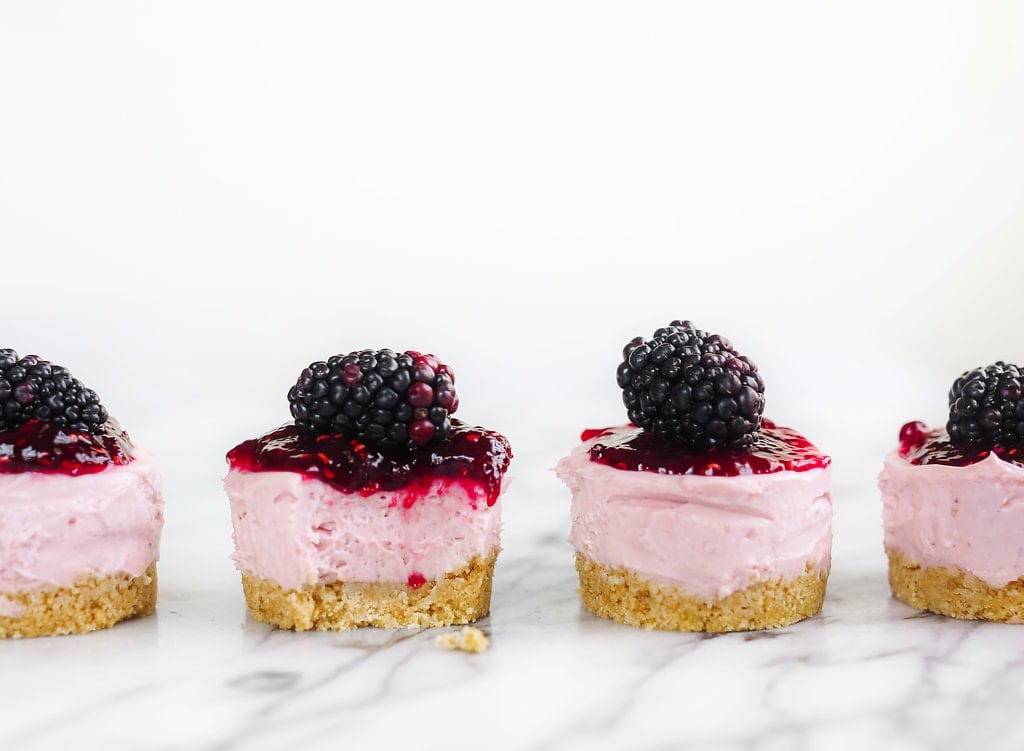
I particularly love mini cheesecakes because they’re so much quicker and simpler to make and transport than full sized cheesecakes. Plus it gives the illusion of moderation, that is until you realize you’ve actually eaten 4 mini cheesecakes…
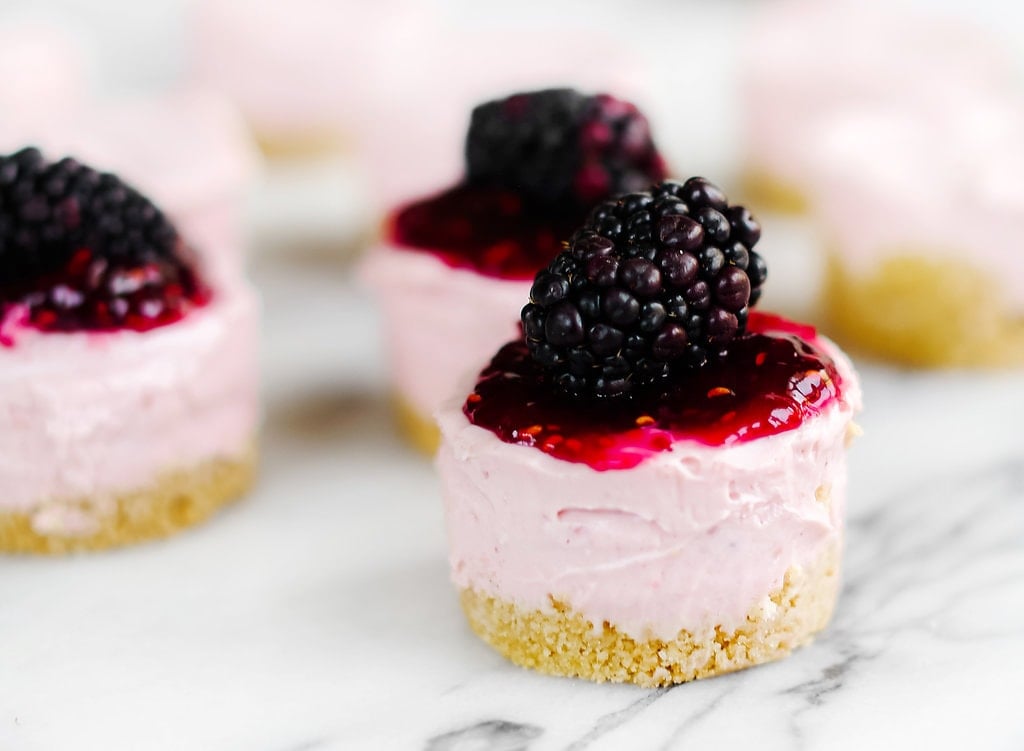
For perfectly adorable mini cheesecakes, get yourself a mini cheesecake pan. I use mine all of the time. The bottoms are removeable just like a springform or tart pan so you can pop out each cheesecake and keep it perfectly in tact.
If you don’t have a mini cheesecake pan, you could use a muffin tin. Just be sure to line it with paper or foil liners, otherwise the graham cracker crust might crumble and the cheesecake might stick when you go to remove them. Or, another super cute idea, is to use mini mason jars to assemble and serve this recipe in. You might end up with less than 12 cheesecakes but they’d be perfect for a dinner party or BBQ.
These No Bake Mini Blackberry Cheesecakes are bound to be crowd pleasers, so if you make it be sure to snap a picture and share it on Instagram, tagging #handletheheat, before every last one vanishes.

Also, if you’re feeling cheesecake inspired, I’ve got a full guide on how to make perfect traditional cheesecakes. No cracks, no lumps, nothing but perfection:
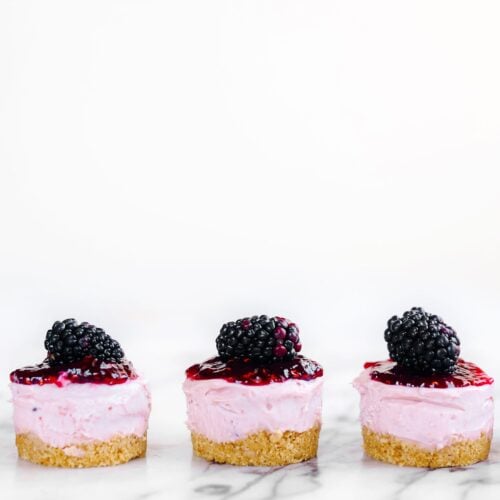
No Bake Mini Blackberry Cheesecakes
Ingredients
For the crust:
- 1 sleeve (9 crackers, 140 grams) graham crackers
- 4 tablespoons (57 grams) unsalted butter, melted
For the cheesecake:
- 12 ounces (340 grams) cream cheese, at room temperature*
- 1/2 cup (100 grams) granulated sugar
- 3/4 cup (180 grams) heavy cream
- 1 teaspoon lemon juice
- 1/4 cup (80 grams) blackberry preserves
For topping:
- 1 cup (145 grams) blackberries
- 1 tablespoon granulated sugar
- 2 teaspoons lemon juice
- Blackberries, for garnish
Instructions
For the crust:
- Thoroughly grease a mini cheesecake pan. Place the graham crackers in the bowl of a food processor and pulse until finely ground. Add in the melted butter and pulse until moistened. Divide the mixture among the cavities of the cheesecake pan, about 1 heaping tablespoon in each. Firmly press into the bottom of each cavity (a shot glass or other small object makes easy work of this). Set aside.
For the cheesecake:
- In the bowl of an electric mixer, beat the cream cheese and sugar on medium-high speed until creamy and well combined. Add in the cream, lemon juice, and preserves and continue beating for 2 to 3 minutes, until well combined and thickened, with a texture similar to frosting. Divide the mixture among each cavity and cover with plastic wrap.
- Chill until firm, at least 4 hours or overnight. The cheesecake can be stored in the fridge in an airtight container for up to 2 days.
For the topping:
- Combine the berries, sugar, and lemon juice in the bowl of a blender or food processor and pulse until pureed. Top each cheesecake with a dollop of the sauce. Garnish with a more fresh blackberries. Serve.
Photos by Constance Higley.







How do you get the mini cheesecakes out of the pan without cracking or crushing them. I have pampered chef 24 slot pan which I use for the baked kind. Is that the type of pan you mean?
Hi Cheryl! This is the pan Tessa recommends for the best, more perfect-looking mini cheesecakes. I think the type of pan you’re describing is a mini muffin/cupcake pan, which is significantly smaller cavities, and doesn’t have the little removeable bottoms like the pan linked above. If you wish to use a regular or mini muffin/cupcake pan, you will need to line with paper or foil liners to most easily remove the cheesecakes – if otherwise, you can cut small strips of parchment paper to criss-cross underneath each mini cheesecake and up the sides (long enough to grab), so you’ll be able to more easily lift each mini cheesecake out – but it will still take some tinkering to perfect this. I would also, in this scenario, recommend using a thin spatula to run around the edge of each cheesecake, to loosen it a little, before attempting to lift out. I hope something here helps, Cheryl! let us know how it goes 🙂
If you made them a day or 2 early – could you freeze (without the fresh berries on top)? Trying to reduce the recipes on the day of a party
Hi Karen! We haven’t specifically tried that with this recipe, but I don’t see why that wouldn’t work! As you say, just leave off the fresh berry topping and put that on just before serving. I would recommend freezing inside an airtight container, for no longer than a month, and then thawing for several hours or overnight in fridge before serving. Let us know how it goes! 🙂