Tessa’s Recipe Rundown
Taste: Tons of sweet, complex butterscotch flavor.
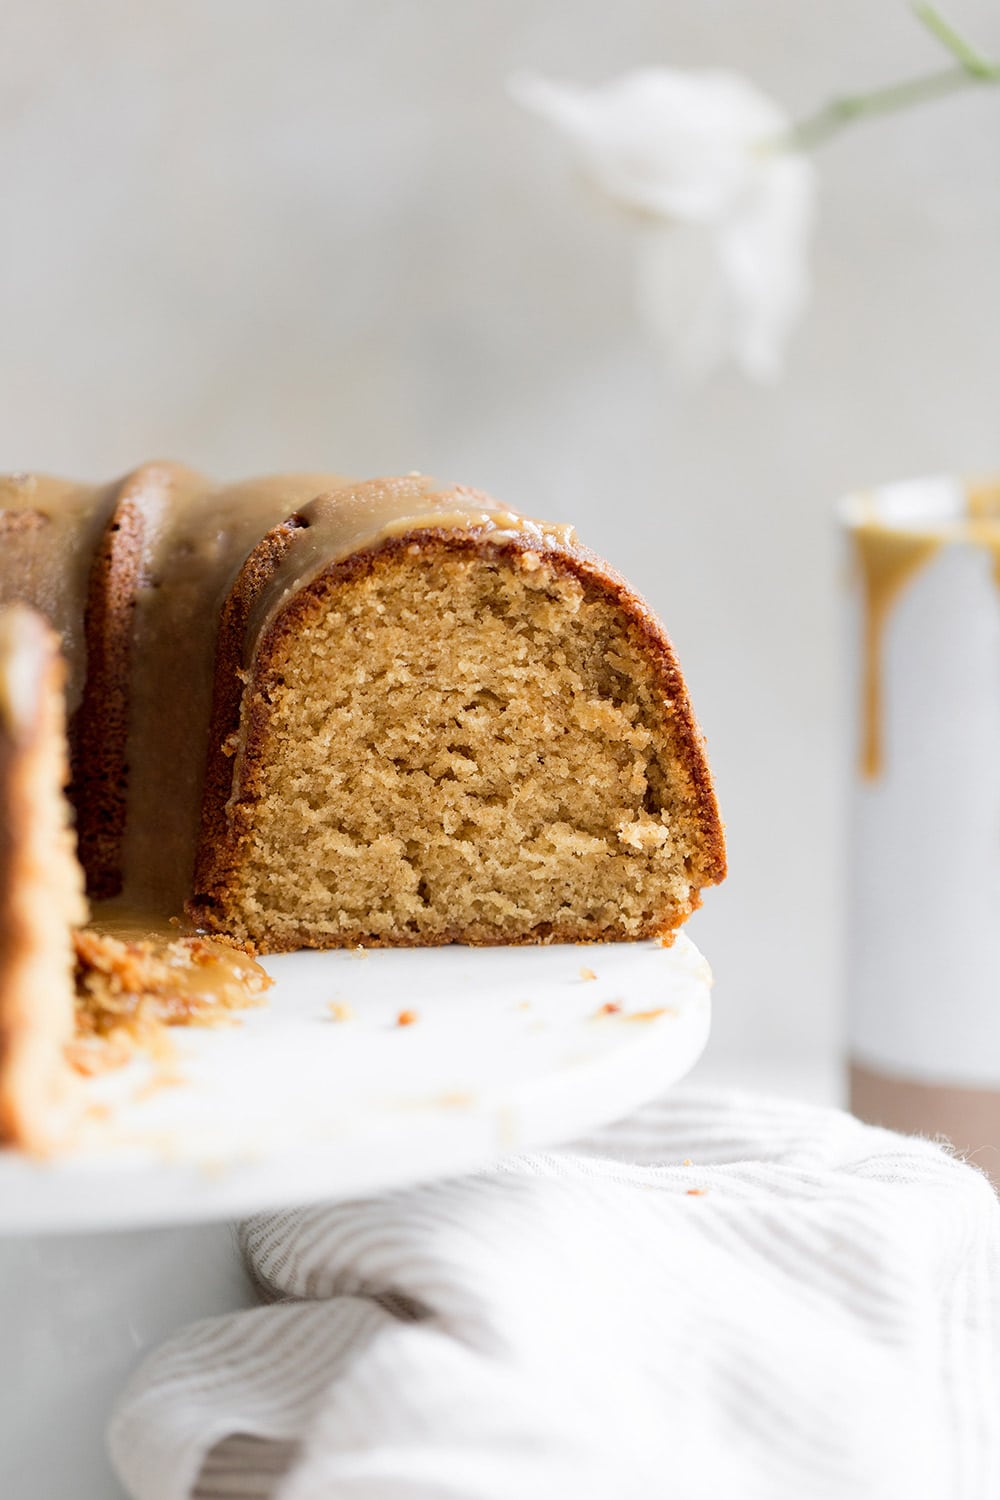
Texture: The cake is moist and tender without being too delicate, while the glaze is rich and luscious.
Ease: Simple and straight forward.
Pros: Beautiful and scrumptious cake, perfect for fall!
Cons: None!
Would I make this again? Yes.
This post may contain affiliate links. Read our disclosure policy.
Caramel is the Marcia of sweets, while poor butterscotch is the Jan. I think it’s time to change that a little.
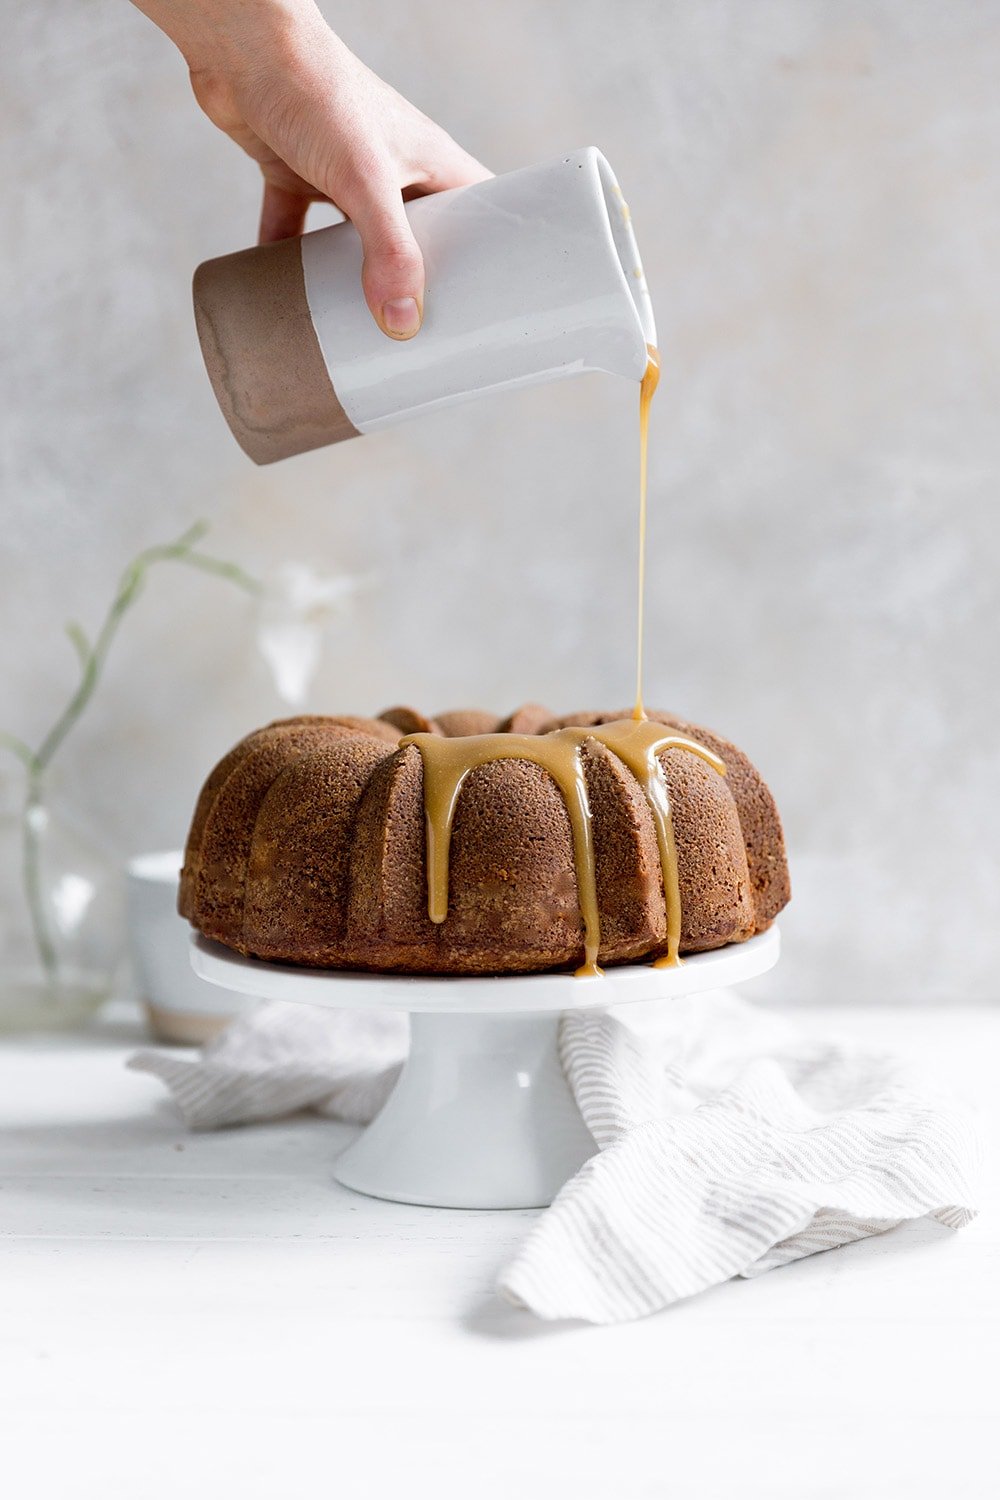
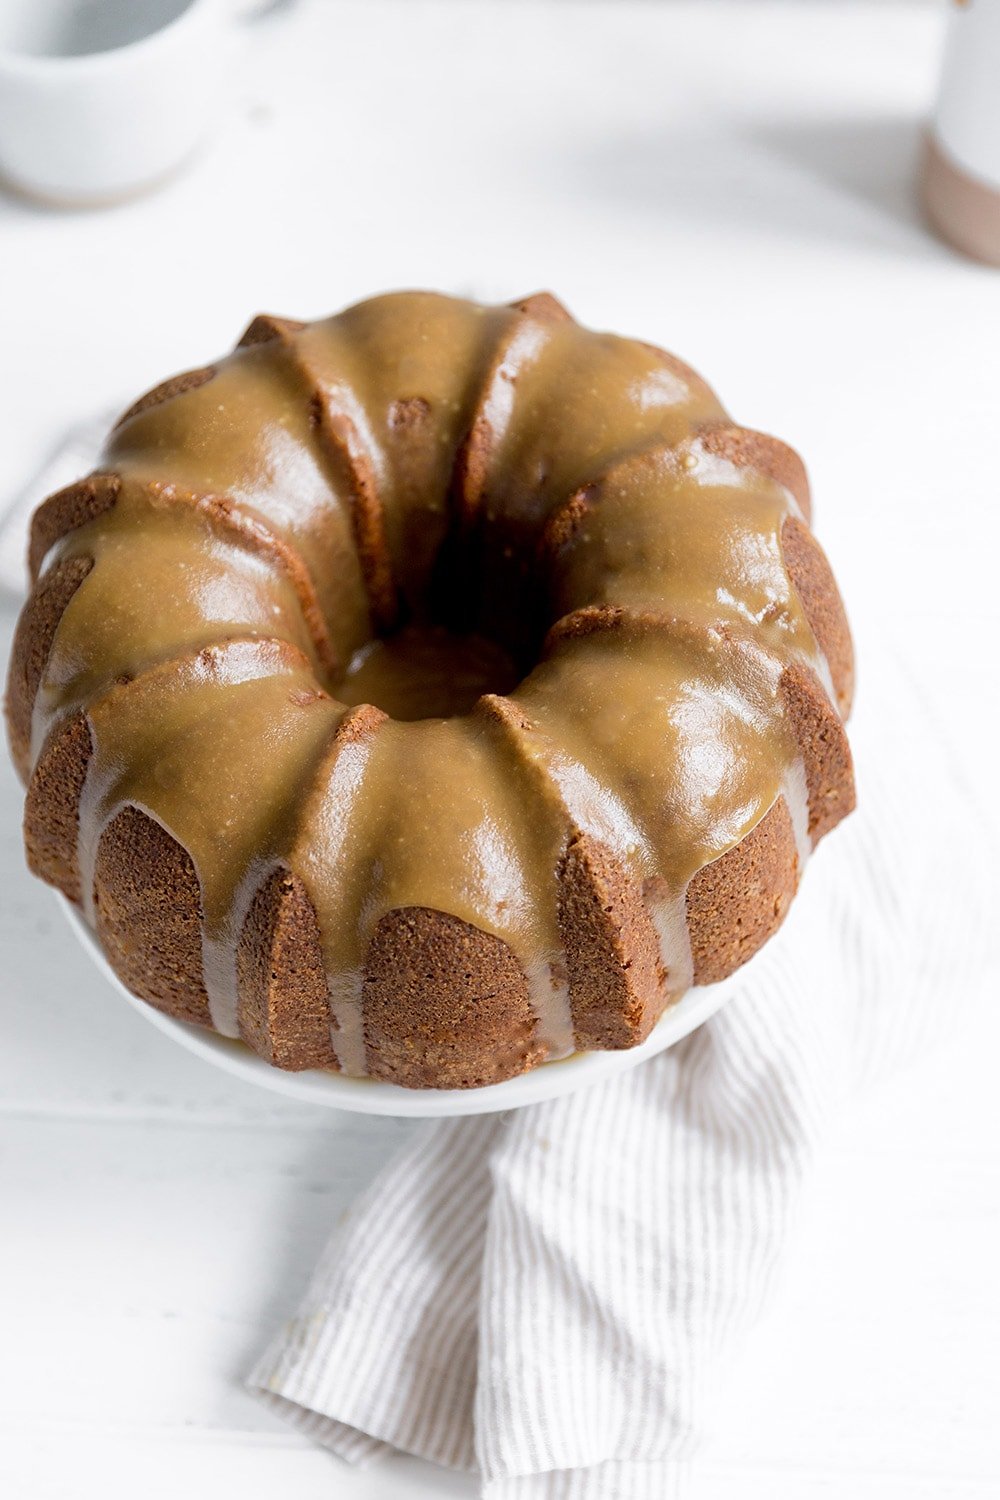
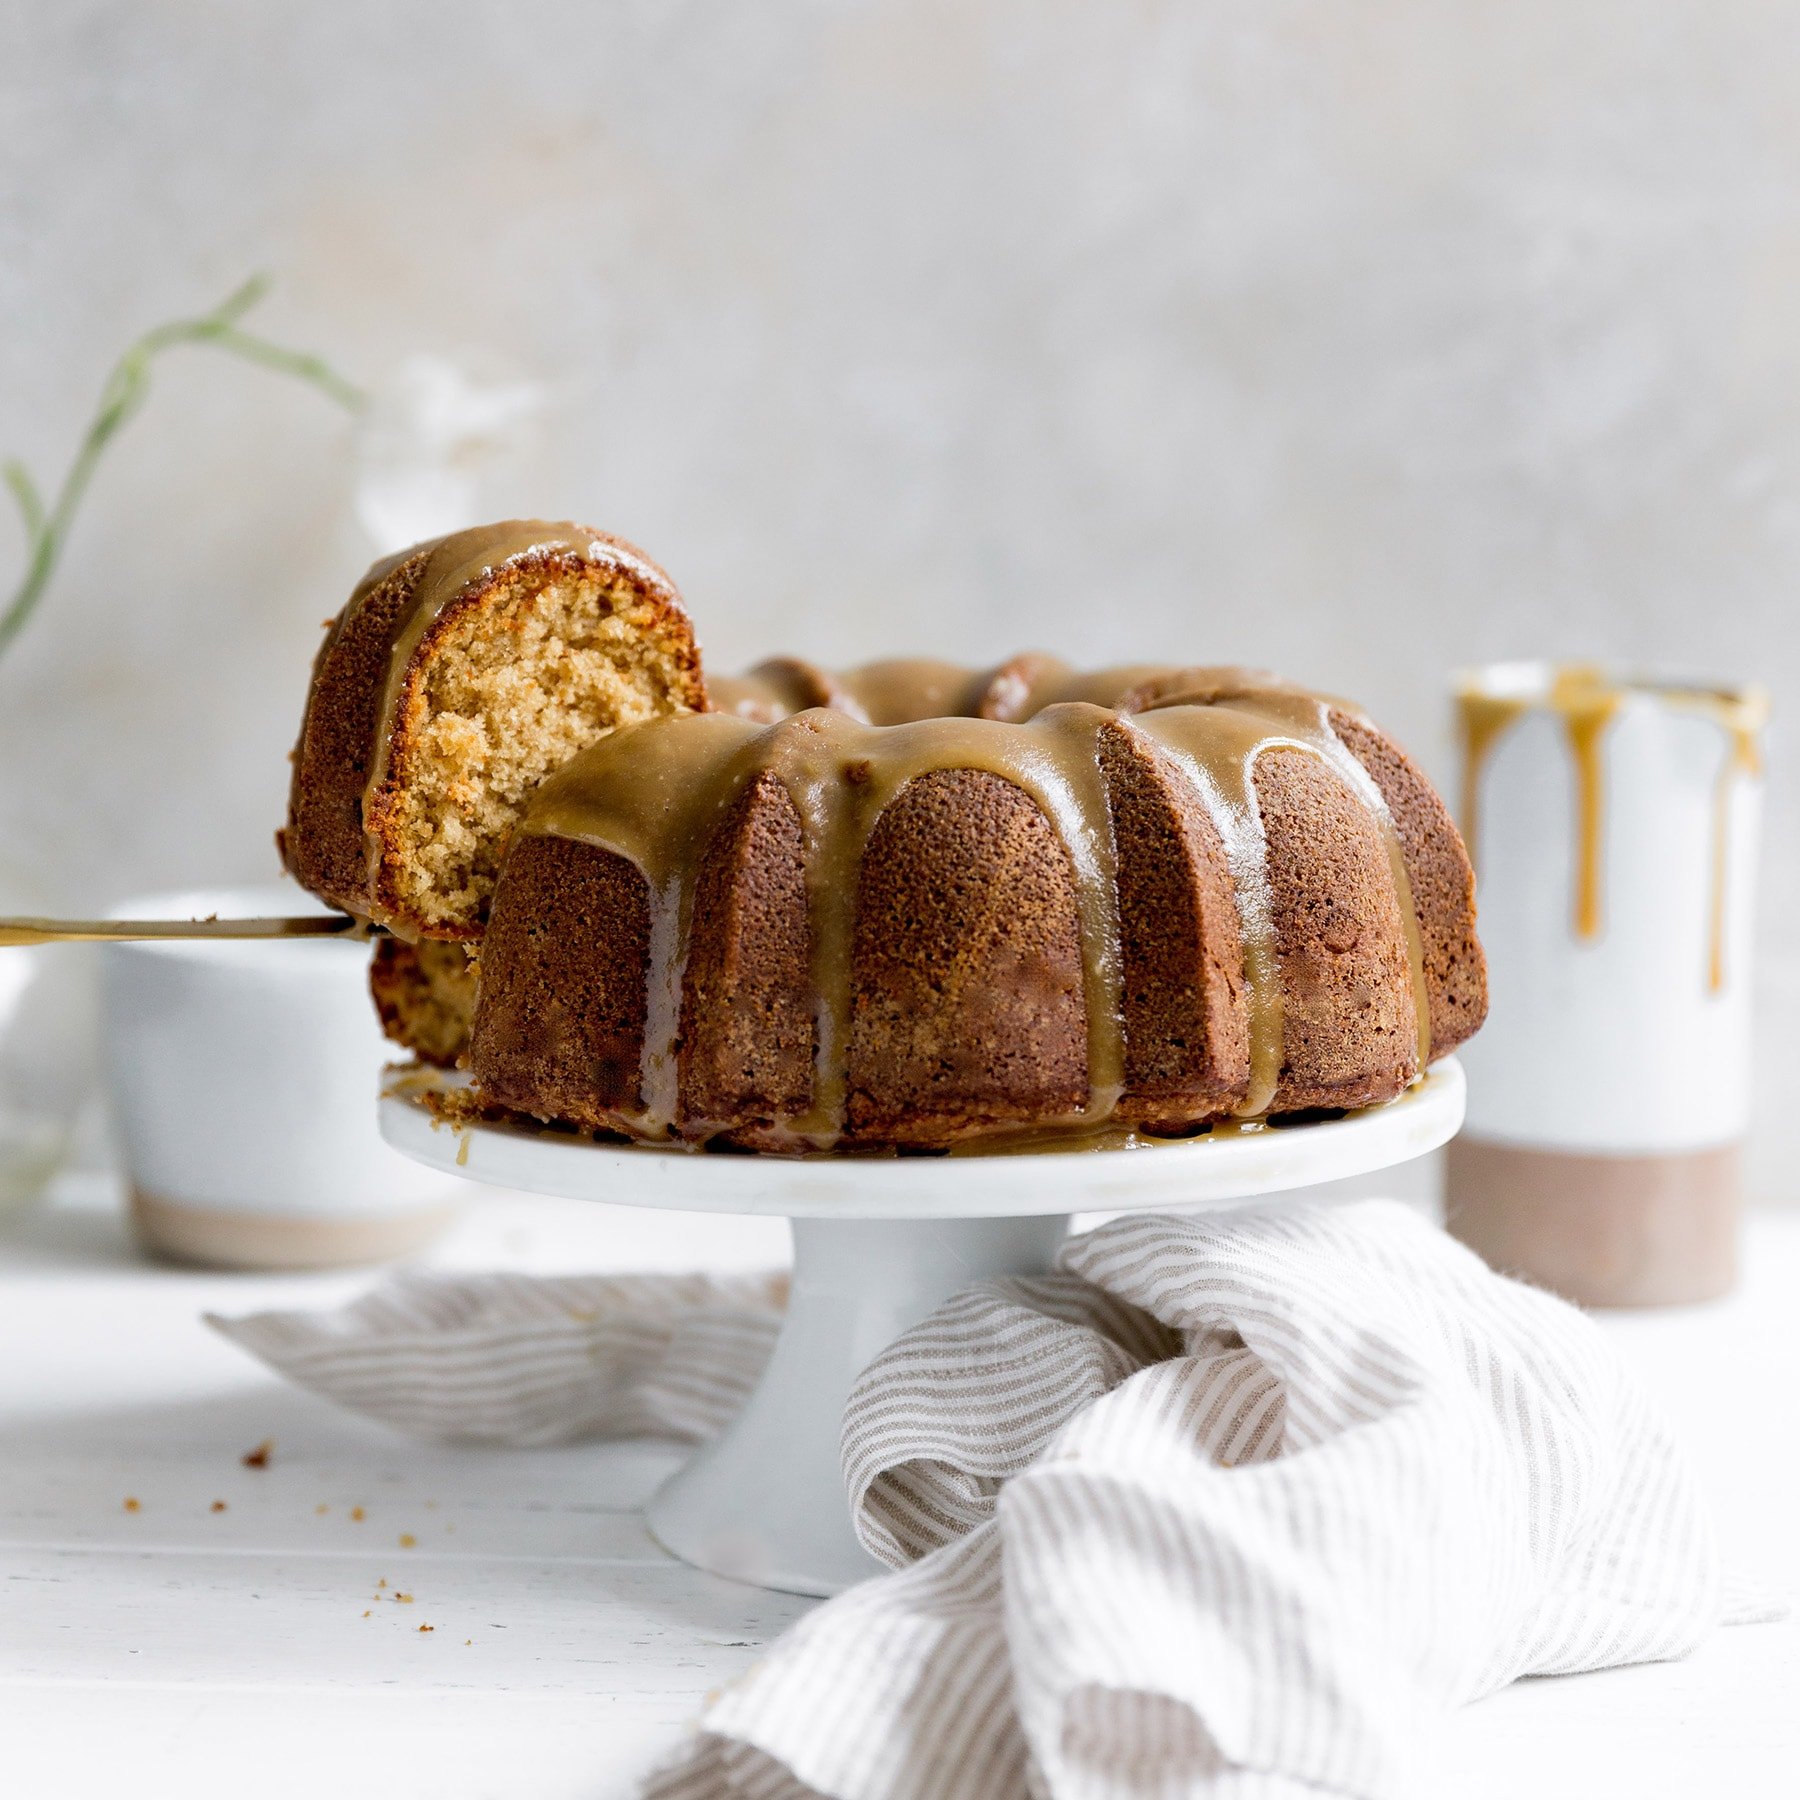
Butterscotch is equally as delicious and usually even easier to make or incorporate into baking from scratch. Take this Butterscotch Bundt Cake for example.
Its cake base is made from a high ratio of brown sugar to granulated sugar, which lends that complex deeply sweet flavor that I crave so often. The glaze is where the true butterscotch flavor shines. It’s so easy to make. We basically combine butter, brown sugar, and cream in a saucepan and cook it for a few minutes. No thermometer required, no difficult steps.
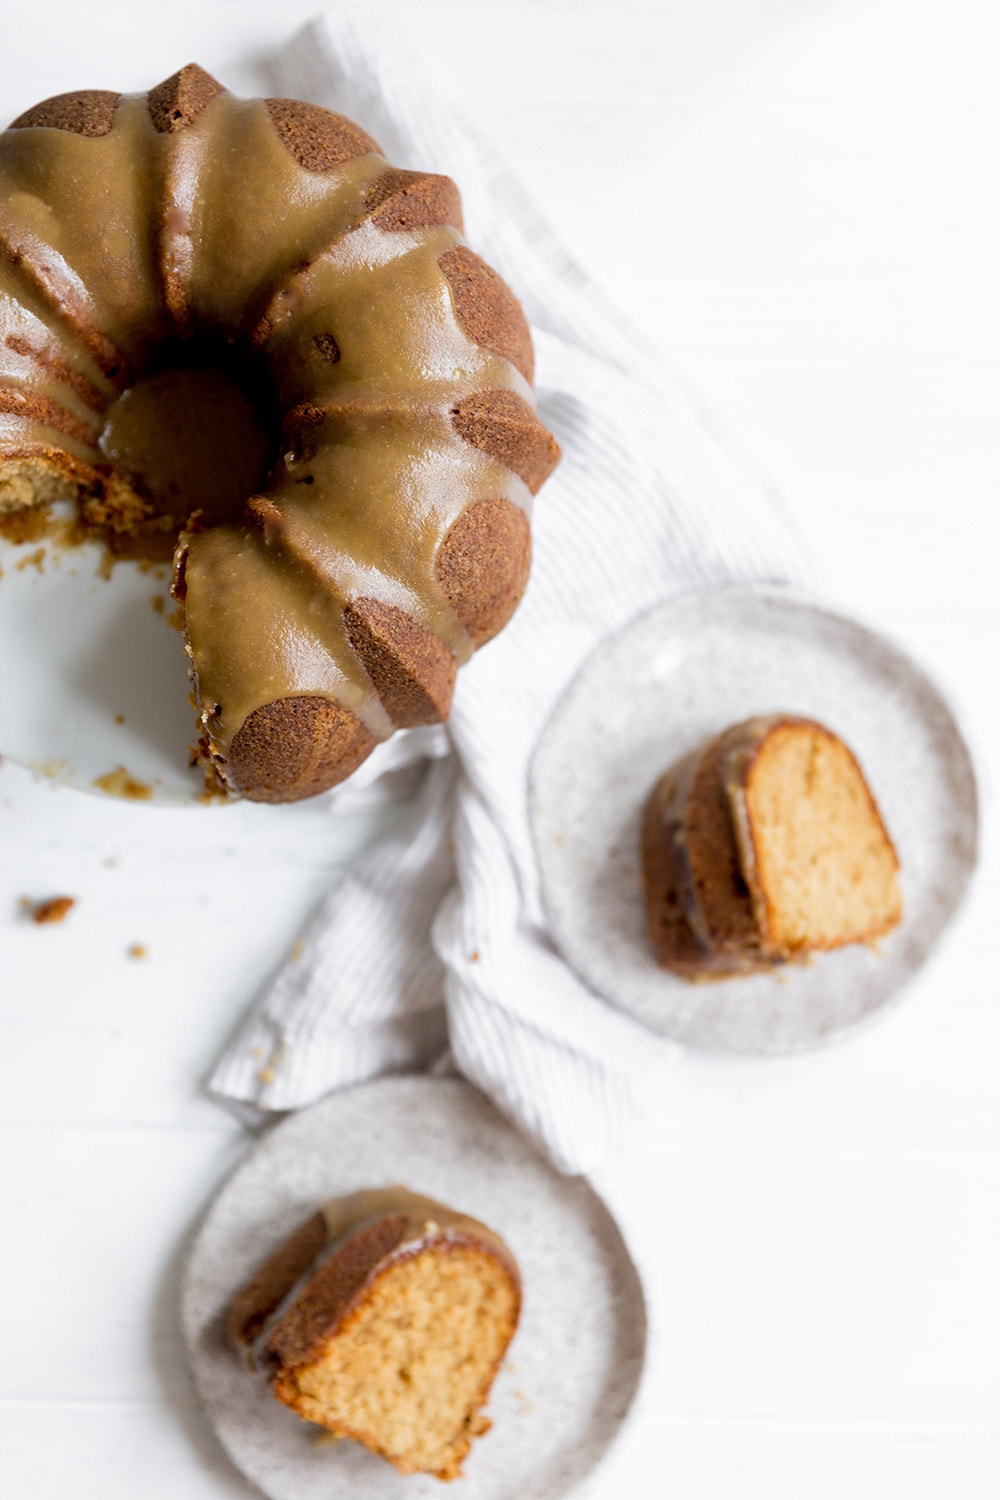
The only thing you have to be wary of? The glaze thickens and sets fast, so it needs to be poured onto the cooled cake soon after making. If it sets before you can use it, just reheat until it’s nice and pourable again.
I added just a hint of cinnamon to this cake as well to accentuate how perfect it is for autumn baking. It smells like an absolute dream while baking! If you want to give this recipe a go, be sure to read through my baking tips below first.
Bundt Cake Recipe Tips
Bundt Cake Pan
This recipe calls for a 10-inch bundt pan with a 10 to 12 cup capacity. I used this Wilton Bundt Pan with success. If you’re using a nonstick pan, be sure to hand wash it gently to preserve the nonstick coating. Even if the manufacturer says you can place in the dishwasher I would avoid it. I find hand washing extends the life of the pan and the integrity of the nonstick coating, which is so important with bundt cakes!
Make Ahead & Storage
The bundt cake can be made ahead of time and stored in an airtight container at room temperature for up to 2 days. You can use a pretty cake stand with a glass lid to cover your cake if it’ll be on display, or a plastic cake carrier which works better for transporting.
How to Prevent a Bundt Cake from Sticking
There are a few tips to prevent your bundt pan from sticking horribly to the pan so you can get as clean of a release as possible. Of course, it’s not the end of the world if a few pieces stick because the glaze can disguise this a bit. I’d suggest watching the below video completely so your bundt cake never sticks:

Tip #1: Use a good quality nonstick bundt pan without any scratches or damage to the nonstick coating. See more about the pan just above. The first time I made this recipe it released from the pan perfectly. I used my go-to bundt pan which I’ve had for years. The second time I used a friend’s bundt pan and it stuck to the pan a little. That’s why I recommend following tip #2 below if you ever have trouble with sticking.
Tip #2: Coat your pan in whatever way works well for you to get a clean release. If you experience sticking, then generously coat your bundt cake pan with nonstick cooking spray OR melted shortening only. Use a pastry brush to really get into all of the nooks and crannies with the grease, including that center column. Do this just before you pour your batter in, so the grease doesn’t have time to slide down the sides and pull in the bottom of the pan. If you feel the need to flour your pan, a nut flour like almond flour works best.
Tip #3: Once you remove the pan from the oven, let it rest right side up for a few minutes, then flip it onto a wire rack to cool some more. The upside-down position will help the cake slowly release from the pan, and it might just release on its own without much effort from you. The wire rack will prevent condensation from building on the cake itself due to the residual heat, which is why you should avoid doing this on a flat surface. Once the pan is cool enough to handle you can use a small plastic offset spatula (don’t use metal which may scratch the nonstick coating) to gently loosen the cake from the pan if needed before flipping onto your cake stand or serving platter.
If you make and enjoy this Butterscotch Bundt Cake, be sure to snap a picture and share it on Instagram, tagging #handletheheat, so we can all see your creations!

More Bundt Cake Recipes You’ll Love:
Butterscotch Bundt Cake
Ingredients
For the cake:
- 2 1/4 cups (286 grams) all-purpose flour
- 1/2 teaspoon baking soda
- 1/2 teaspoon fine salt
- 1/2 teaspoon ground cinnamon
- 2 sticks (227 grams) unsalted butter, at room temperature
- 1 1/2 cups (300 grams) packed light brown sugar
- 1/2 cup (100 grams) granulated sugar
- 2 teaspoons vanilla extract
- 3 large eggs, at room temperature
- 1 cup (227 grams) sour cream
For the icing:
- 4 tablespoons (57 grams) unsalted butter
- 1/2 cup (100 grams) packed light brown sugar
- 1/8 teaspoon fine salt
- 1/4 cup heavy cream
- 1/4 cup (30 grams) powdered sugar, sifted
Instructions
Make the cake:
- Preheat the oven to 325°F. Thoroughly grease a ten-inch bundt pan with nonstick cooking spray or melted shortening. To ensure the cake won’t stick, use a pastry brush to spread the grease into all the nooks and crannies.
- In a medium bowl whisk together the flour, baking soda, salt, and cinnamon.
- In the bowl of an electric mixer, beat the butter and sugars on medium high speed until very light and fluffy, about 4 minutes. Add the vanilla then the eggs, one at a time, until well combined. Add the sour cream and flour mixture in alternating additions, beating between each addition, until just combined.
- Pour batter into prepared pan and tap against the counter to release any air bubbles. Bake until golden brown, with a cake tester coming out clean, about 50 minutes to 1 hour. Flip the cake in the pan onto a wire rack and allow to cool for about 30 minutes before removing from the pan entirely.
Make the icing:
- In a medium saucepan, melt the butter over medium heat. Add the sugar, salt, and cream and whisk to combine. Bring to a simmer and cook for 5 minutes, whisking occasionally. Remove from heat and stir in the sifted powdered sugar. Drizzle over the cake immediately. Let stand for 20 minutes, or until the icing is set, before serving. Store the cake covered at room temperature for up to 2 days.
Recipe Notes
Nutrition Information
Photos by Sarah Fennel.






I just made this for the first time. It is delicious. Try serving it warm with vanilla ice cream. OMG…soooo good!
The icing ingredients call for salt but I don’t see it in the recipe. Do I mix it in? Sprinkle on top?
Hi Michelle! There is salt in both the cake batter and the icing – it’s the third ingredient listed for the cake batter, and the last ingredient listed for the icing. Mix it in when the ingredients instruct. Let us know what you think once you’ve tried this cake 🙂 happy baking!
There are no instructions to add the salt when making the icing. I assume it was an error when printing?
Hi Jana! Apologies for the typo there – it’s now been fixed. Thanks so much for bringing this to our attention! Let us know what you think of this cake once you have given it a try 🙂
this is a keeper. The crumb is on the lighter side (compared to a pound). Next time I will let the drizzle cool abit for a thicker icing. I might even add a nut next time.