Tessa’s Recipe Rundown
Taste: Chocolaty without being positively overwhelming.
Texture: A cross between a brownie, cake, mousse, and a truffle!
Ease: Deceivingly easy.
Appearance: Super gourmet!
Pros: This is my go-to elevated easy dessert recipe for entertaining.
Cons: Everyone will demand you make this recipe!!!
Would I make this again? I’ve made this no less than 10 times in six months.
This post may contain affiliate links. Read our disclosure policy.
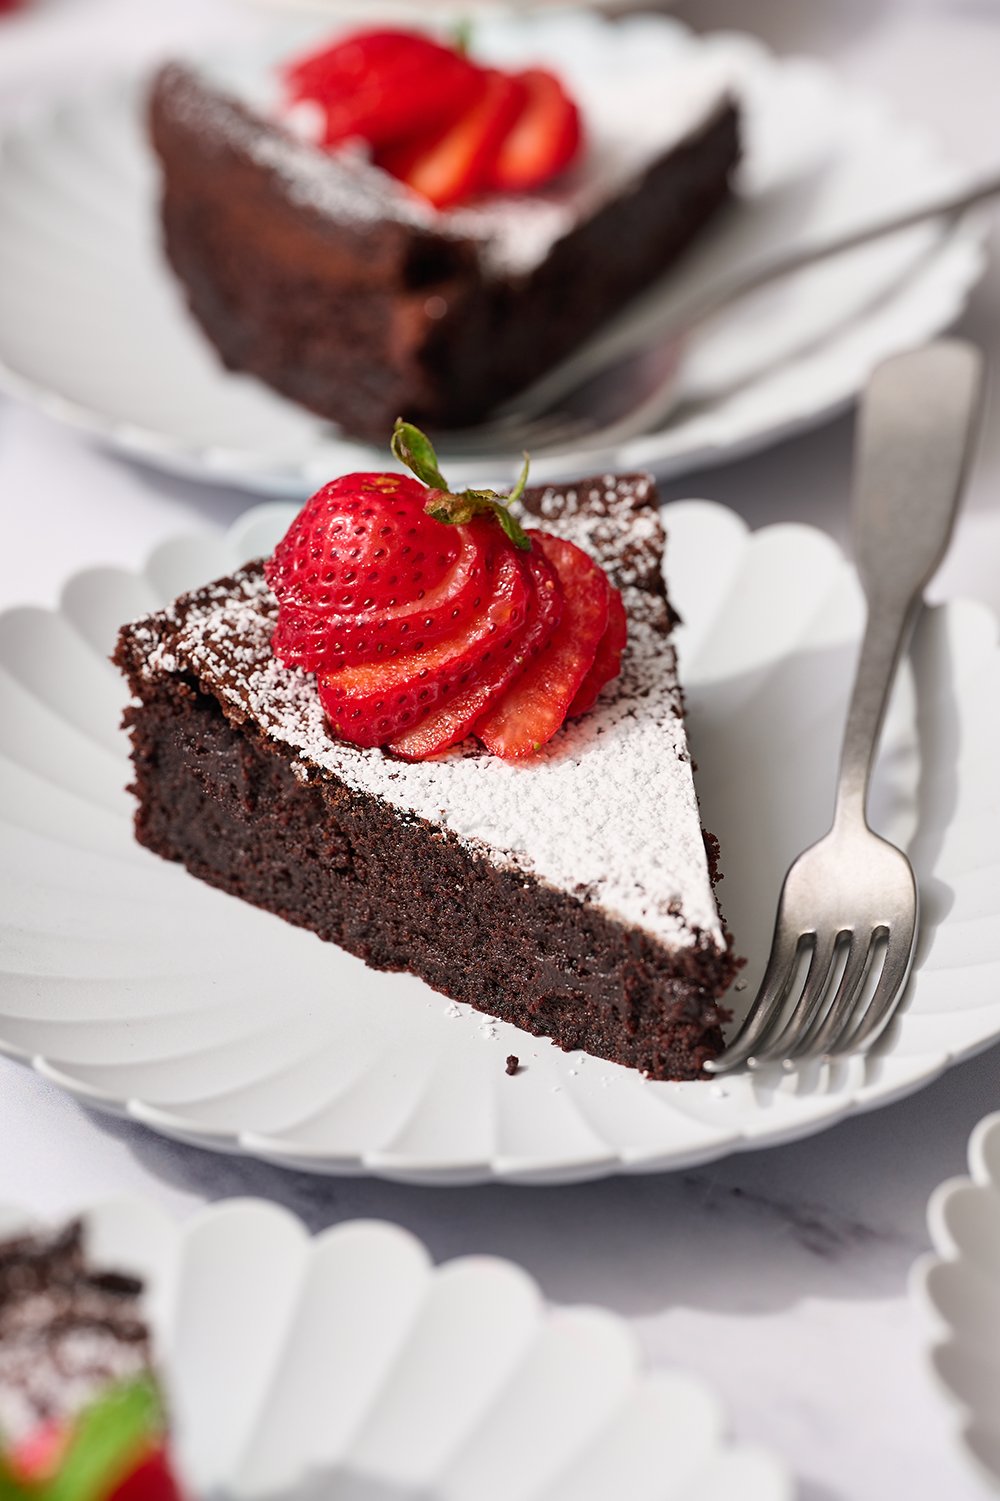
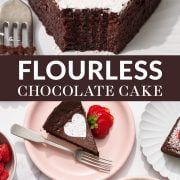
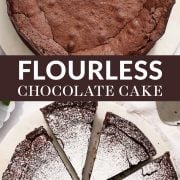
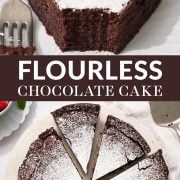
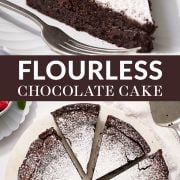
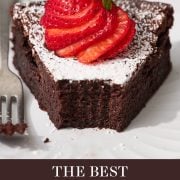
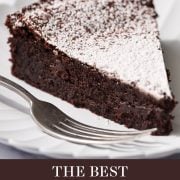
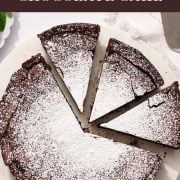
This Flourless Chocolate Cake might just be one of my most favorite recipes I’ve ever published.
And that’s saying something, since I’ve shared over 1,000 recipes. In fact, this was one of the FIRST recipes I ever shared way back in 2009.
It was in desperate need of improving. However, it wasn’t until a recent trip to La Jolla where Joe and I ate the most delightful flourless chocolate cake during a romantic dinner that I got the motivation to finally revamp this recipe.
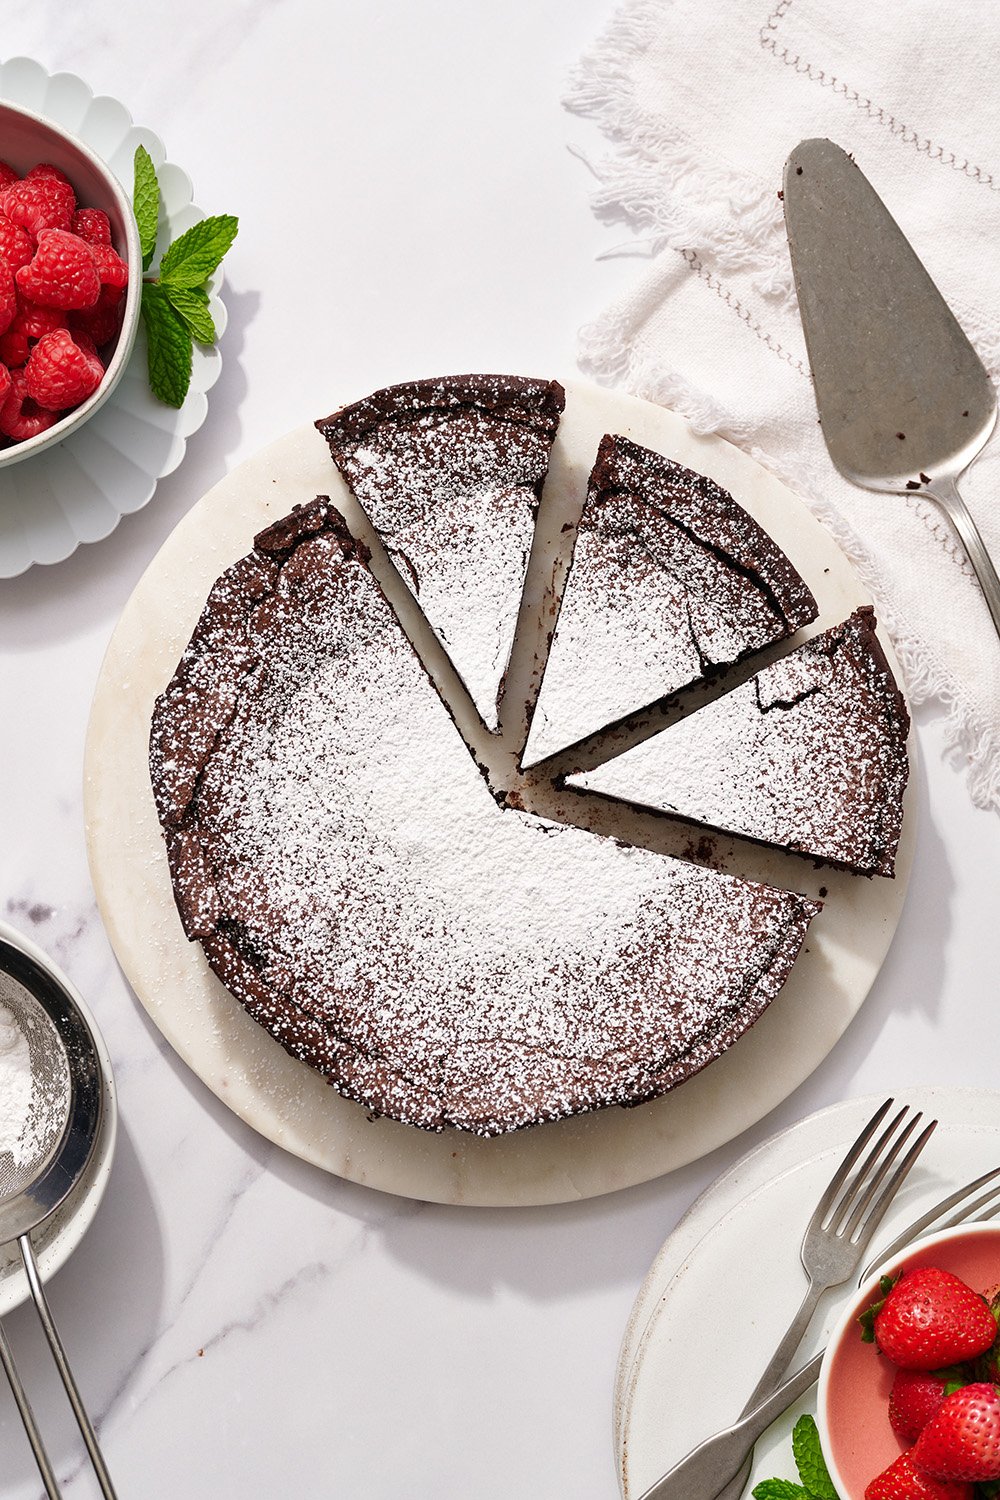
This cake is truly a chocolate lover’s dream come true. Joe has requested it no less than 30 times since I finalized the recipe. I’ve honestly probably made it at least 10 times since.
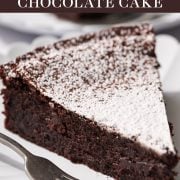
This recipe for flourless chocolate cake is ultra rich, fudgy, and decadent in the best ways possible. You’ll also see this recipe called a flourless chocolate torte.
Serve it with fresh fruit and a scoop of vanilla ice cream for a delightful Valentine’s Day dessert. Make it for a special date night at home. This is also my go-to dessert for dinner parties and small groups!
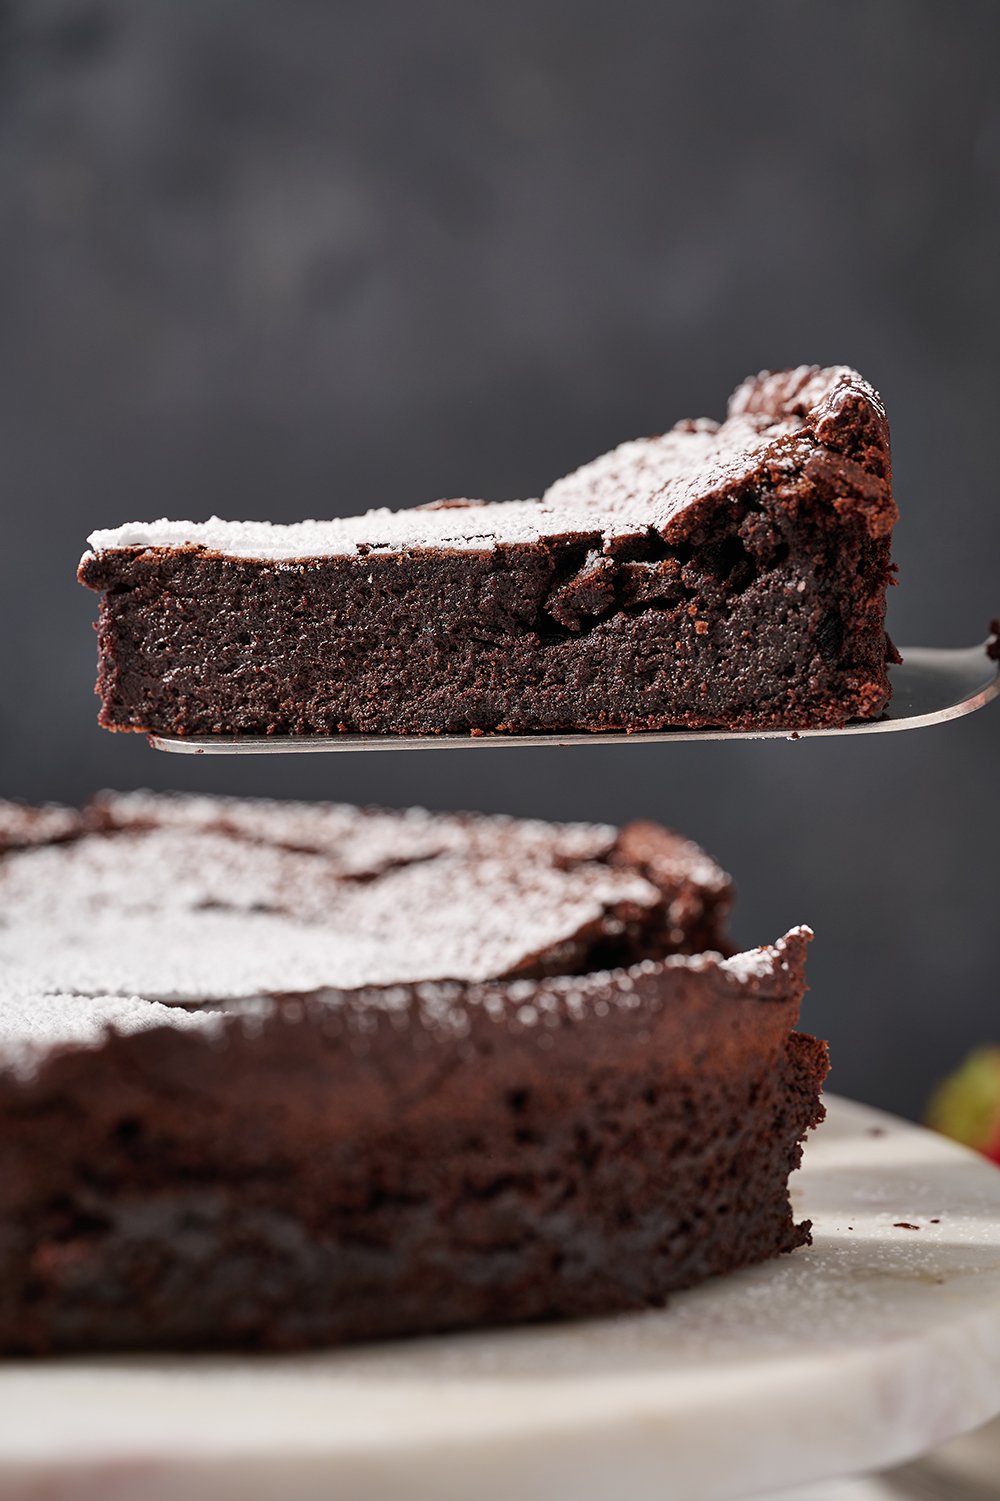
You really can’t go wrong with this one.
How to Make Flourless Chocolate Cake
What Does Flourless Chocolate Cake Taste Like?
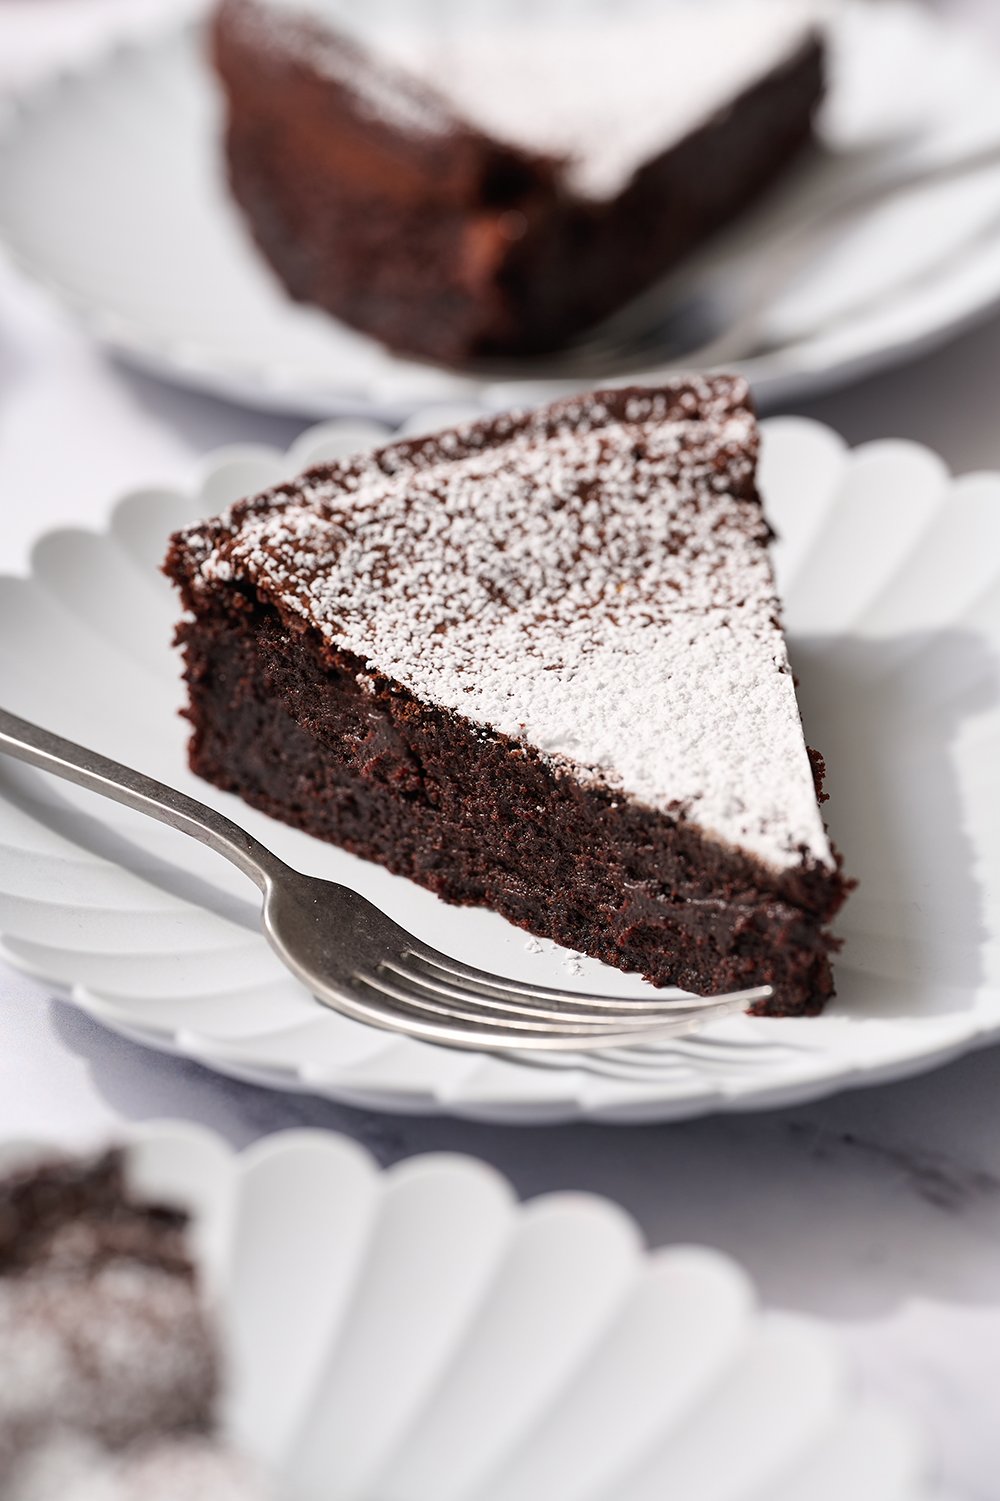
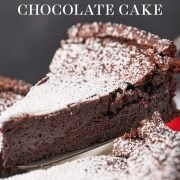
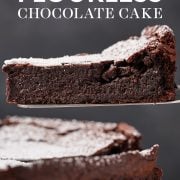
The beauty of a flourless chocolate cake is the texture! Think of it as sort of a grown-up version of a brownie. This cake tastes like a a mix between a brownie, cake, truffle, and mousse. It’s silky smooth, decadent, and SO delicious! This is the perfect dessert to elevate your next dinner party.
Is Flourless Chocolate Cake Gluten Free? Is There a Difference Between Flourless and Gluten-Free?
Flourless does not always mean gluten-free. Gluten-free means no gluten – which is the protein that can be found in many other ingredients beyond flour. If you’re worried about serving someone who has celiac disease, you’ll want to check your ingredients to ensure the packaging states that it is gluten free and that your tools and equipment haven’t recently touched flour to be safe.
Ingredients for my Flourless Chocolate Cake Recipe:
- Chocolate – I used semisweet chocolate chips. More on this below!
- Butter – Always use unsalted butter in baking.
- Sugars – Regular granulated sugar. Sugar does much more than simply sweeten your baked goods! Read more about the role of sugar in baking here.
- Espresso powder – Optional. It’s super subtle and enhances the chocolate flavor.
- Salt – I prefer to use fine sea salt instead of table salt, simply because I prefer the flavor. Learn more about the differences between types of salt here.
- Vanilla extract – For flavor.
- Eggs – Three whole eggs plus an additional egg yolk, for a fantastically fudgy texture. Eggs help provide the structure to this cake because there’s no flour. Be sure your eggs are at room temperature. Use large eggs, about 56 grams in shell.
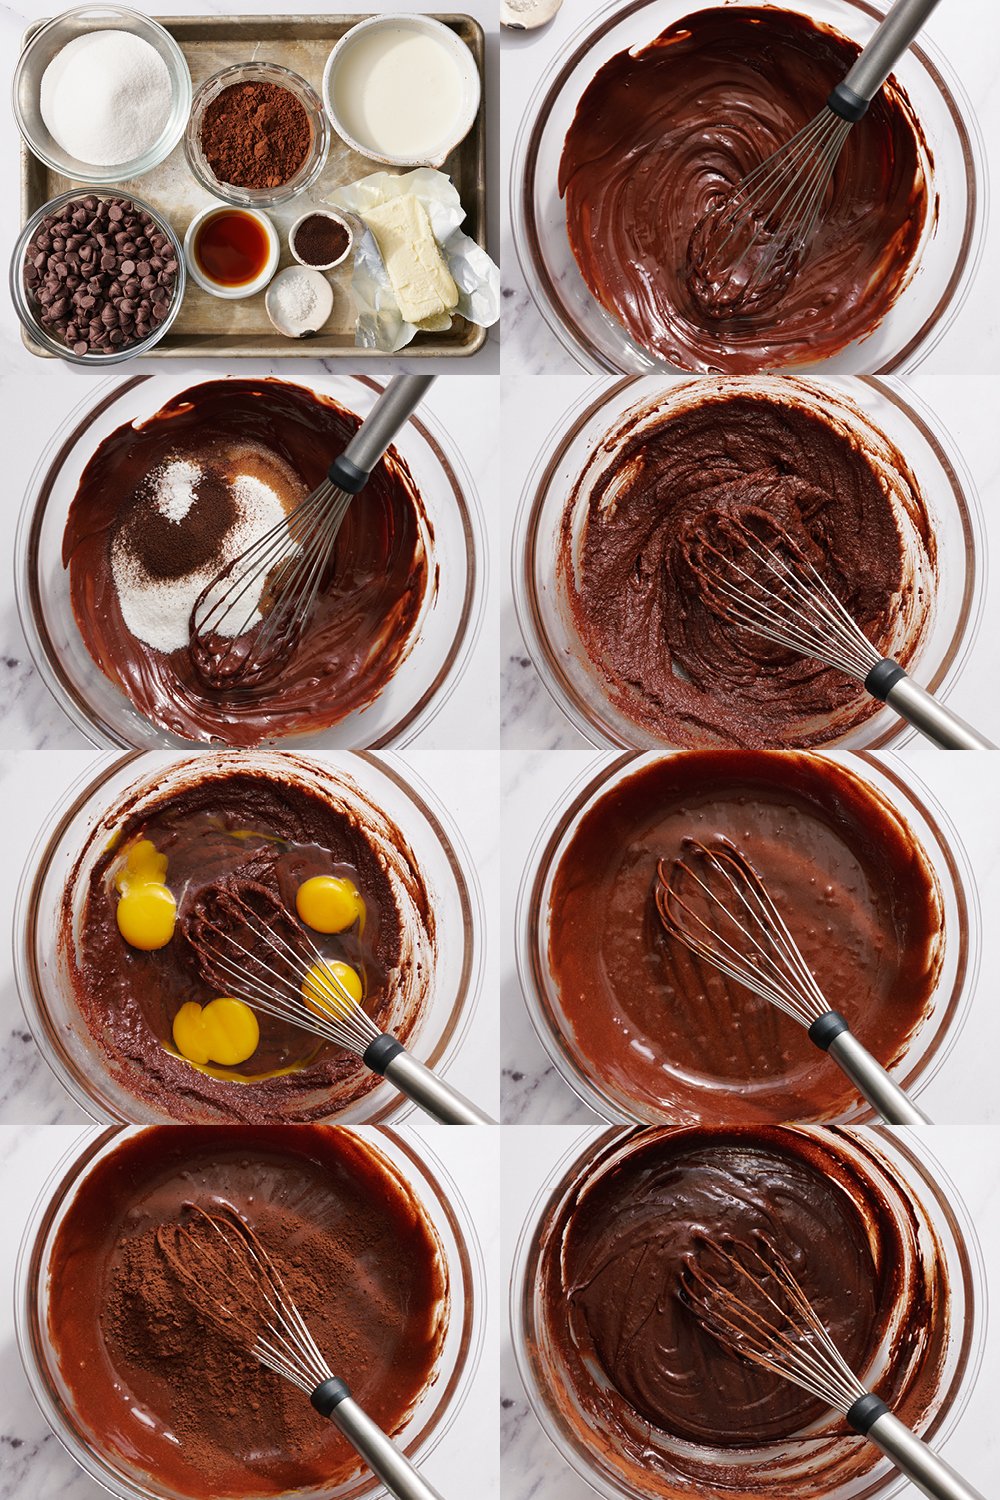
- Cocoa powder – I used Dutch-processed cocoa powder to achieve a deliciously decadent chocolate flavor and dark color for this chocolate cake. Learn about the differences between natural cocoa powder and Dutch-processed cocoa powder here. If you need to, you can use natural cocoa powder in this recipe instead.
- Heavy whipping cream – chilled. More on that below.
- Powdered sugar and berries – Optional, but it looks so pretty to decorate the baked and cooled cake with either, or both!
What Kind of Chocolate Should I Use?
I used Ghirardelli semisweet chocolate chips for this recipe, but you can use dark or bittersweet chocolate if you prefer. You can use chocolate chips, chocolate wafers, or chopped baking chocolate here. For a special occasion, I highly recommend using a good quality chocolate for this cake, such as Guittard or Callebaut, to give a really high-end, decadent flavor in the baked result.
What Cocoa Powder Should I Use?
There is no leavening agent in this cake so it’s not as important which cocoa is used. Personally, I recommend using Dutch-processed cocoa powder for the most beautifully rich chocolate flavor and color. Dutch-process typically has more fat content than grocery store natural cocoa powder for a richer and more moist texture. You can use a natural (unsweetened) cocoa powder instead, but I recommend using a high-fat natural cocoa powder wherever possible. Read more about cocoa powder here!
How Do You Make Flourless Chocolate Cake?
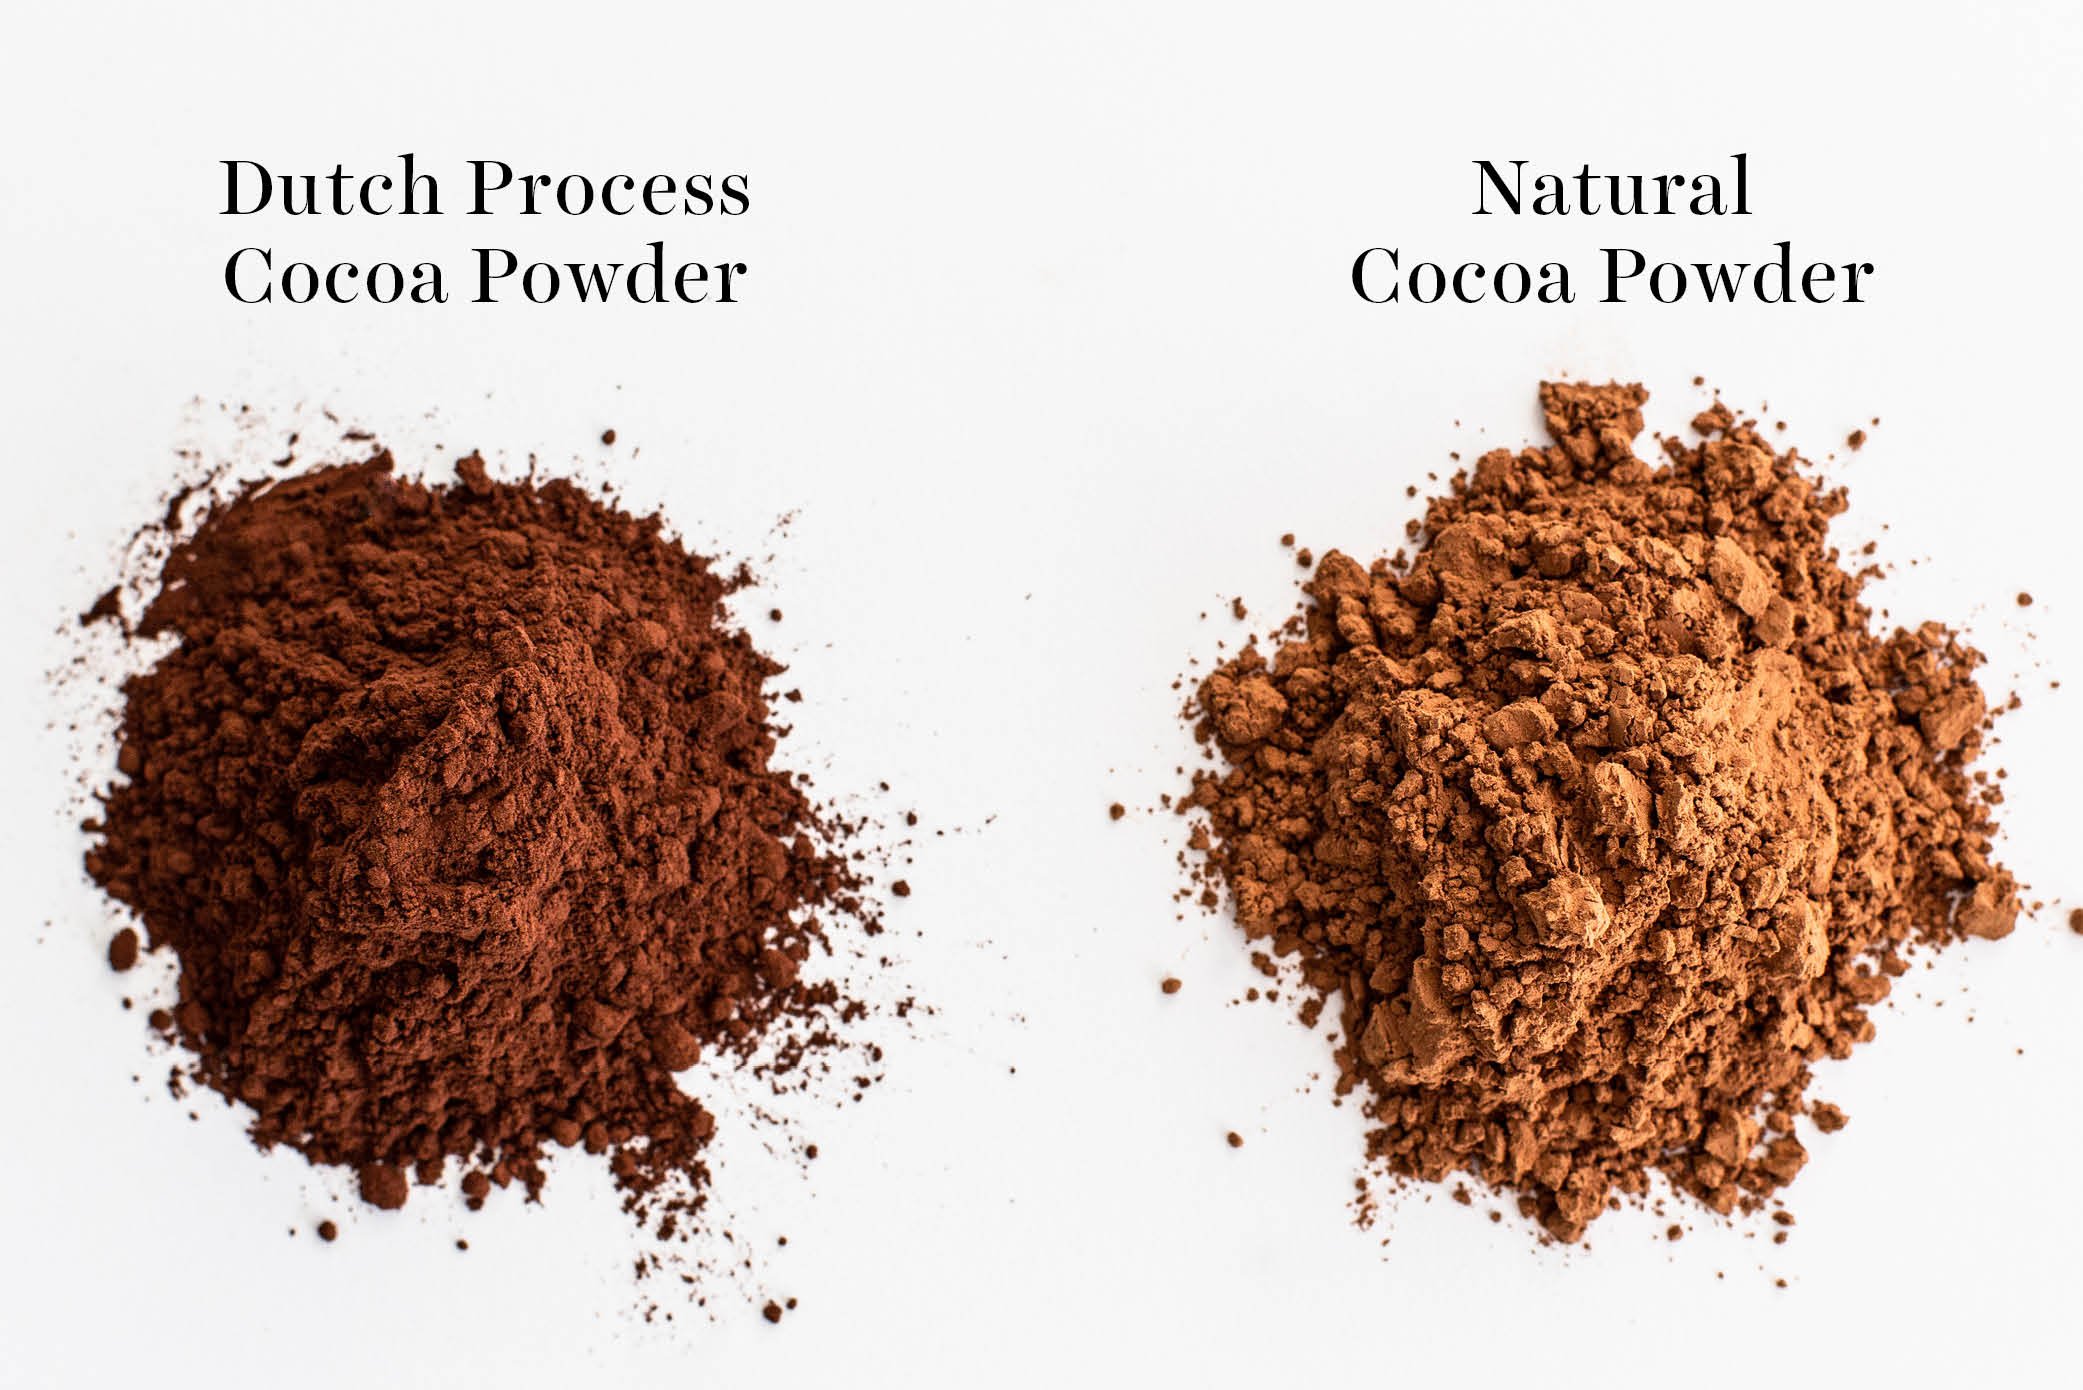
- Melt the chocolate and butter. In a large microwave-safe bowl, heat the chocolate chips and butter in 30-second increments, stirring between each, until just barely melted. Stir until smooth. You can also do this step in a double boiler on the stove, or in a heatproof bowl over a small saucepan, on medium-low heat, if you prefer.
- Add the sugar, espresso powder (if using), salt and vanilla. Whisk until combined. Let cool to room temperature.
- Add the eggs. Add in the eggs and yolk all at once, vigorously whisking until smooth.
- Mix in the cocoa powder. Whisk until just combined.
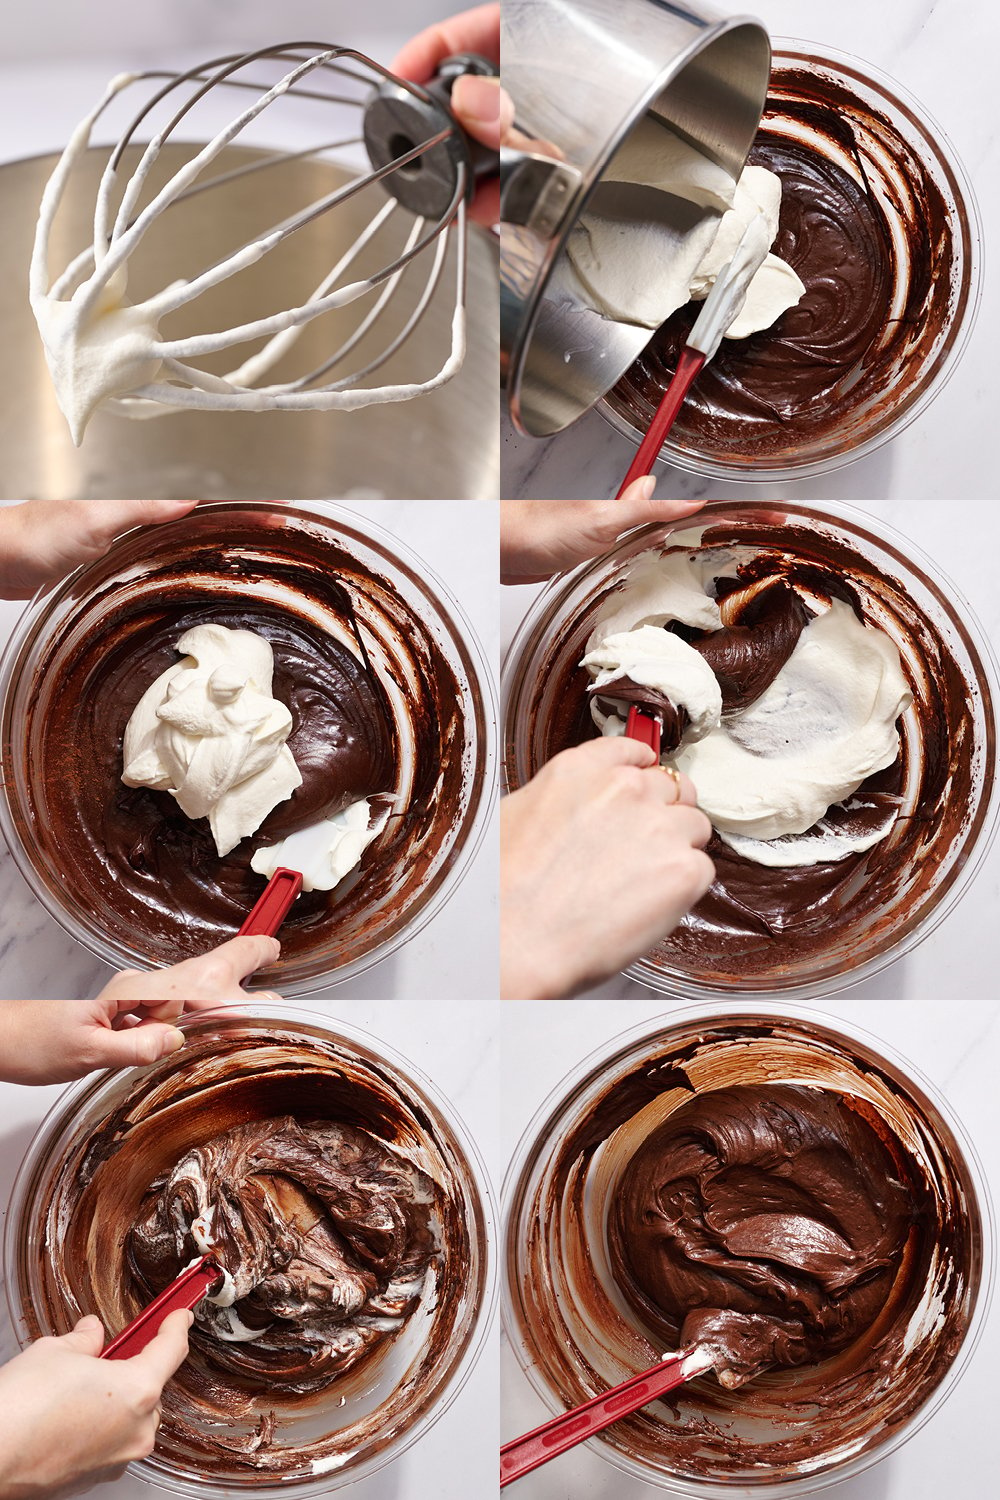
- Whip the heavy cream. Beat the cream to medium peaks. Be careful not to overbeat your cream here. You don’t want stiff peaks for this recipe.
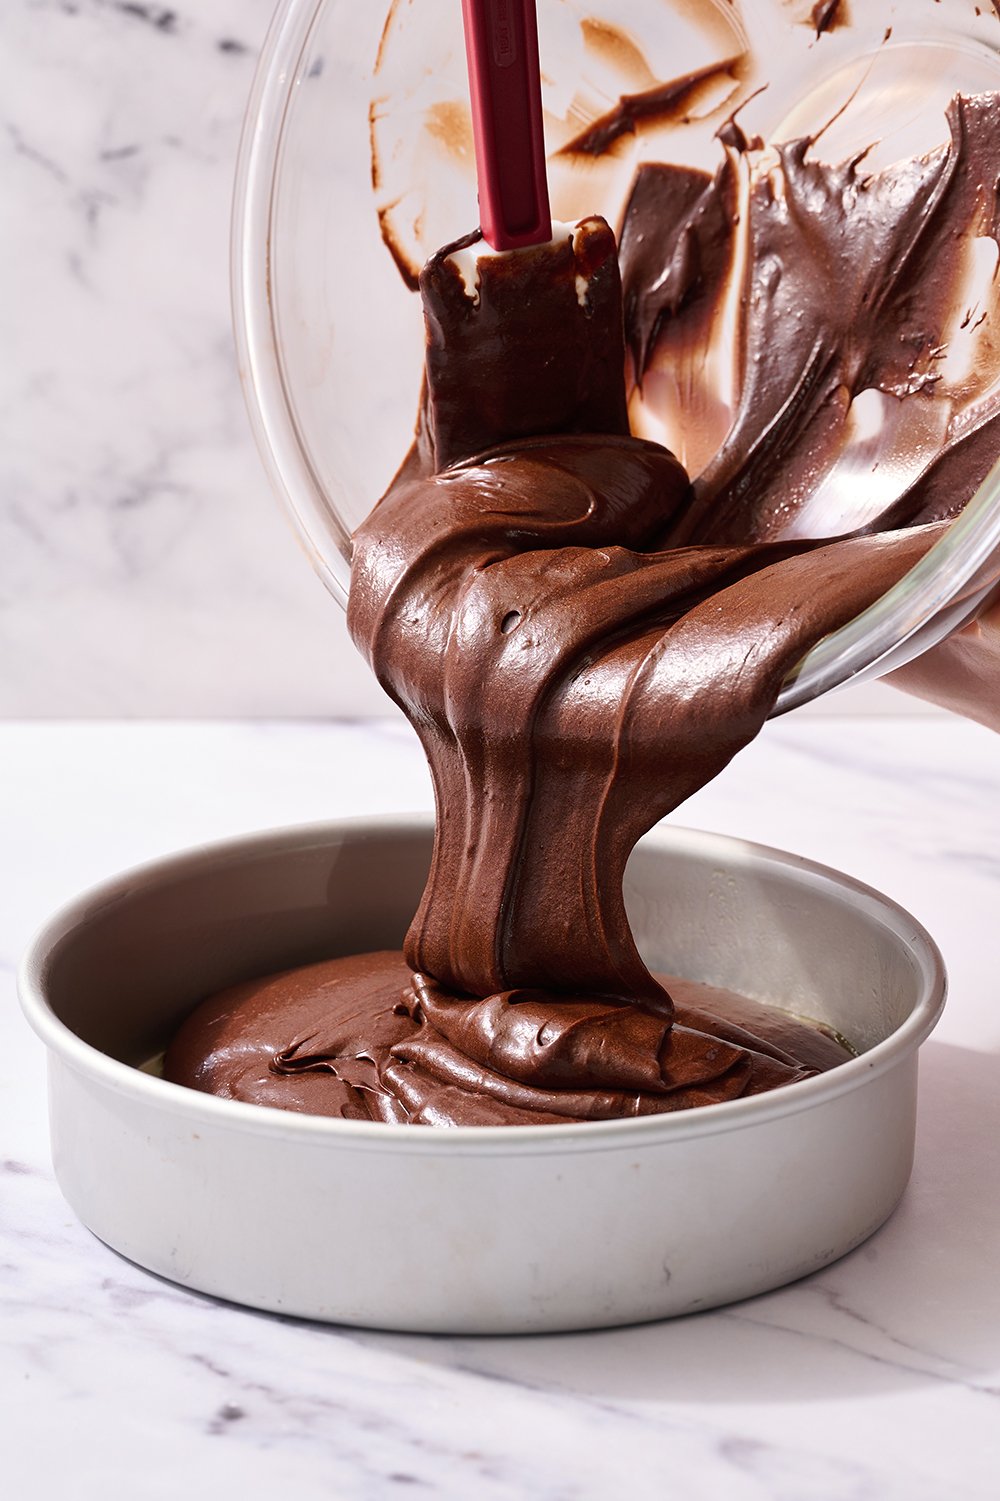
Tip: Although not pictured below, I love using my immersion blender with the whisk attachment on medium-high speed for this task. It’s not a lot of whipped cream, and I find it’s a much faster task using this tool, compared to my electric stand mixer. You can also use a handheld electric mixer fitted with the whisk attachment. - Fold the whipped cream into the chocolate mixture. Using a rubber spatula, gently fold the whipped cream into the batter until combined.
- Pour into the prepared pan and bake. Bake at 350°F for about 25-30 minutes, or until the cake has puffed up, the edges are set but the center is still slightly wobbly, and the center is at least 200°F using an instant-read thermometer.
- Allow to cool completely. Place the pan on a wire rack. Once cooled, cover and refrigerate for at least 6 hours but preferably overnight for the most fudgy texture.
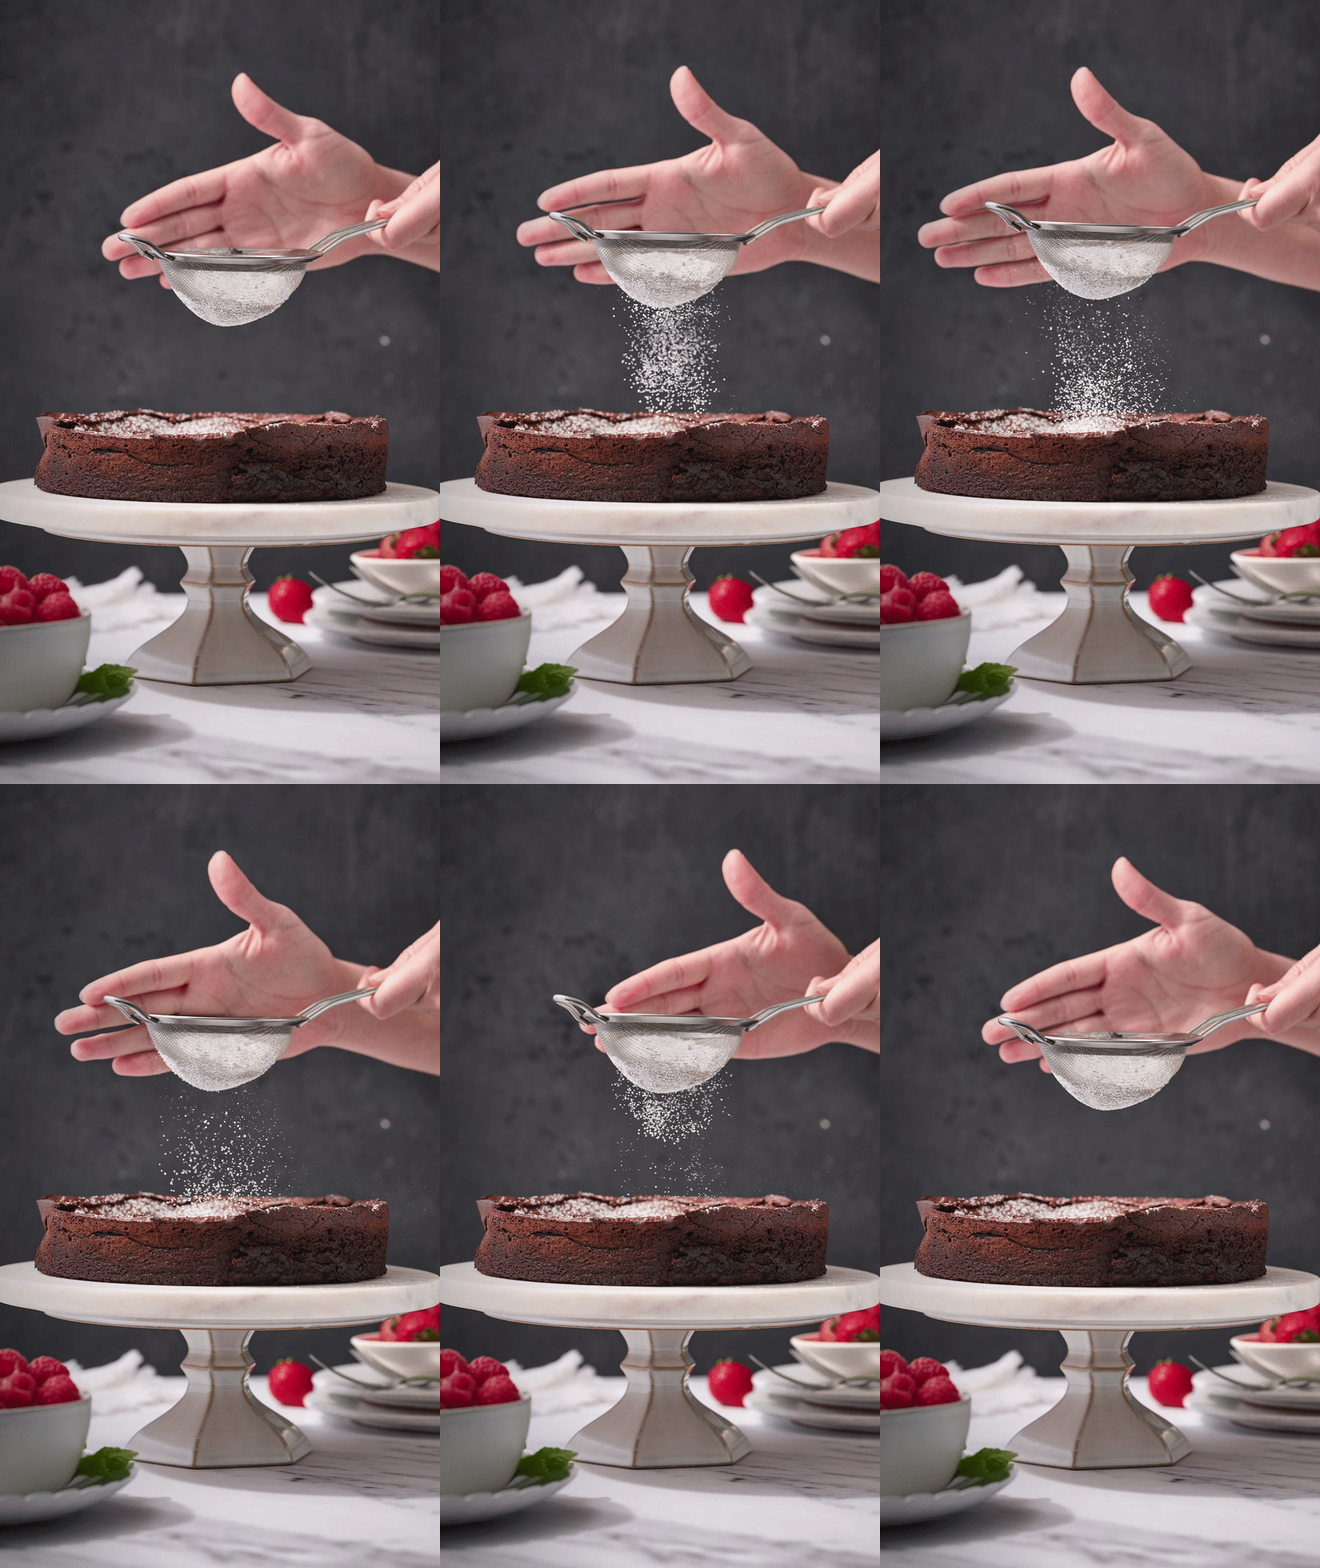
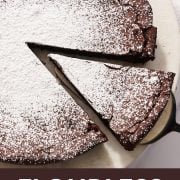
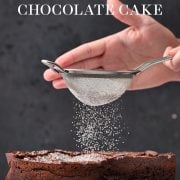
- Serve. Dust with powdered sugar or one of the alternative options below. Use a sharp knife to cut into slices, running the knife under hot water and wiping off the blade between slices. Top with sifted powdered sugar, whipped cream or a scoop of ice cream and a few fresh raspberries or strawberries. Best served chilled.
Recommended equipment:
- 8-inch Light Colored Round Baking Pan
- Parchment circles with tabs
- Digital thermometer
- Immersion blender
- Oven thermometer – find out why you need one in my Oven 101 article!
What Kind of Baking Pan to Use for Flourless Chocolate Cake?
Use a light-colored 8-inch round cake pan for this recipe. Note that this recipe makes enough batter to fill the pan quite full, so use a 3-inch deep pan to ensure no overflow. My favorite brand of cake pan is Fat Daddio’s because they bake evenly and wash up easily. Don’t use a dark-colored or coated nonstick cake pan, or you may end up with dry or overbaked cake edges. I also don’t recommend using a larger pan, as your cake will be very thin.
How to Prepare Your Pan & Prevent the Cake From Sticking
This cake can be slightly challenging to get out of the pan if you don’t prepare the pan properly beforehand. Lightly grease the pan with nonstick cooking spray. I found that Pam nonstick spray worked best with this cake. Sprays like Baker’s Joy (which contains flour) didn’t allow the cake to grip to the sides of the pan, resulting in the edges folding over a bit.
Place a parchment paper round on the bottom of the pan and spray again. I highly recommend these baking parchment rounds, which have tabs to help you easily pull the baked cake from the pan without damaging or breaking the cake. I haven’t tested this cake in a springform pan, but that should work just fine, provided it’s also an 8-inch pan.
How Will I Know When The Cake is Baked?
Using a digital instant-read thermometer will help immensely to determine when your cake is fully baked. Test carefully, and try to test right in the center of your cake, as probing with the thermometer will leave a small hole. Testing in the middle will help preserve the appearance of the finished cake, as you can easily ensure your cut slices camouflage the hole left by the thermometer.
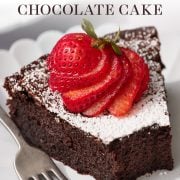
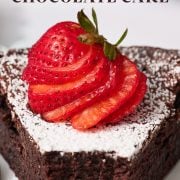
If you plan to present the cake in its entirety, pile a few berries or a fanned strawberry in the center, again to camouflage this hole.
If you don’t have a digital instant-read thermometer, bake until the cake has puffed up, the edges are set and have pulled away from the sides of the pan slightly, but the center is still slightly wobbly. Be careful not to overbake, as an overbaked flourless cake will result in a tough, unpleasant texture.
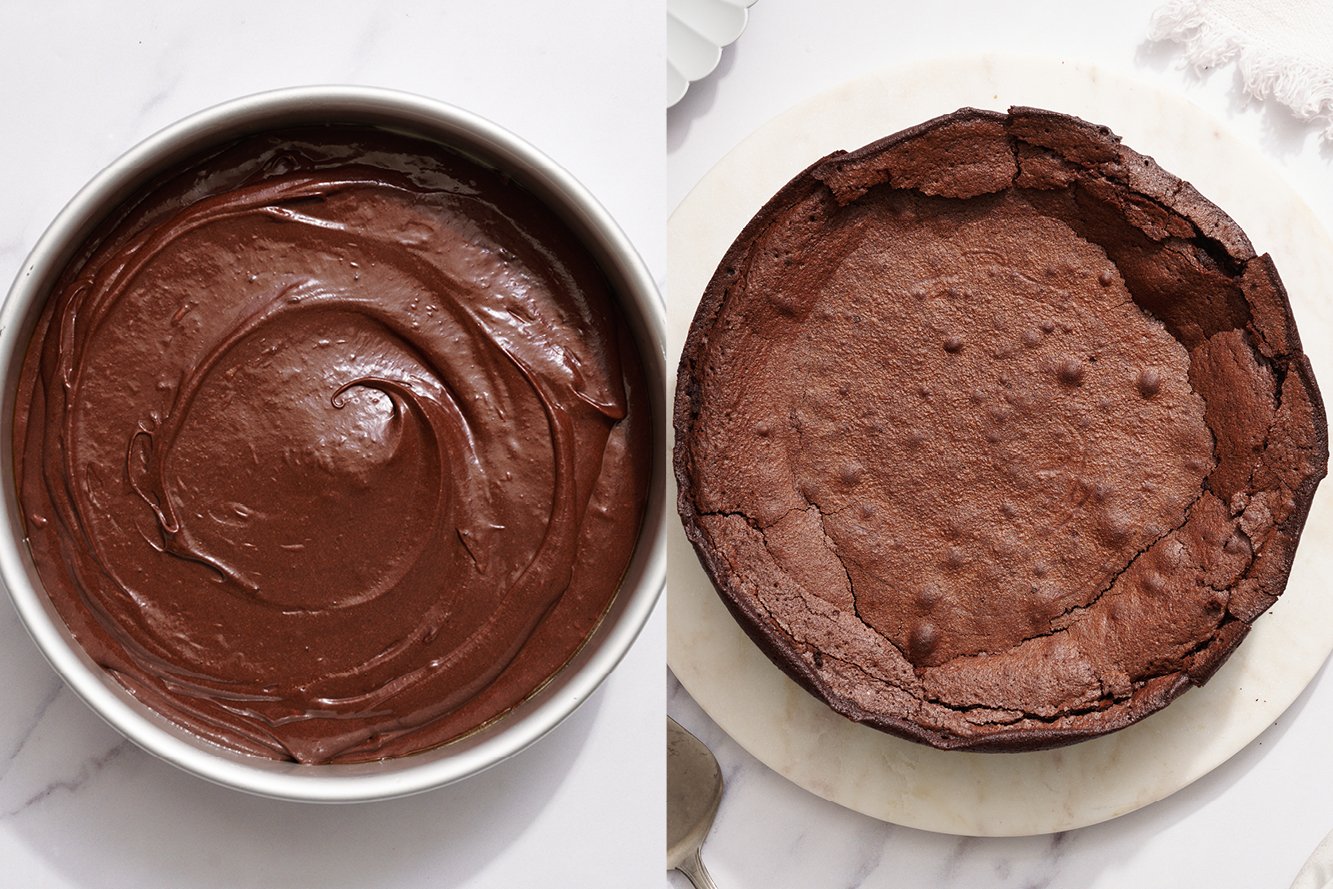
Why Does the Flourless Chocolate Cake Fall After Baking?
It’s perfectly normal for this cake to fall slightly as it cools. Remember, flour typically acts as the backbone structure support of cake recipes. Without it, some falling is unavoidable. I think it adds to the rustic charm of this type of cake! If your cake falls excessively, it’s likely from overmixing. Be sure to gently mix in the ingredients, particularly in the final few steps, and do not over-mix.
Do I Really Have to Wait to Eat This Cake?
Yes, but I promise it’ll be worth it in the end! This cake is delicate when warm. Leaving it plenty of time to cool completely in the tin, then a few hours in the fridge (preferably overnight) will allow the cake to set up. It’ll become more rich and fudgy as it chills!
Bonus: you can make this the day before a dinner party or event, and it will be ready to devour without having to make it the day-of!
Should I Decorate my Flourless Chocolate Cake? How to Serve Flourless Chocolate Cake:
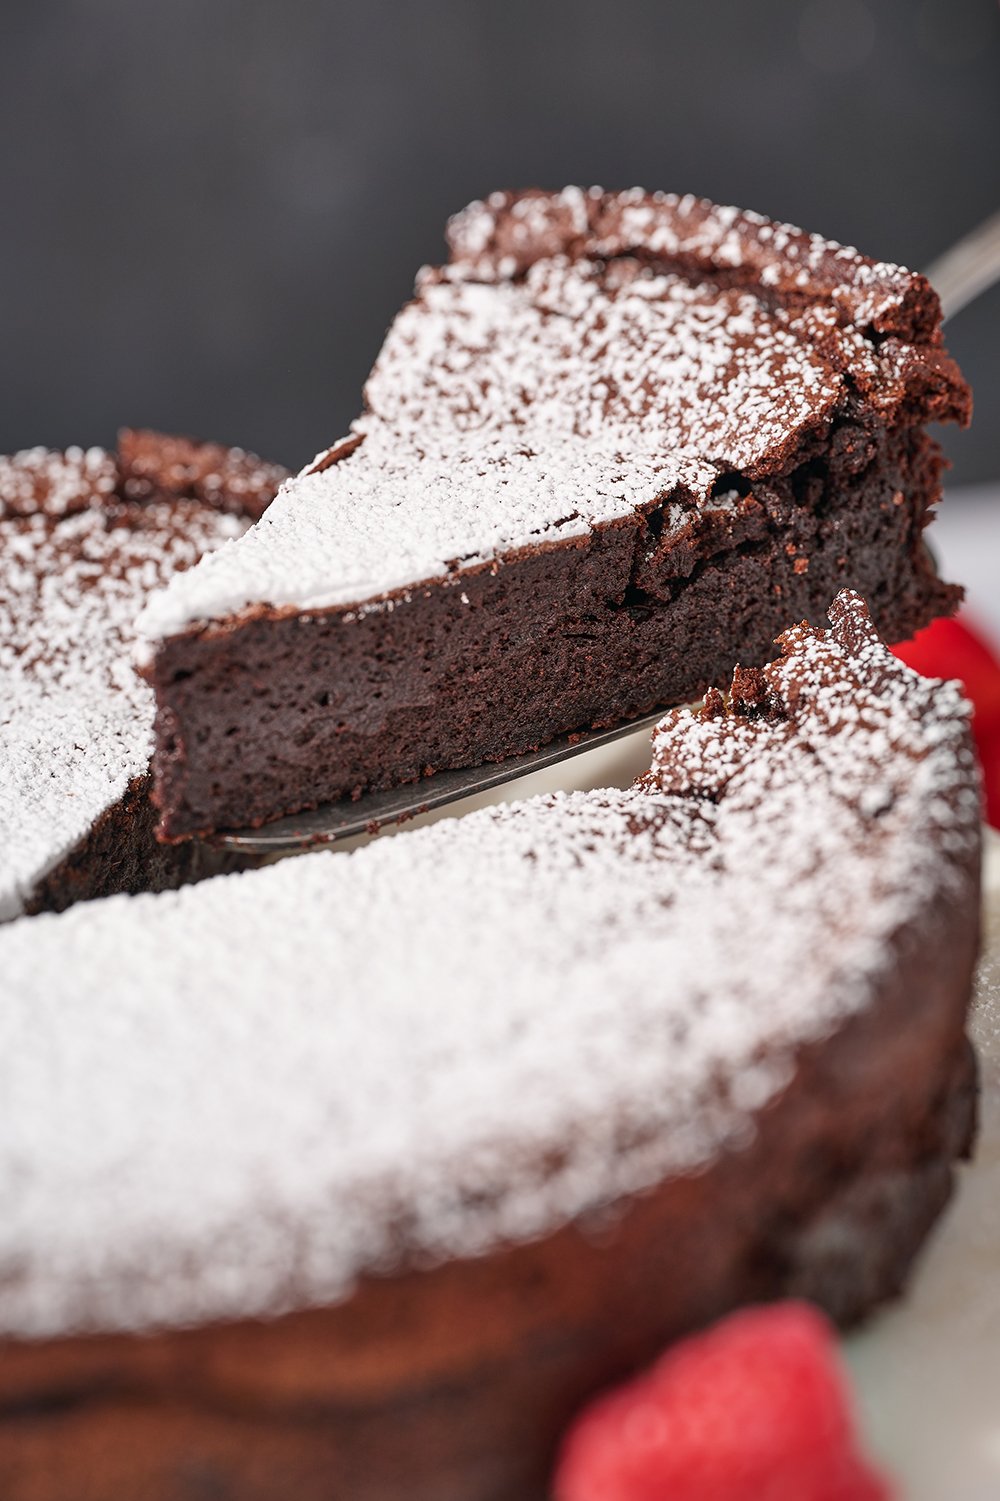
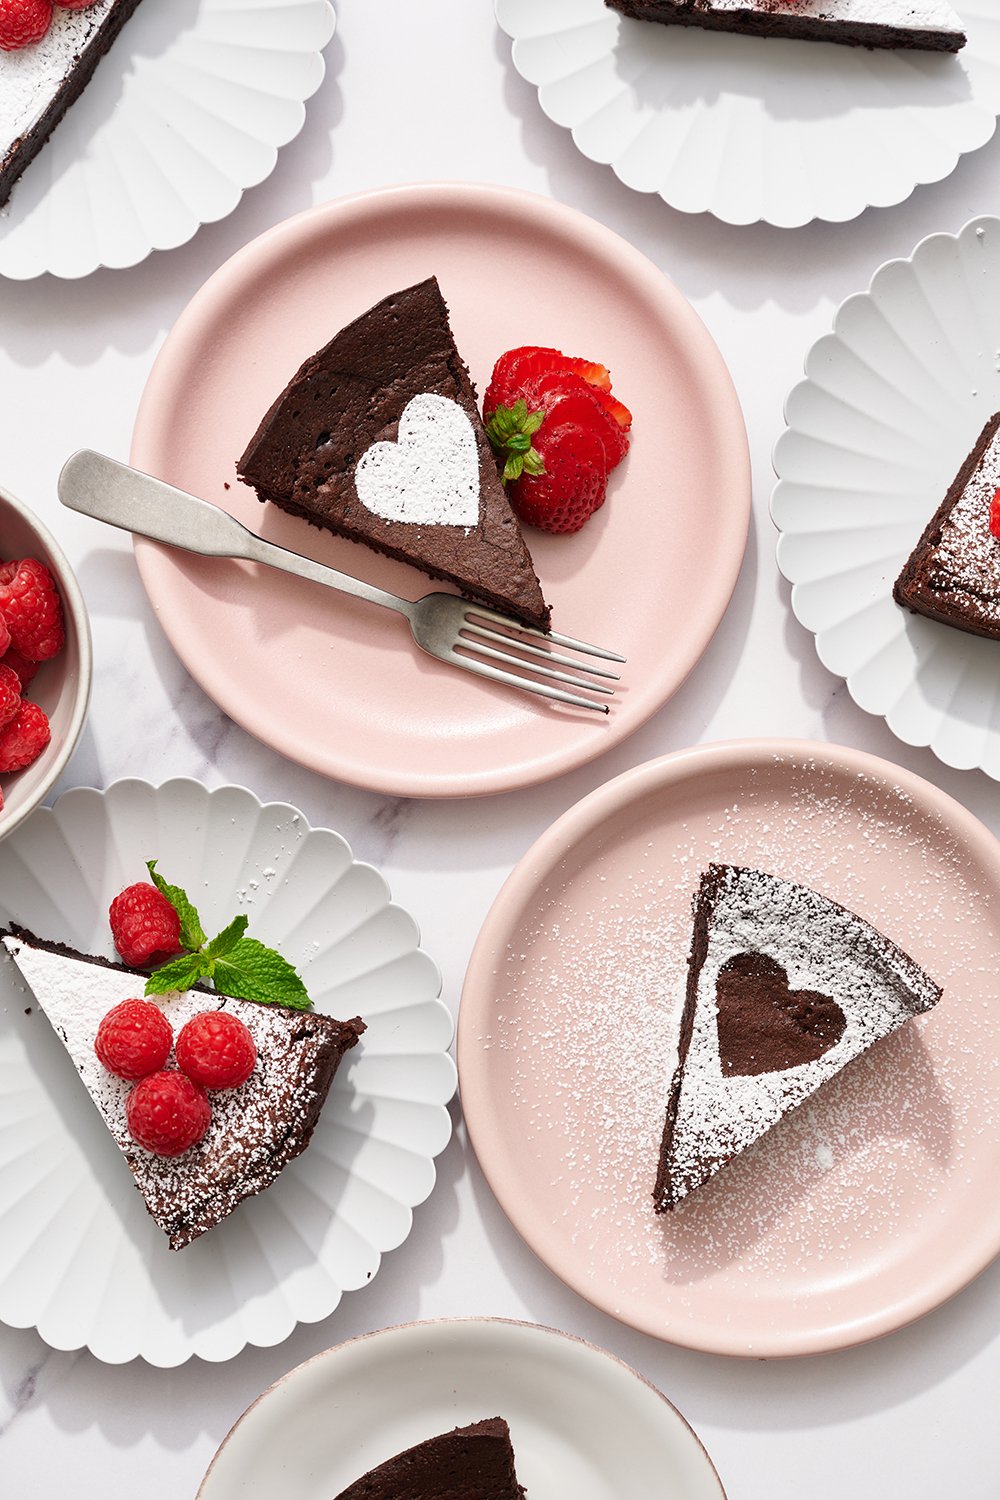
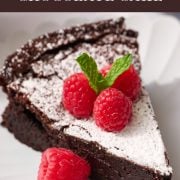
Decoration-wise, I don’t think this cake needs anything more than a dusting of powdered sugar or cocoa powder and a couple berries. If you’re looking to elevate how you plate this elegant dessert, serve with a small piped rosette of whipped cream or a scoop of vanilla bean ice cream and a few fresh berries. Garnishing with fresh mint leaves feels gourmet too!
Feel free to add cooled chocolate ganache (the 1:1 ratio) to the top of the cake. Joe prefers it with ganache, I prefer it without or with just a small spoonful. You could also add a raspberry topping.
To slice, use a sharp knife to cut into slices, running the knife under hot water and wiping off the blade between slices. Feel free to top with garnishes after slicing, too.
Should a Flourless Chocolate Cake be Refrigerated?
Yes, that’ll keep it sturdy and fudgy.
How to Store Flourless Chocolate Cake:
Store in an airtight container in the fridge for up to 3 days.
Can You Freeze Flourless Chocolate Cake?
Yes! This cake freezes beautifully. Wrap the entire cake or slices of cake well in plastic wrap and place in an airtight container or a ziptop bag for up to two months. Thaw in the fridge for a few hours or overnight. Bonus: it tastes great frozen, too! Just note that any powdered sugar you dusted on top of the cake will likely absorb as it thaws; that’s okay – just re-dust with powdered sugar or cocoa powder before serving.
More Chocolate Dessert Recipes:
- Best Ever Chewy Brownies
- Death by Chocolate Cheesecake
- Best Chocolate Cake
- Nutella Cheesecake Bars
- Chocolate Bundt Cake
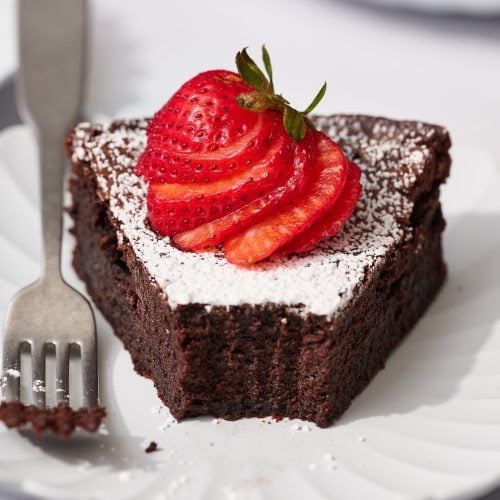
Flourless Chocolate Cake
Ingredients
For the cake:
- 1 ¼ cups (213 grams) semisweet chocolate chips
- 1 stick (113 grams) unsalted butter
- 3/4 cup (150 grams) granulated sugar
- 1 teaspoon instant espresso powder, optional
- 1/4 teaspoon fine salt
- 1 teaspoon vanilla extract
- 3 large eggs plus 1 egg yolk
- 1/2 cup (43 grams) Dutch-process cocoa
- ½ cup (120 grams) heavy cream, chilled
For the topping:
- Powdered sugar
- Freshly whipped cream, vanilla ice cream, or 1:1 ganache (recipe here)
- Fresh strawberries or raspberries
Instructions
- Preheat the oven to 350°F. Lightly grease a light colored 8-inch round 3-inch deep cake pan with nonstick cooking spray.* Place a parchment round on the bottom of the pan and spray again.
- In a large microwave-safe bowl, heat the chocolate chips and butter in 30-second increments, stirring between each, until just barely melted. Stir until smooth. Whisk in the sugar, espresso powder, salt, and vanilla. Let cool.
- Add in the eggs and yolk all at once, vigorously whisking until smooth. Whisk in the cocoa powder until just combined. Batter will be thick.
- In a small but deep bowl or measuring cup, use an electric mixer or immersion blender fitted with a whisk attachment to beat the heavy cream to medium peaks. Using a rubber spatula, gently fold the whipped cream into the batter until combined.
- Pour the batter into the prepared pan and smooth the top.
- Bake the cake for about 25 to 30 minutes, or until the cake has puffed up, the edges are set but the center is still slightly wobbly, and the center is at least 200°F using an instant-read thermometer.
- Remove from the oven and let cool in the pan on a wire rack for 10 minutes. The cake will deflate slightly as it cools. Loosen the edges of the still-warm cake from the pan with a thin flexible knife or offset spatula so it unmolds easier when ready to serve. Let cool completely in the pan. Once cool, cover and refrigerate for at least 6 hours but preferably overnight. At this point, the cake can be kept covered in the fridge for up to 3 days as well as any leftovers.
- This cake is best served chilled. When ready to serve, remove the cake to a serving plate. Use a sharp knife to cut into slices, running the knife under hot water and wiping off the blade between slices. Place a spoonful of powdered sugar in a small fine mesh strainer and dust over each slice. Top with whipped cream or a scoop of ice cream and a few berries. Serve.
Recipe Notes
This post was originally published in 2009 and updated in 2023 with new photos and recipe improvements. Photos by Joanie Simon.






Could you make it with bittersweet chocolate instead of semi sweet?
Hi Karen! Yes, you can – find out more in the Tip Box, above the recipe, under the heading, “What Kind of Chocolate Should I Use?” Happy baking! 🙂
This cake is amazing!!! I’ve made it twice for company and it’s already become my signature dessert!! I followed the recipe exactly, even purchased the recommended cake pan. I cut parchment sheets into shape of pan and made tabs to pull it out. Served the cake topped with powdered sugar and raspberries once and strawberries once, plus homemade whipped cream. To die for!!!!
It’s one of our team favorites, too. So happy to hear it’s become your signature dessert!
Would it be possible to double the recipe and bake it in an 8 by13 rectangular pan?
Hi Jackie! We haven’t tried that, so I can’t say for sure! Let us know how it goes if you give that a try!
Everyone loves this cake! My coworkers have all asked me for the recipe. Perfect!
Made this last Valentine’s & making it again this Valentine’s! Delicious!! 😋
This recipe was so delicious and easy to follow! My only mistake my first attempt was I didn’t line my cake pan with parchment paper and the cake stuck. The next day I re made this cake following all the same steps but this time using parchment paper and it was a breeze!
The cake was so moist and fudgy on the inside. I did heat my piece up in the microwave for 10 seconds because I wanted it warm. I topped it with a scoop of vanilla ice cream and strawberries.
10/10 recommend!!
Woohoo! Looks amazing, Maria! So glad you enjoyed it 🙂
First time making something like this and followed the recipe exactly. Found the pictures and directions very helpful. It was absolutely amazing! So happy how it turned out, everyone loved it! It was a hit! Will be making this many more times thanks so much for the recipe.
So thrilled to hear that this recipe was such a hit for you, Emily!
Absolutely brilliant. Everyone loved it and wanted the recipe.
This was a hit all around – incredibly delicious! I followed the recipe exactly, and my book club loved it. Thank you for the link to the cake pan. It was perfect. I used my own parchment paper, cut into a circle and I made tabs for it. Huge help!!
So glad to hear that this recipe was a hit, Audra! 🙂
Do you use regular Dutch cocoa powder or unsweetened?
Hi Lauren! As specified in the recipe ingredients, we recommend using Dutch-process cocoa – but as Tessa mentions in the baking tips (above the recipe), “If you need to, you can use natural cocoa powder in this recipe instead.” I hope that helps! Let us know how it goes if you give this cake a try 🙂
Tessa, I am researching flourless chocolate cakes since discovering a restaurant nearby that serves an exquisite recipe of such.Their slices are generous, but are $13 (with gelato on top). I am therefore motivated to bake my own cake. I came upon your beautiful website, full of photographs that are very helpful and attractive. Here’s my question: your recipe includes heavy cream that you whip. Some recipes separate the egg yolks from the whites and whip the whites. Does this accomplish the same thing as whipping heavy cream?
Also, I thought your website name came not from AZ, but from that old expression, “if you can’t stand the heat, stay out of the kitchen.”
Thanks, Brian
Hi Brian! Yes, there’s a similar effect in whipping the cream to achieve a touch of lightness in an otherwise very rich and dense cake. I hope that helps! Let us know what you think of this cake once you have given it a try 🙂
Can the heavy cream be substituted for unsweetened coconut milk?
We haven’t tried that!