Tessa’s Recipe Rundown
Taste: Perfectly sweet with that quintessential red velvet flavor!
Texture: Thick, fudgy, and soft.
Ease: Super easy! Though the dough does require a 30-minute chilling time.
Pros: Fun, colorful, and festive cookies everyone will adore.
Cons: None!
Would I make this again? Yes.
This post may contain affiliate links. Read our disclosure policy.
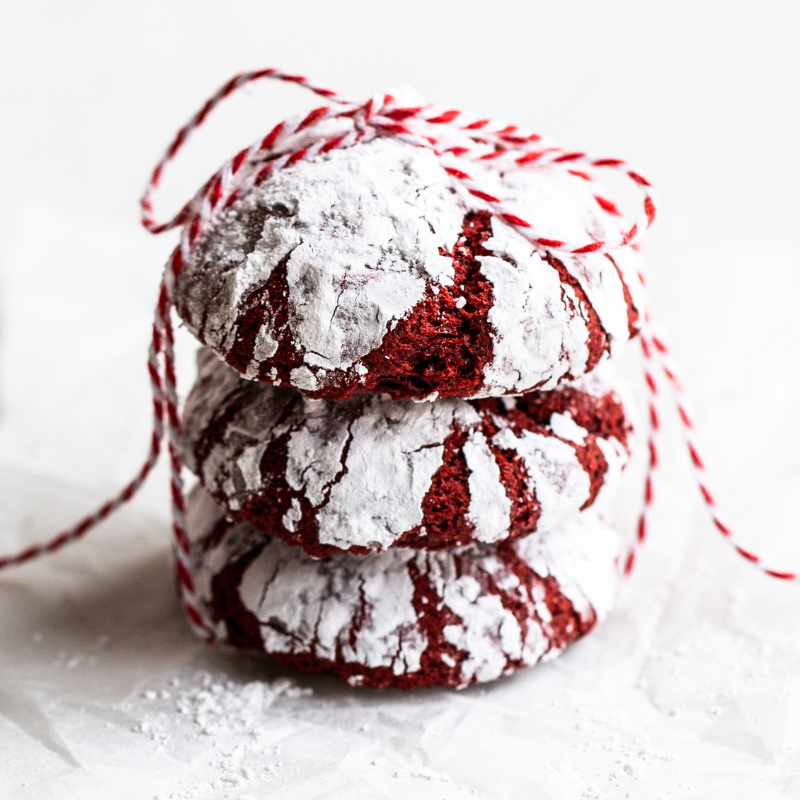
Nothing beats these festive Red Velvet Crinkle Cookies to put everyone in the mood for a holiday!
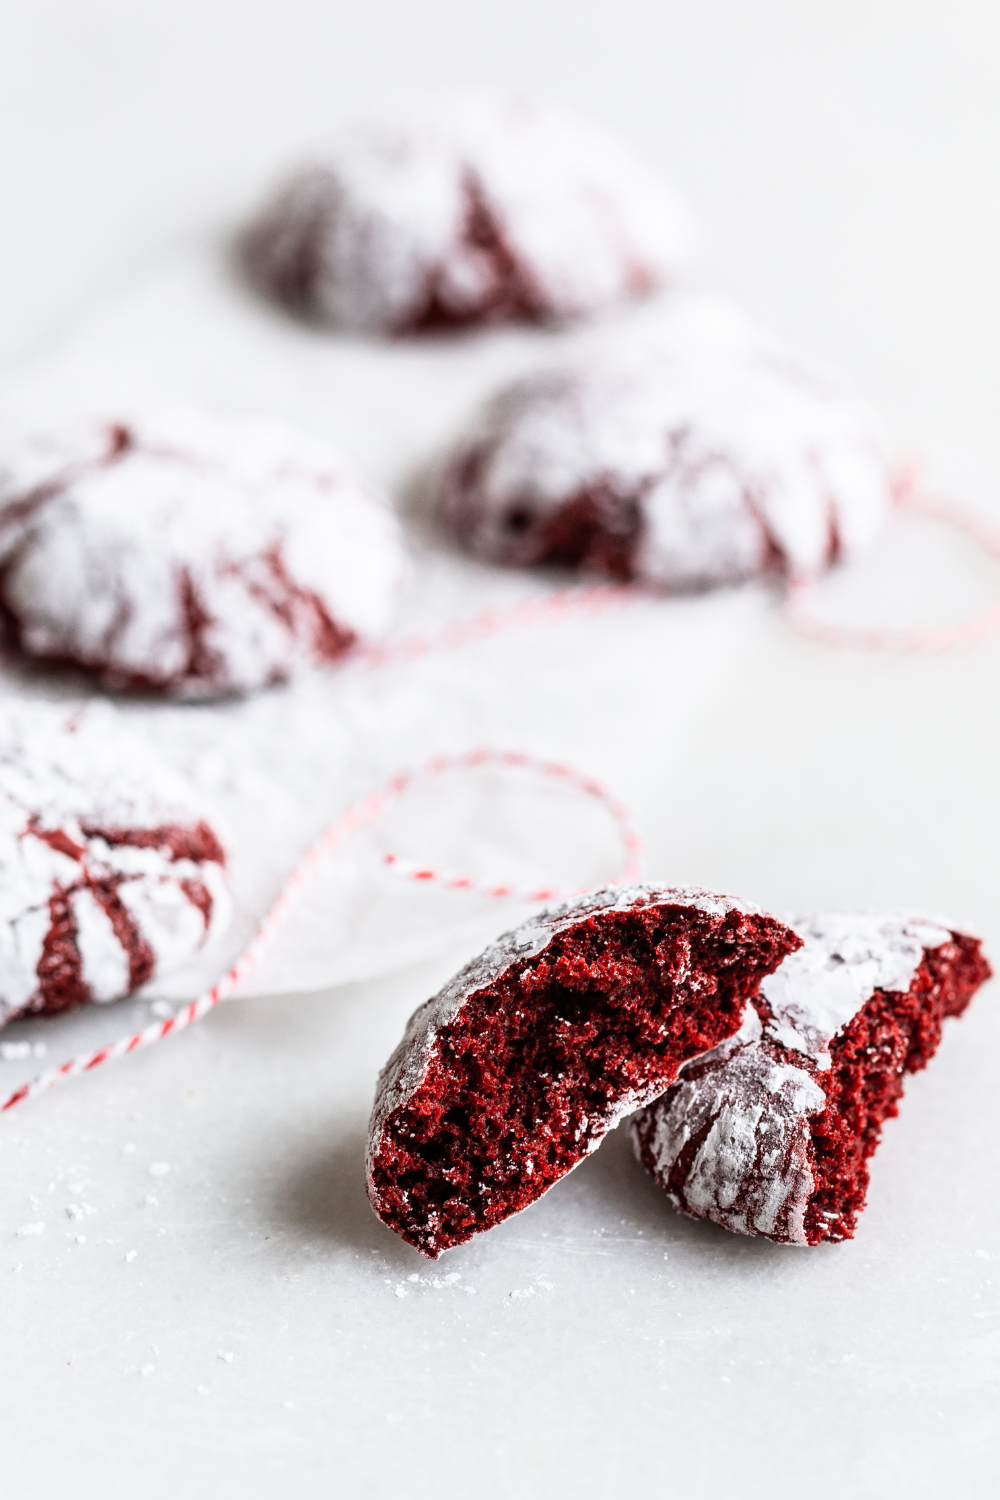
These cookies will definitely make you everyone’s favorite person at the office or at school.
That is until everyone realizes they have powdered sugar all over their mouth / face / clothes.
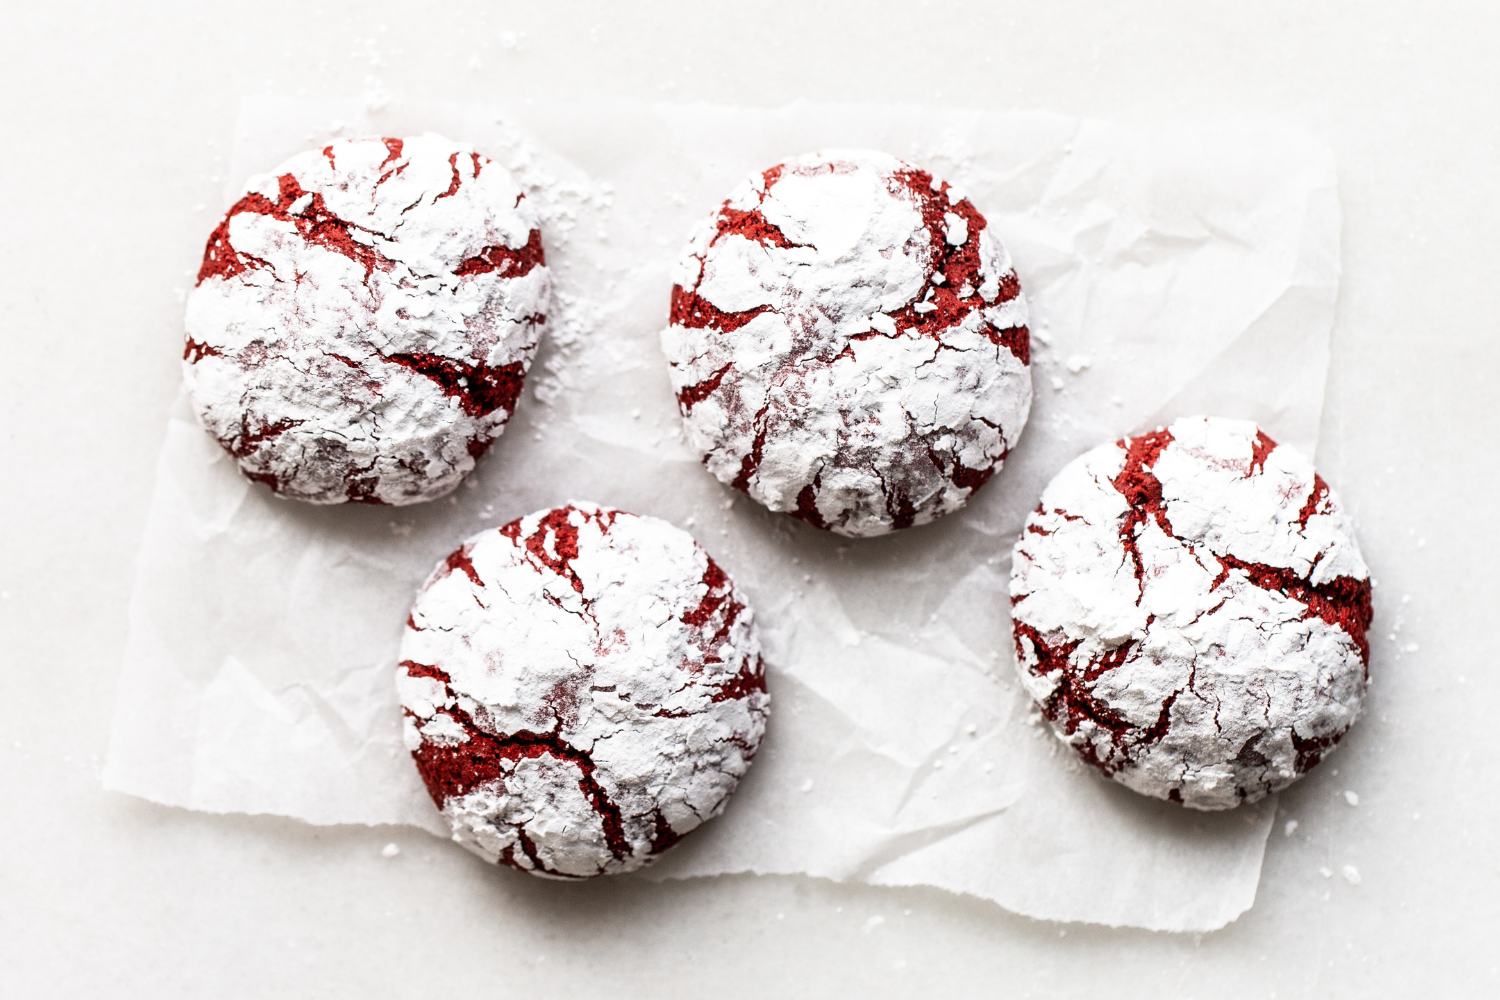
This recipe is perfect for either Valentine’s Day, Christmas, or just anytime you’re craving Red Velvet.
Red velvet really only has a hint of cocoa flavor, but it is full of nostalgia for those of us who grew up with it living in the U.S.
If you give this recipe a try, be sure to leave a comment with a star rating at the bottom of this post! You have no idea how much that helps support us.
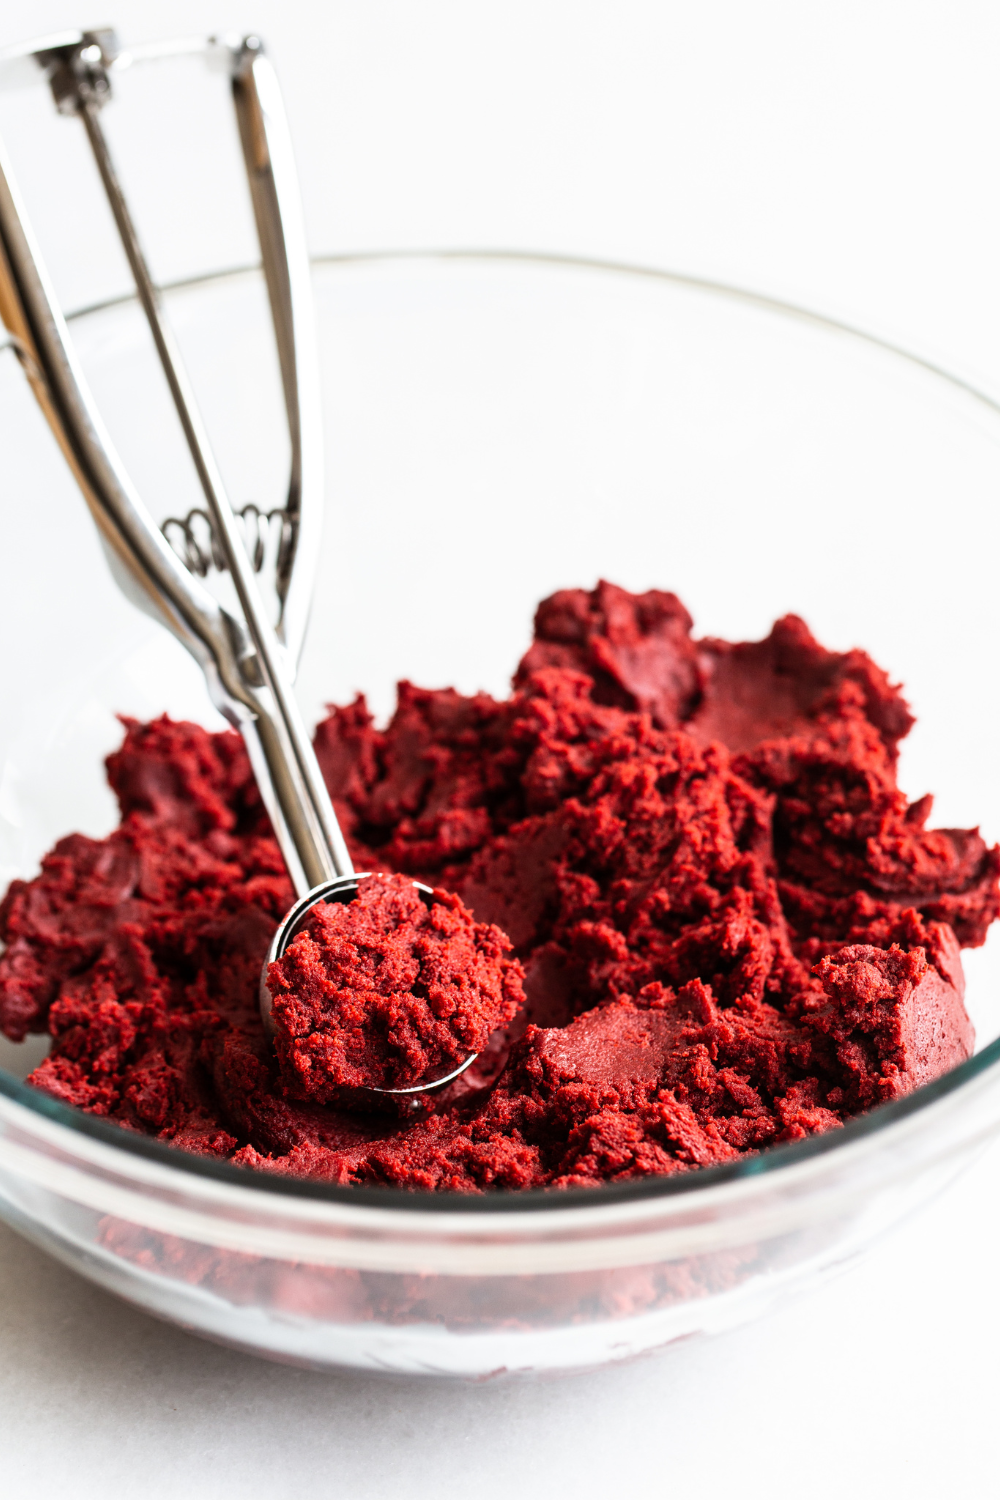
How to Make Red Velvet Crinkle Cookies
Best Red Food Coloring for Red Velvet Crinkle Cookies
- I personally love Americolor Super Red Gel Paste coloring. It provides a bold color with just a small amount. You can order from Amazon here, or find it at cake supply stores.
- Wilton gel food coloring also works well – just make sure to use the kind in the little pots, NOT the squeeze tube coloring.
- Add enough food coloring until the dough is a deep red.
- I don’t recommend using liquid food coloring, because it’s not as concentrated and won’t add enough color to your cookies without also adding a ton of excess liquid.
- Wondering if you can use natural dye? Learn more about Natural vs. Artificial Food Coloring here.
What Makes a Cookie ‘Crinkle?’
To get those distinctive cracks, we use both baking powder and baking soda in this recipe. Before a cookie sets while baking in the oven, the baking soda and powder produce CO2 bubbles that rise to the surface and burst, leaving those little sugary fault lines. If we used only baking soda in the recipe, the cookies would spread out and be thinner. Adding in baking powder helps make nice thick cookies that remain soft.
How to Make Thick, Soft & Fudgy Red Velvet Crinkle Cookies
- Measure your flour and cocoa powder correctly. I highly recommend using a digital kitchen scale to measure ingredients, but if you don’t have one, check out my article on how to measure flour. Accidentally adding too much flour and cocoa powder is super easy, and will make your Red Velvet Crinkle Cookies dry and crumbly.
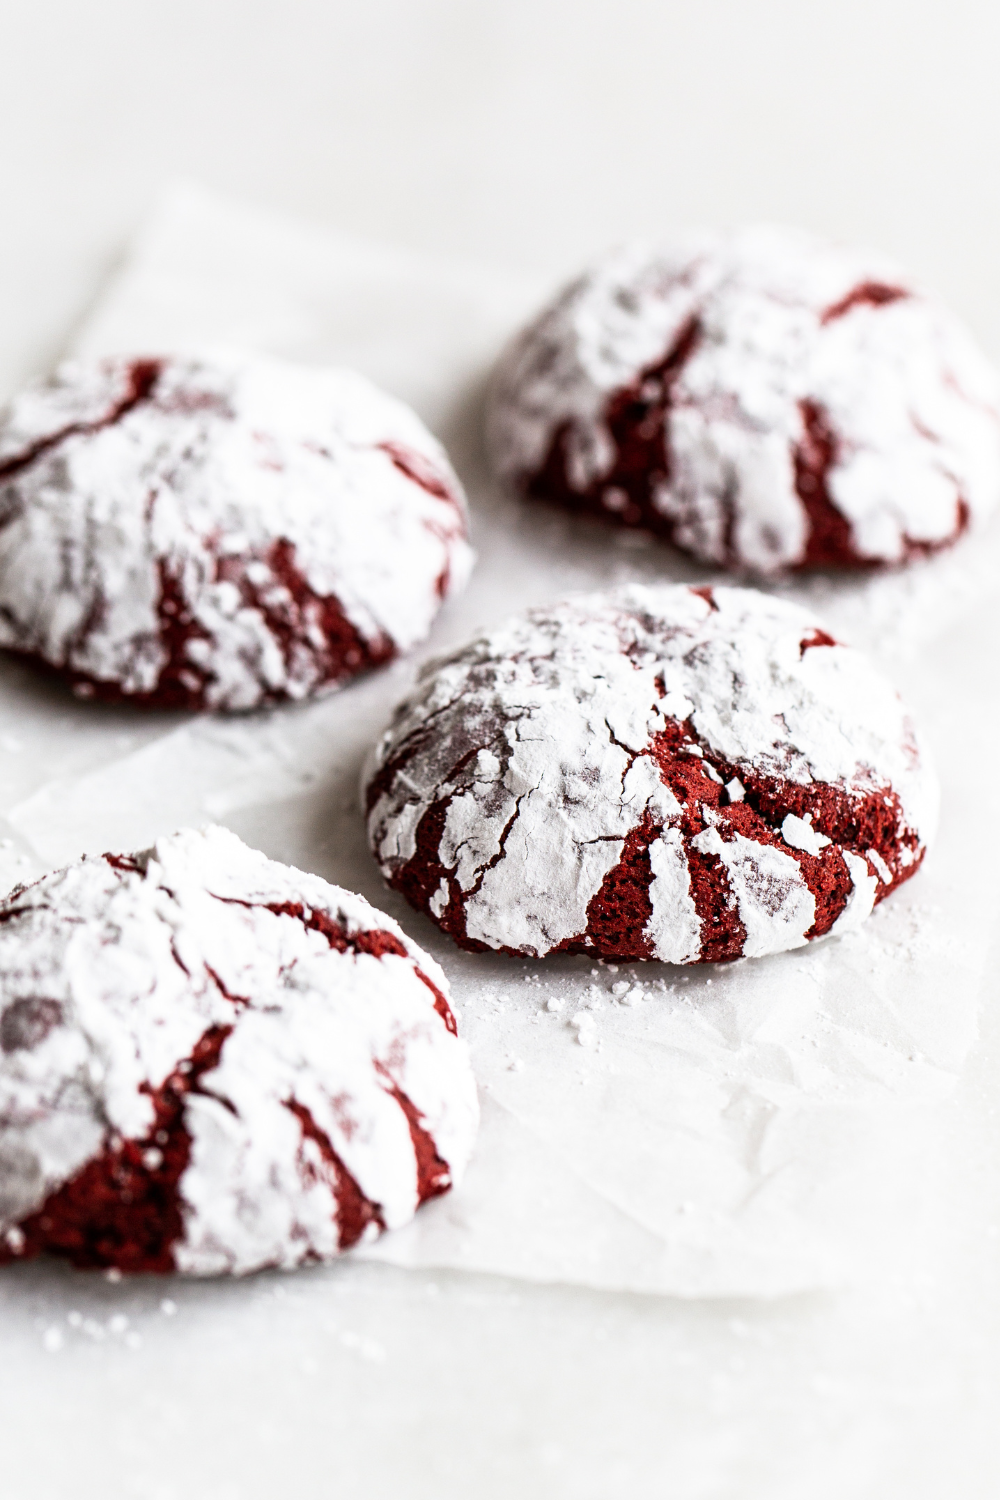
- Don’t overbake your cookies. They should still look slightly ‘wet’ inside the crinkle cracks when you pull them out of the oven. They will finish baking on the hot pan.
- Use a high-fat cocoa powder! Cocoa is a drying ingredient, meaning it can zap moisture. The less fat and the more starch a cocoa powder has, the drier your final baked good will be. Learn more about cocoa powders here.
How to Roll Red Velvet Crinkle Cookies in Powdered Sugar
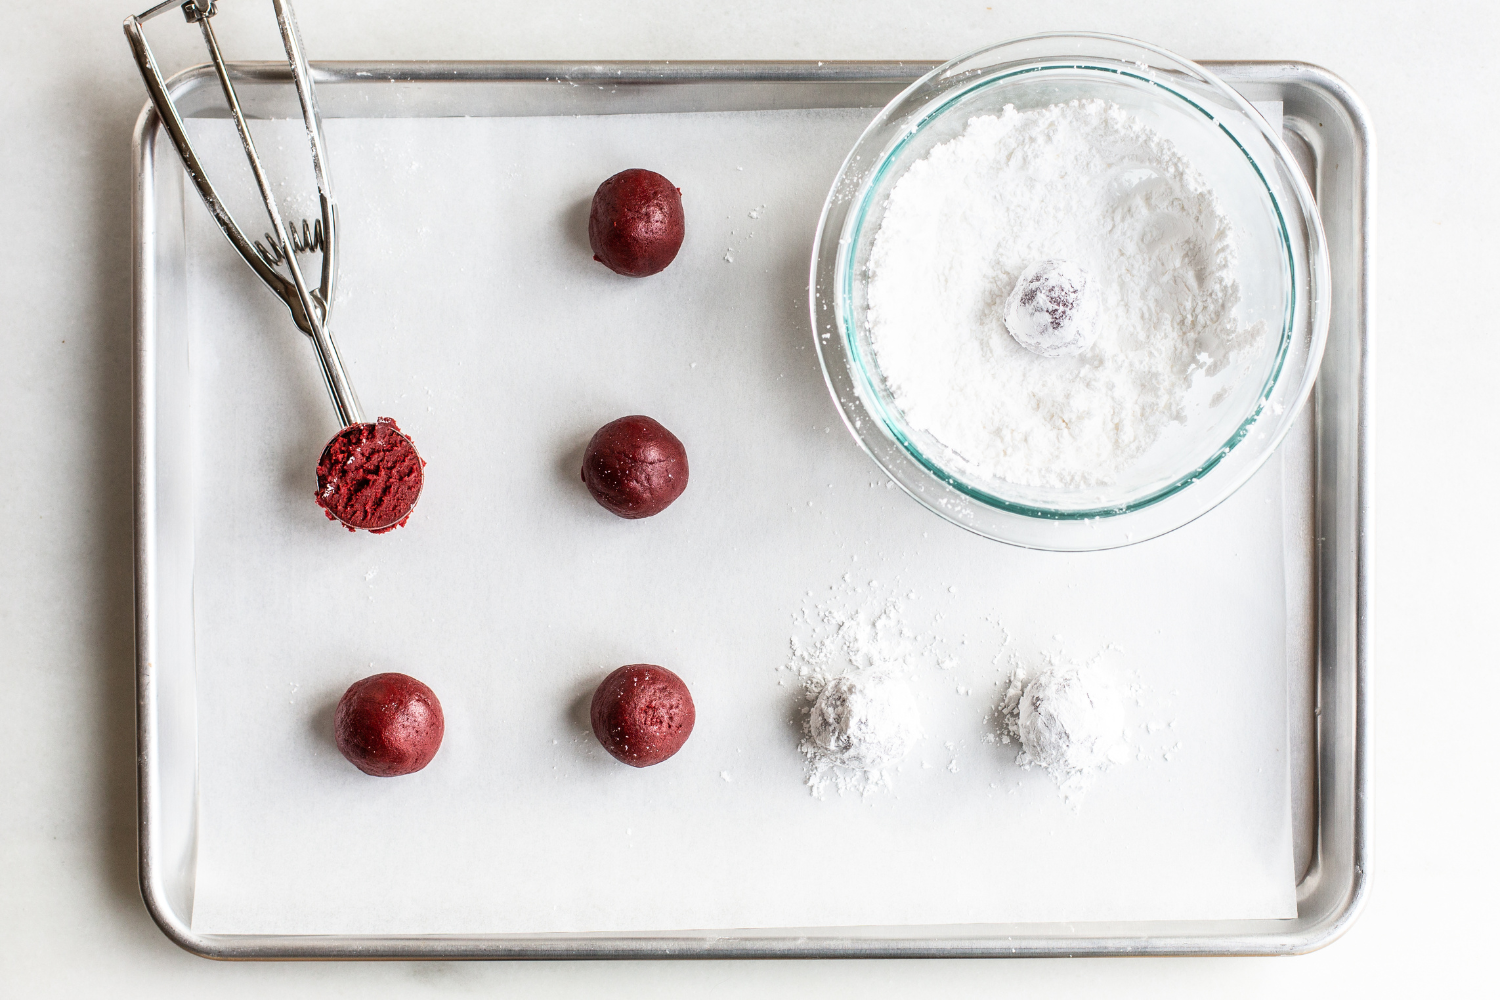
Don’t be afraid to really get in there with the powdered sugar! The directions call for rolling each ball of dough in the sugar twice. This helps achieve a nice thick coating of sugar that doesn’t dissolve into the cookie while baking.
For best results, avoid organic powdered sugar which will dissolve more. And if you can find it, 5x powdered sugar (as opposed to more finely ground 10x) will also make for a prettier snowy sugar coating.
How to Store Red Velvet Crinkle Cookies
Red Velvet Crinkle Cookies can be stored in an airtight container at room temperature for up to 3 days.
How to Freeze Red Velvet Crinkle Cookies
You can also freeze the Red Velvet Crinkle Cookie dough before rolling in the powdered sugar. Learn how to freeze cookie dough here but allow the balls of dough to defrost before rolling in sugar and baking as the recipe instructs.
More Valentine’s Day Recipes:
- Chocolate-Covered Strawberries
- Valentine’s Day Chocolate + Strawberry Cake
- Chocolate Lava Cakes
- Cookie Dough Hearts
- Strawberry Chocolate Galette
More Amazing Cookie Recipes:
- Bakery Style Chocolate Chip Cookies
- Soft and Chewy Sugar Cookies
- Red Velvet Cut-Out Cookies with Cream Cheese Frosting
- Peanut Butter Chocolate Chip Cookies
- S’mores Cookies
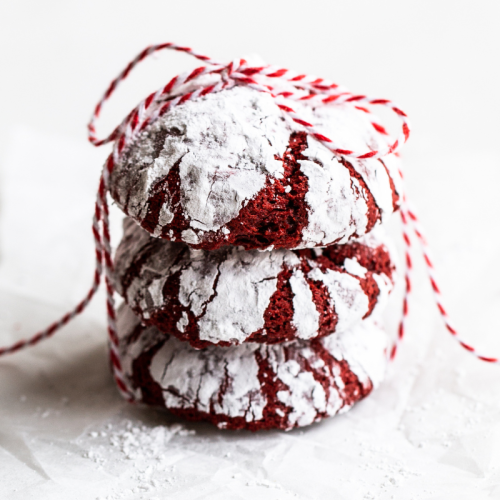
Red Velvet Crinkle Cookies
Ingredients
- 2 cups (254 grams) all-purpose flour, measured correctly
- 1/4 cup (22 grams) unsweetened natural cocoa powder
- 1 teaspoon baking powder
- 1/4 teaspoon baking soda
- 1/4 teaspoon fine sea salt
- 4 tablespoons (57 grams) unsalted butter
- 1/2 cup (100 grams) light brown sugar
- 1/2 cup (100 grams) granulated sugar
- 2 large eggs, at room temperature
- 1 tablespoon milk
- 1 teaspoon vanilla extract
- 1 teaspoon
red gel food coloring - 1/2 cup (63 grams) powdered sugar, for coating
Instructions
- In a medium bowl, sift together the flour, cocoa, baking powder, baking soda, and salt. Set aside.
- Heat the butter on the stovetop or in the microwave until melted. Add the brown sugar and white sugar to the hot butter and use a rubber spatula to stir until combined. Allow to cool to just warm before stirring in the eggs, one at a time. Stir in the milk, vanilla, and food coloring. Slowly mix in the flour mixture. Cover with plastic and refrigerate until firm enough to scoop without sticking, about 30 minutes or up to 1 day.
- Preheat the oven to 350°F. Line two baking sheets with parchment paper.
- Using a medium spring-loaded cookie scoop, divide the dough into 1 1/2-tablespoon sized balls and drop onto prepared baking sheets. Pour powdered sugar into a medium bowl and roll the cookie dough balls in sugar two times, letting them sit in sugar between coatings.
- Place on prepared baking sheets, spacing 2 inches apart. Bake until cookies have spread and coating is cracked, 12 to 14 minutes. Cool for 5 minutes before removing to wire racks to cool completely. Cookies can be stored in an airtight container at room temperature for up to 3 days.
This post was published in 2020 and has been updated with additional recipe tips. Photos by Ashley McLaughlin.
February 2020 Baking Challenge!
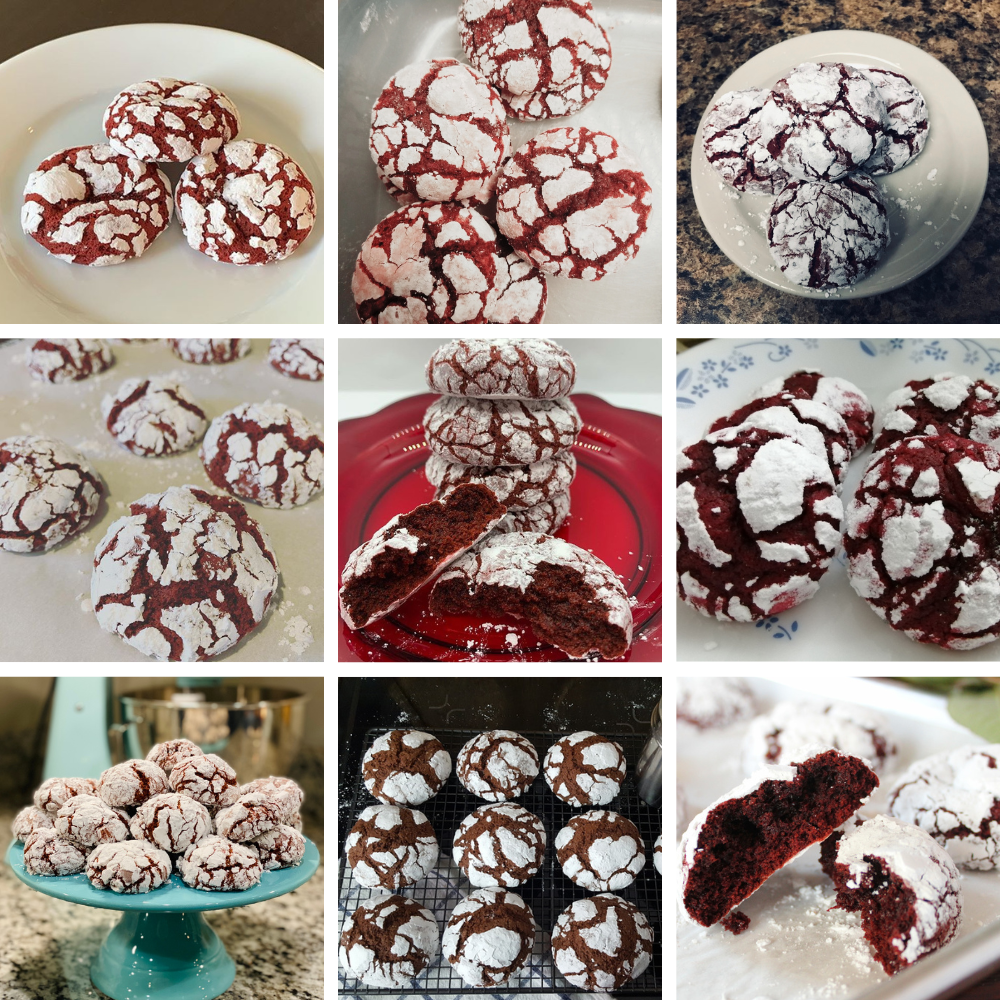
This recipe was the selection for February’s baking challenge! Learn more about my monthly baking challenges here. Check out everyone’s beautiful cookies below:









After making as many batches of cookies as I have, you know the drill. Creaming the butter and sugar, etc. This recipe is so much fun because the method is entirely different than traditional cookies. It also produces cookies with a nice crust, yet moist, soft inside. These please everyone!
Yay! So happy you enjoyed this recipe, Kate! Your crinkle cookies look perfect 🙂
Hi! Can you freeze these and bake later?
Hi Kyndal! You sure can – Tessa included instructions for this in the pink tip box, just above the recipe. Check out the instructions, along with a few other great baking tips for this recipe, there! Let us know what you think of these cookies once you give them a try! 🙂
I made this other night! The flavor is so good! I was curious though what I could do to make them less dry and more moist? The cookies are so soft, and aren’t really crumbly but they are dry.
Hi Loren! Check out the pink tip box above the recipe for more details, it sounds like possibly too much flour or cocoa powder was added to your cookies. Glad you like the flavor of these cookies!
I made these yesterday, following the recipe exactly and they taste great! Only problem, they aren’t red. Any idea why?
Hi Donna! It could be due to the type of cocoa you used or the type of food coloring and how much was used. Not all food colorings have the same strength, so it’s possible you may need to add more than what is stated in the recipe. Add enough food coloring until your dough is a deep red. Tessa includes a link to her favorite coloring in the pink box above the recipe 🙂 If you used Dutch-process cocoa powder, which would result in browner colored cookies, try using natural cocoa powder next time to see if that helps.